
 |
|
#1
|
|||
|
|||
|
Decided to start carving since I had some free time this week. I got a loan and picked up one of those Fein Multitools....I gotta say it slices through fiberglass neatly without much dust if it is a little slow.
So here goes some shots..... First I sliced down the sides of the motor well and around the live well. After cutting the sealant around the tub the cap lifted out.... 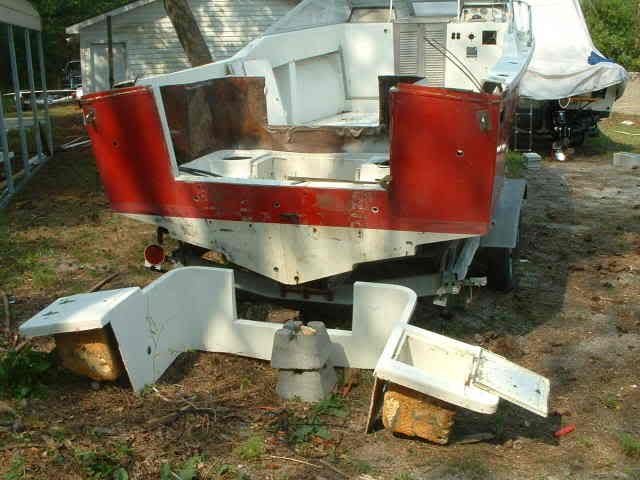 Then I cut around the floor and up the corners to get the front of the tub out. That left the live well still in and attached to the transom. Then amazingly I was able to pry the livewell up and out after slicing some of the areas around the transom opening. 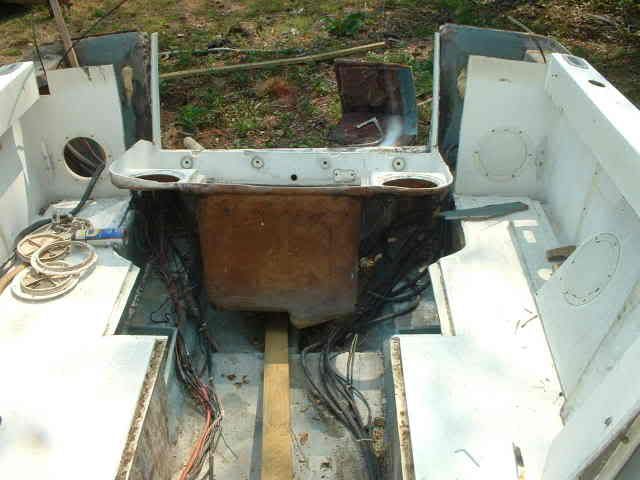 And there are all the pieces.....pretty much intact.... 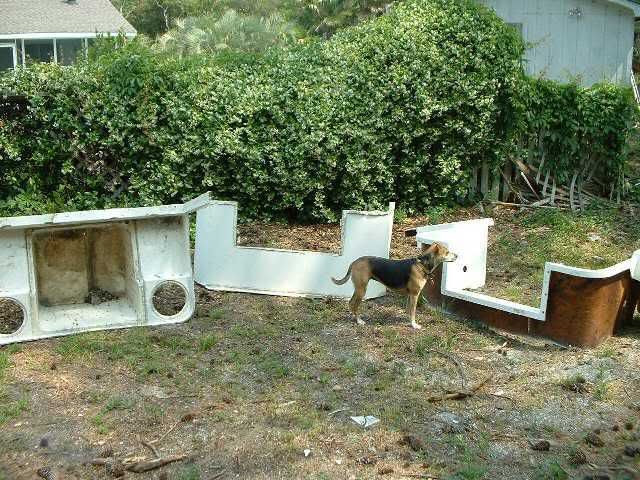 When I started removing the stern eyes it there was a surprise....both were corroded completly through but it wasn't obvious at all. 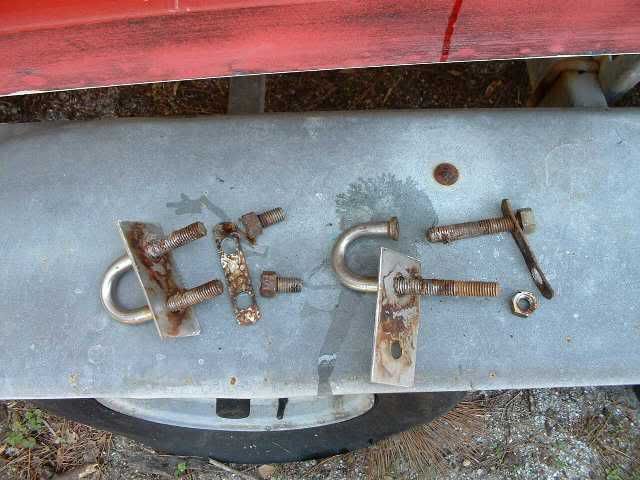 The vent boxes were interesting...they're actually molded pieces held in with four screws and then glued with a cabosil like adhesive. I got them out intact... 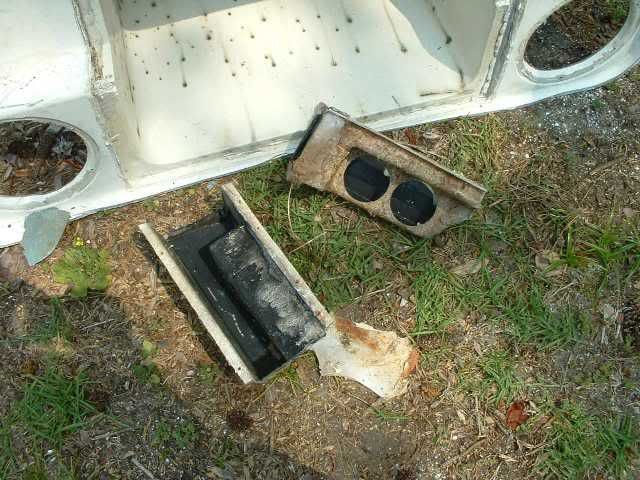 I sliced some sections out of the back of the stringers and the little stringers the battery boxes are on. The foam was dry, although there seem to be a little water in the bottom of the stringer. The smaller stringers were wood cored and were very wet...in fact there's a hollow on the insdie that had some water in it. Gotta wonder how old that was.... 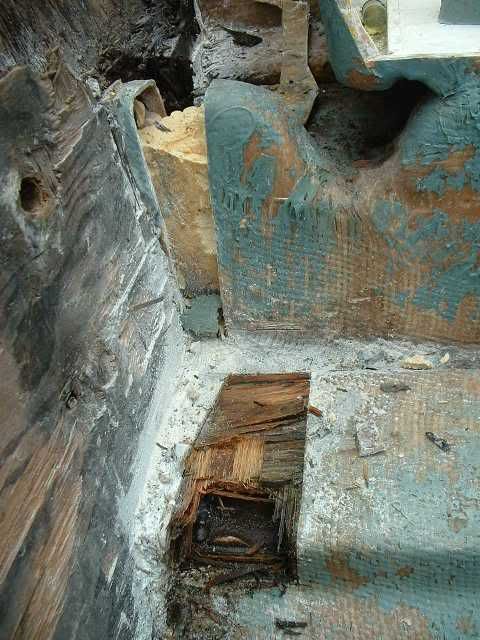 So that's where I'm at...progress will be slow. I have to cut the backend off the stringers and get all the wet and rotted wood removed. There is definitely a lot of glass in these boats. My boat yard....... 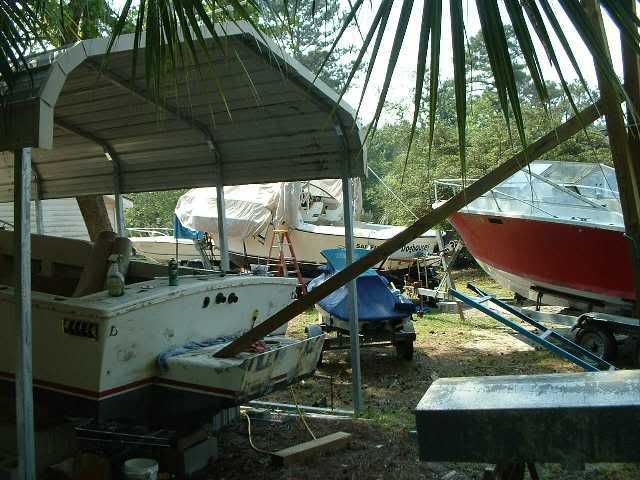
|
|
#2
|
|||
|
|||
|
Nice work keep posting the progress i may get brave and do something like this someday to my 79 Sceptre i have in my garage tent. It is baby blue i will have pics in the next week or so. E-TEC powered.
|
|
#3
|
|||
|
|||
|
Nice work. Your lucky the live well came out in one piece. Mine was in bedded in cabosil and I had to use an air chisel to get it cleared out. The area were the battery boxes sat was not really meant to be stringers. They play little if any in the structural integrity of the hull. Mine were rotton as well and I just tore them out. Having the batteries in the same location as the fuel tank was not a good idea in my mind.
http://www.casdvm.com/photos/SeaCraf...ttery%20boxes/ strick
__________________
"I always wanted to piss in the Rhine" (General George Patton upon entering Germany) |
|
#4
|
|||
|
|||
|
I was very lucky with that livewell....it had a lot of cabosil adhesive on it, but the paint pulled off the transom along with it....
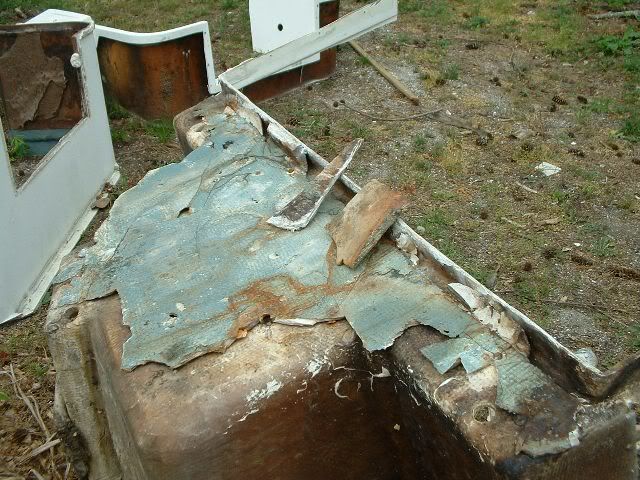 I finished cutting the corners and rear stringer areas out of the transom.... 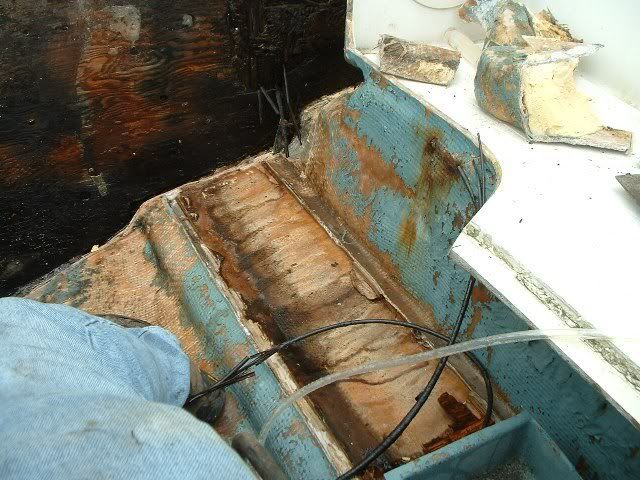 The corners were interesting....having to dig out the foam to get to the bottom edge of the transom....and also dealing with the block of wood that extends to the through floor scuppers. Starboard and port corner shots.... 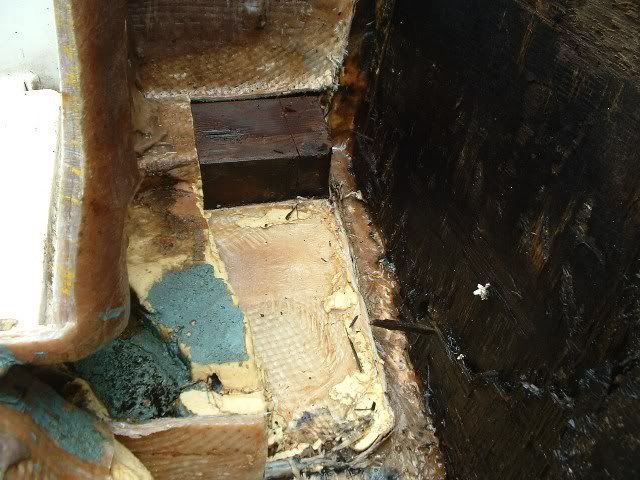 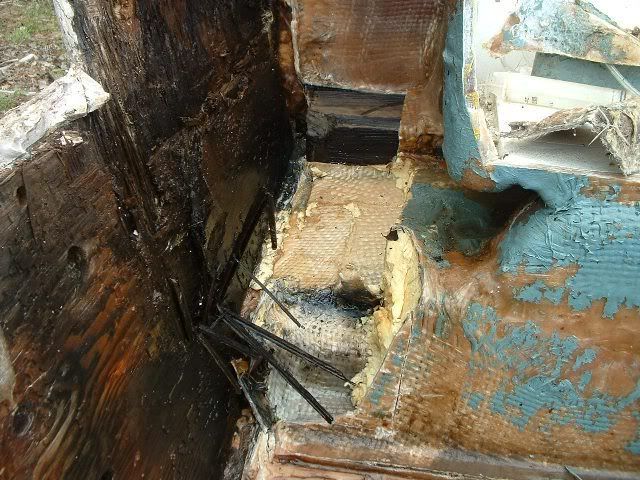 If you look close you can see where I was able to slice through the fiberglass skin and peal it off the wood blocks in the corners. I was also able to slice through the fiberglass right along the botton and outer edge of the transom and just peel the glass off. The fein tool was very precise to do it with....and it didn't throw a cloud of glass dust like the skill saw or grinder. 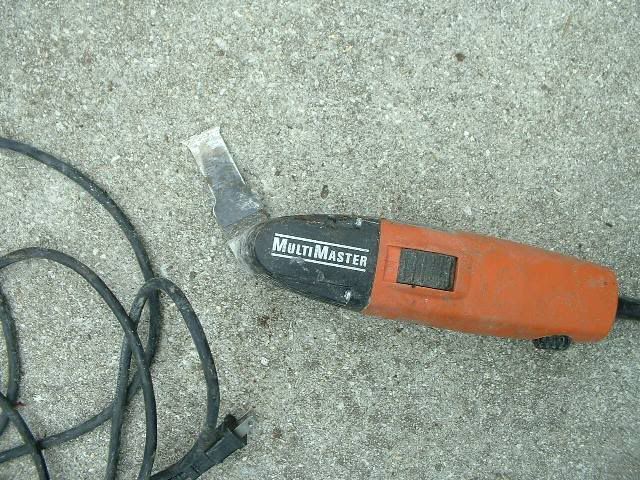 I guess now it's an air chisel with a sharp blade and the grinder.....and slow progress with work interferring with the fun again... |
|
#5
|
|||
|
|||
|
I'm not quite sure what to do with the blocks of wood that the floor scuppers go through. I've exposed them between the transom and the scuppers....at least 6 inces of them. They were both very wet. I can cut out the section I've exposed but the part that extend under the floor with the scupper through it is probably out of reach. I'm going
to try and remove the brass tudes and see if the wood will pry out. Either way I'm going to epoxy in some PVC for the floor scupper. I plan on having through transom scuppers too....but after washing the boat out a couple of times I like those through the floor too. |
|
#6
|
|||
|
|||
|
take out the blocks of wood and replace them if necessary to help support the floor. If it were me I would just make some good sized thru transom scuppers and plug the thru the floor ones. They are just one more thing to worry about. Wash the boat and let the water drain thru the transom scuppers or out the bilge drain.
strick
__________________
"I always wanted to piss in the Rhine" (General George Patton upon entering Germany) |
|
#7
|
|||
|
|||
|
After spending a couple of hours on just the port side piece of wood....I think like that advice. The boat came bottom painted with white awlgrip, but those tibes looked original. They were both leaking some and the starboard side had changed color from looking like brass to almost a copper and was very brittle. The bottom lip on tube simply snapped off when I started getting it out. I'll post some pics later.....but I think NEVER having to worry about these holes again sounds just great!!!
|
|
#8
|
|||
|
|||
|
Last set of pics for this thread.....I just wanted to show the way the through floor scuppers were built in....
After I cut some of the fiberglass skin off, the wood on both sides was very wet so the scuppers were leaking. So I used a dremel tool with a rotary cutter head I could insert up into the tube from the bottom and cut it all the way around......then I could pull an end off from the bottom.... 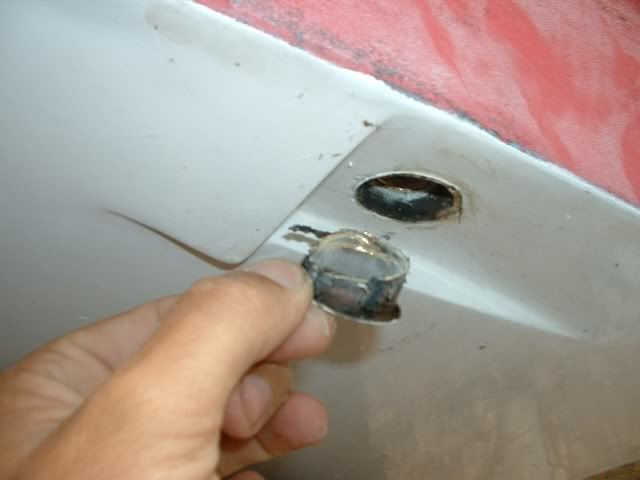 Then I used a 1 inch diameter fiberglass rod to drive the rest of the tube out the top... 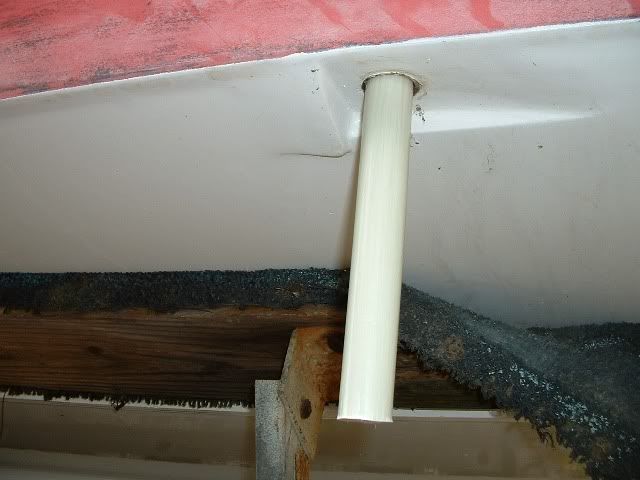 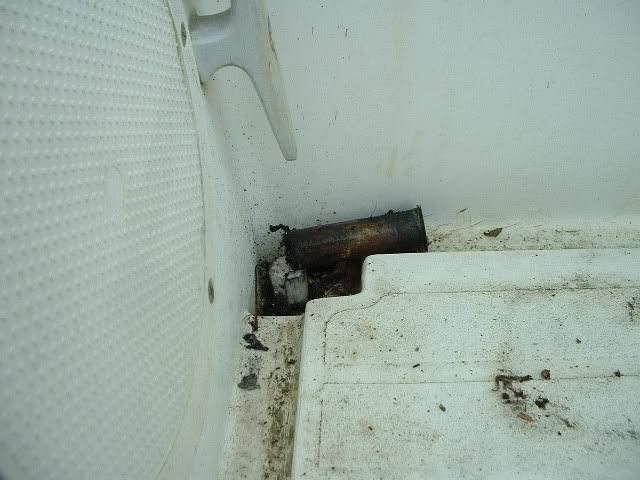 Once the tubes were out I removed the wood blocks...the starboard side was pretty easy....on neither side was the wood really bonded to the glass around it. I had to cut the backend off the block, then pry it backward using a bolt that I stuck into it....it took a couple of cuts...drilling a set of holes made the chisel work easy. 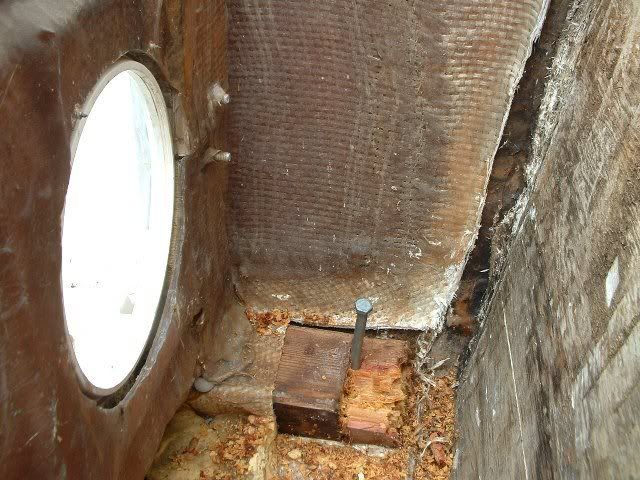 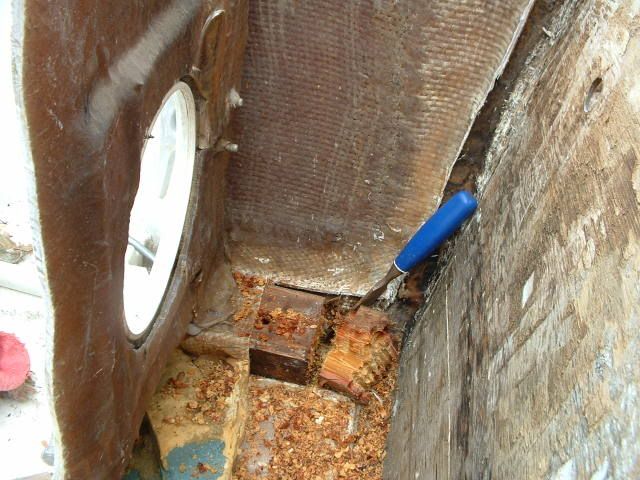 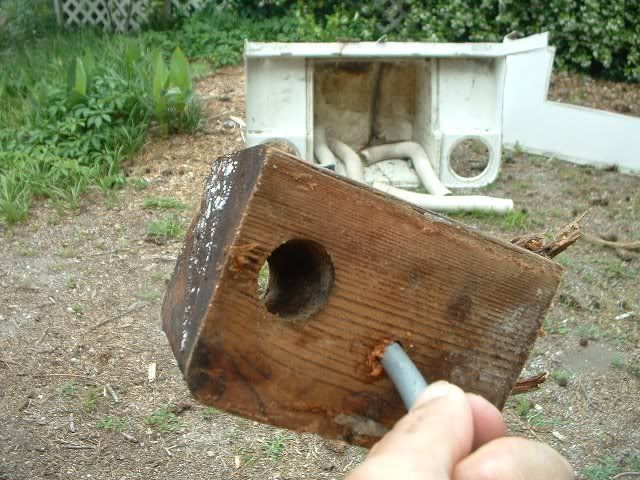 The tubes were very corroded....the starboard side isn't in focus too well, but note the copper color on the edges...I could break off pieces with my fingers.... 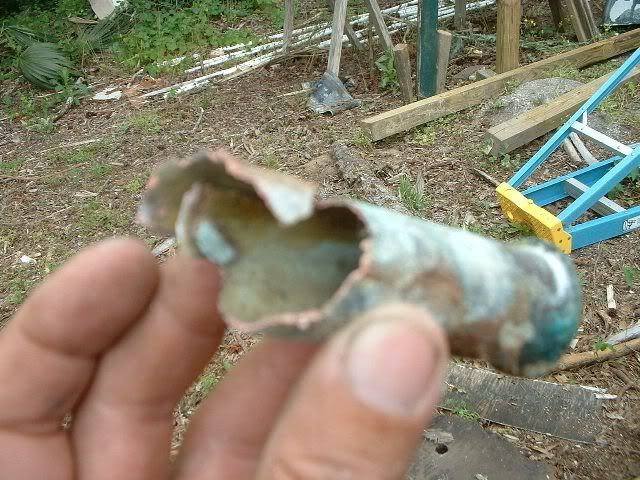 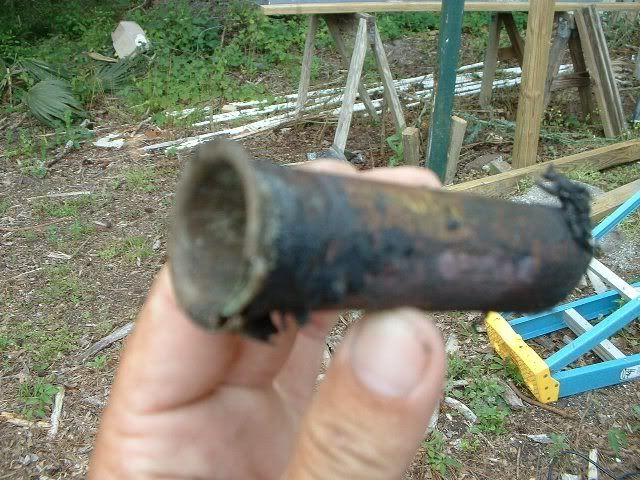 The port side was much harder....quite a bit of chiseling out smaller pieces, but usung a chisel from the hole in the bottom got a large chunk out. 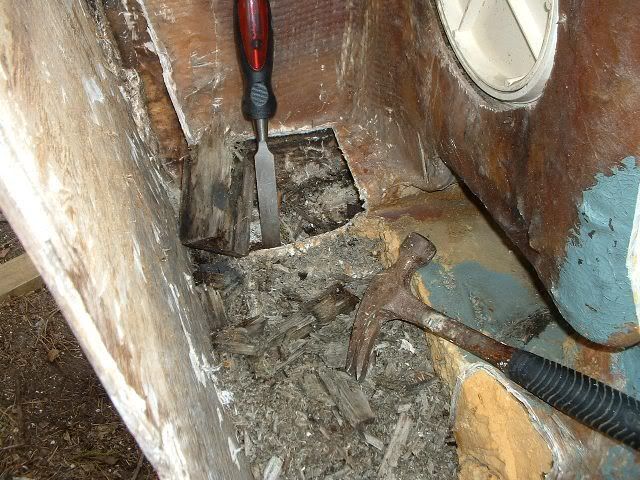 And last....a shot up into the place on the port side where the wood came from....you can see the corner hole and the hole in the boat bottom.... 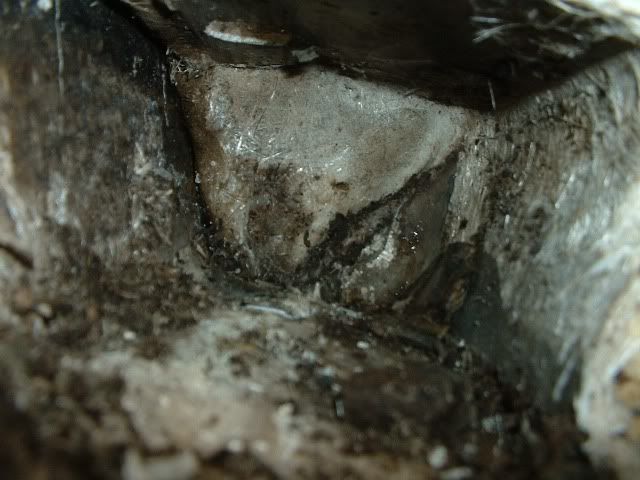
|
 |
|
|