 |
|
#81
|
|||
|
|||
|
In the interest of time, I think I am going to buy a premade nidacore panel from LBI composites for a tank deck. Some 10mm/ 3/8" nidacore with 18oz woven roving. I am running out of time to lay up more panels. Plus I want to try this stuff.
I also gritblasted an area for a forward bulkhead. The place I can reach thru the false bottoms in the cubbys (binnacles?) under the bunks is a bit farther forward than I would like, but it is better than nothing. It might be 30" aft of the next bulkhead forward near the anchor locker, and a solid 60 inches forward of the cockpit (forward of tank compartment) bulkhead. If I had all summer for a rehab, I would approach this differently, but I want to use the boat, so this is the approach I will take. I think this boat might have had the stringers re-tabbed or it was just pretty well done. I am not sure. But stringer tabbing looks good. Deck and bulkhead, not as much. Of note: grey bilge paint disappears when you hit it with a sandblaster. Gelcoat doesn't. So I think the bilge will get more gelcoat. Or at least the tank deck surfaces. |
|
#82
|
|||
|
|||
|
This weekend I did a lot of grinding. And sand blasting. And vacuuming. And solvent wiping. I did finally get the trapezoidal spacers trimmed and installed for the fuel tank hold forward bulkhead.
You can see the remnants of my vinylester patch-up from last year. Of note: My main stringers were maybe 2 layers of heavy woven roving. Not super heavy. I patched my nick in the port stringer with vinylester and 4 layers of 17 oz biax in alternating orientations. The bukhead goes over top, so I wasn't going to skimp on a really hard to inspect spot. And the plywood under the cockpit sole? Not even really glassed in. I am not impressed. Not sure that's original or not. I tried to seal it with neat vinylester while I was installing the biax. This was a lot of work. But 8 months ago, this hold was a mushroom farm. http://www.classicseacraft.com/commu...2&postcount=18 |
|
#83
|
|||
|
|||
|
The CF deck stiffener before I trim it back to ~1" flanges. It was a little dry so the peel ply print-thru is incomplete. But I only need 5 feet out of a 6 foot piece. It is an ugly under deck part. It will look better when I trim it, honest! But it rings like a bell when you tap it.
 And the balsa core in the main deck. In a rough cut tank inspection hatch that I inherited. |
|
#84
|
|||
|
|||
|
Got the bulkhead in today. I have some resin burns from where it snuck around my moon suit when I was tabbing it in.
I have about 4 layers of 17 oz biax tabbing by the keelson. It is hard to get good wrap over the keelson, so there were a lot of smaller pieces. The balance got a layer of 1708 DBM and a layer of biax. Scantling rules call for a minimum of 22 oz, so that is covered. I was running out of light and my lantern died. It looked good until I hit it with peel ply. At which point it wanted to stick to my gloves more than wet cloth. We will see if anything lifted. The bulkhead is ~1" thick. A 3/4" core and just under 1/8" skins. It is far stiffer than 1" ply. And light, too. I am *SO* glad to be done with under deck work.  The deck stiffener was a lot easier to trim than the bulkhead. I actually destroyed a carbide 5-1/2" blade. Not sure how, but it lost all the teeth. Thankfully there was a spare kicking around. |
|
#85
|
|||
|
|||
|
Ordered some 10mm nidacore panels with glass skins from LBI today for the tank deck and the interior where the original ply has rotted away.
Here is a section of the deck "hat section" stiffener from when I was trimming to length. Black hats, apparently. |
|
#86
|
|||
|
|||
|
Looking good
|
|
#87
|
|||
|
|||
|
Nidacore panels from LBI showed up with 18 oz 0-90 woven roving. Weird white colored resin for the glass. I need to ask what it is, exactly.
|
|
#88
|
|||
|
|||
|
Quote:
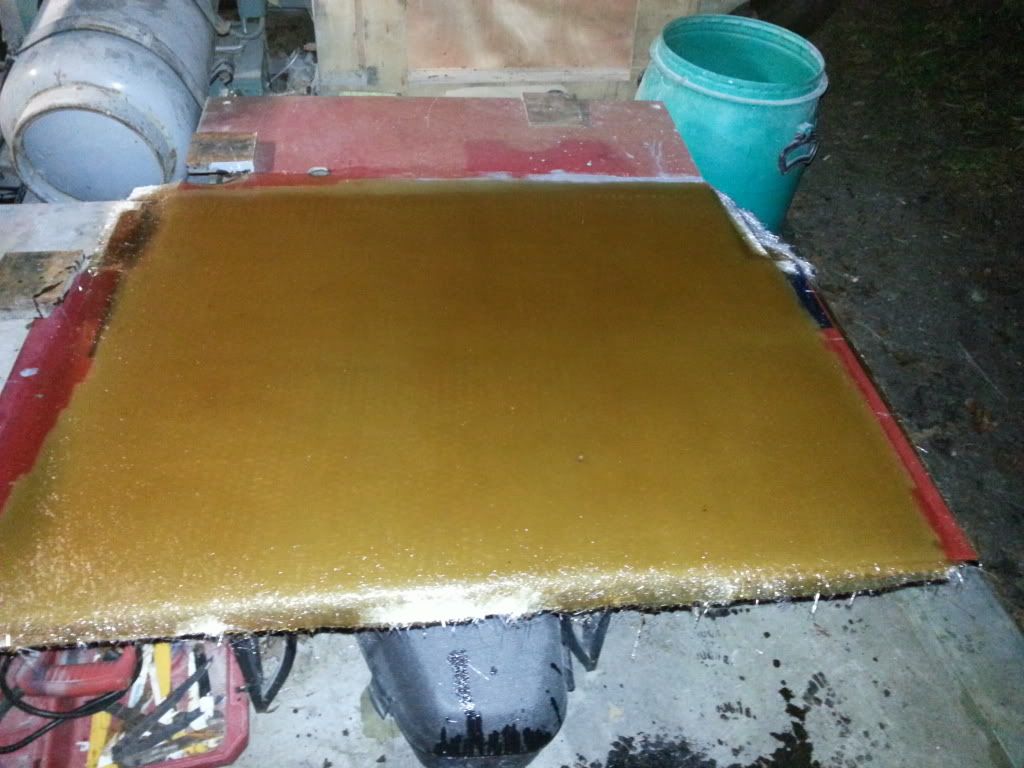
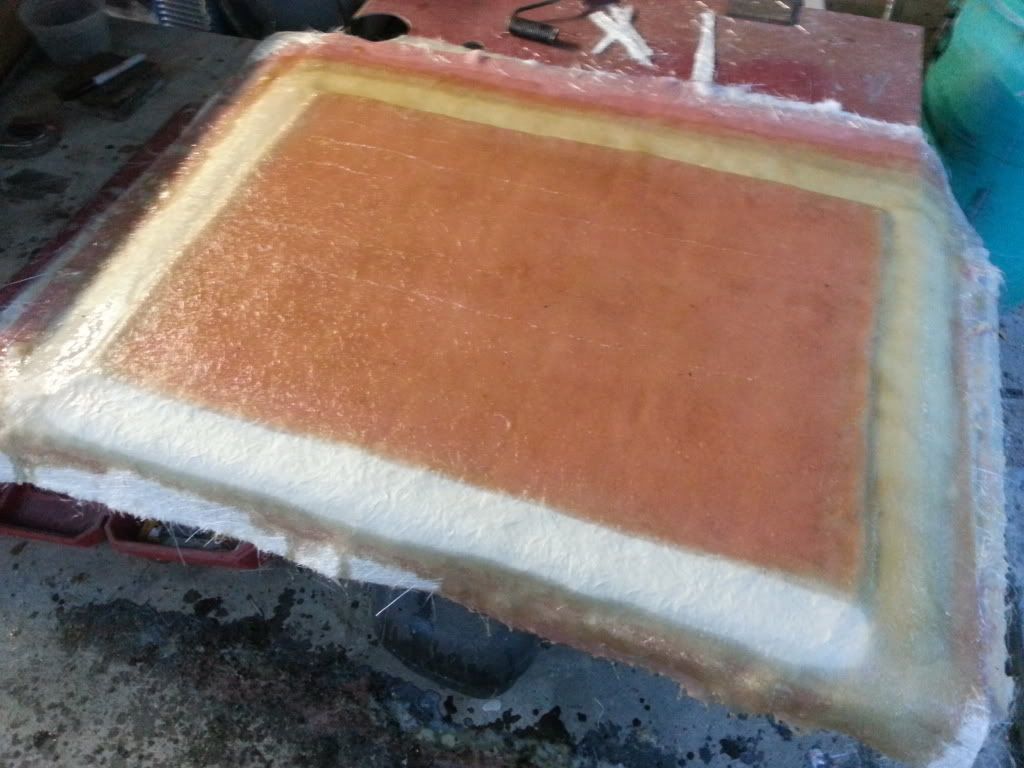
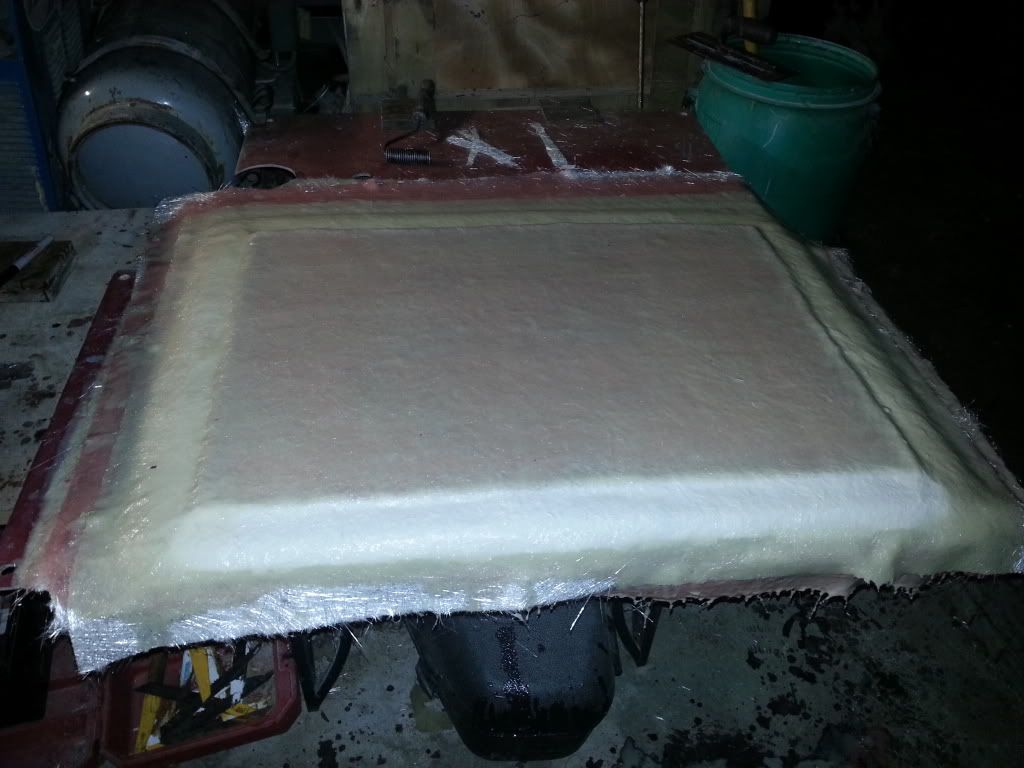
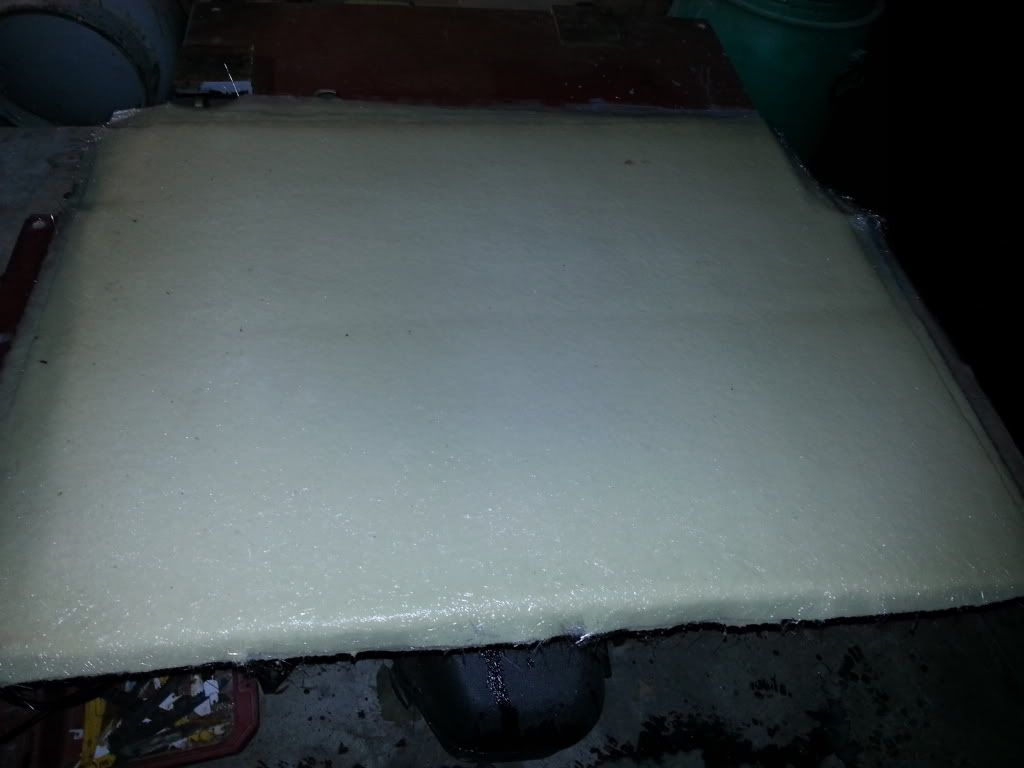
Here is the resin fully wet:  In this picture you can see it start to turn white first at the edges where it is thicker and kicks off faster:  In this picture it is almost cured white no paint just bare resin:  This is the same lay up as the first picture but now cured out but still just bare resin: 
__________________
Current SeaCraft projects: 68 27' SeaCraft Race boat 71 20' SeaCraft CC sf 73 23' SeaCraft CC sf 74 20' SeaCraft Sceptre 74 20' SeaCraft CC sf |
|
#89
|
|||
|
|||
|
Weird. Mine starts red-brown, then stirring in the MEKP, it goes red-green. Brushing it on it still has this translucent red-green-pink hue. It cures sort of yellowpink, like ginger root. But it is in no way white or opaque.
I believe I have Vipel F010-TBN-28 with a cobalt (napthenate) accelerator for room temp cure. The elongation is 6.2% 
|
|
#90
|
|||
|
|||
|
Quote:
 Slices through it like a knife through warm butter. Doesn't have to be Dewalt brand. They're about 3 bucks at Home Depot or Lowes.
__________________
Blue Heron Boat Works Reinventing the wheel, one spoke at a time. |
 |
|
|