
 |
|
#41
|
|||
|
|||
|
10-4, thanks for the reply, she's looking good!
|
|
#42
|
|||
|
|||
|
No prob. This is my second restore, and I have learned so much from my mistakes and others on this board and friends around home. I just hope the floor will self bail!!
|
|
#43
|
|||
|
|||
|
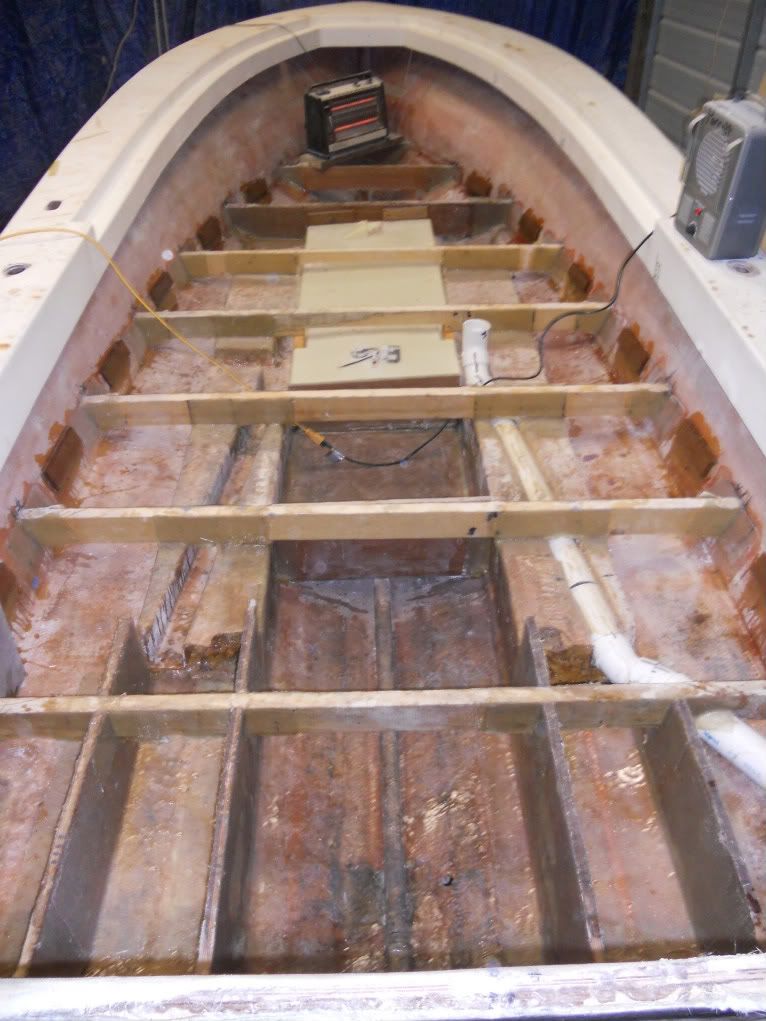
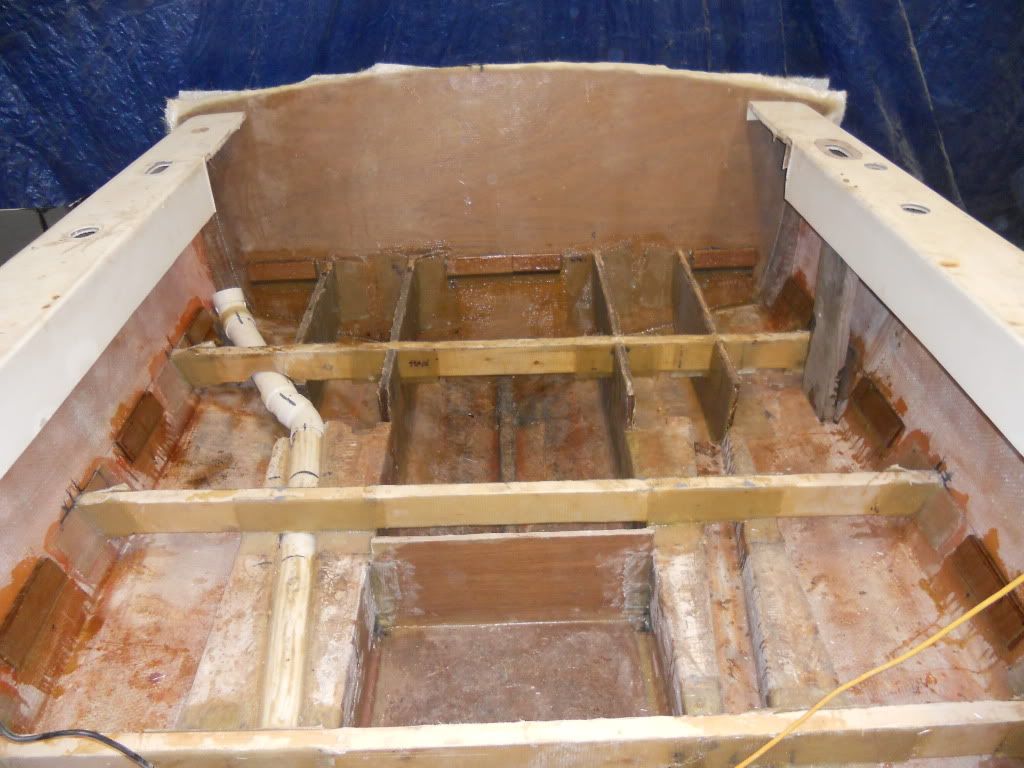
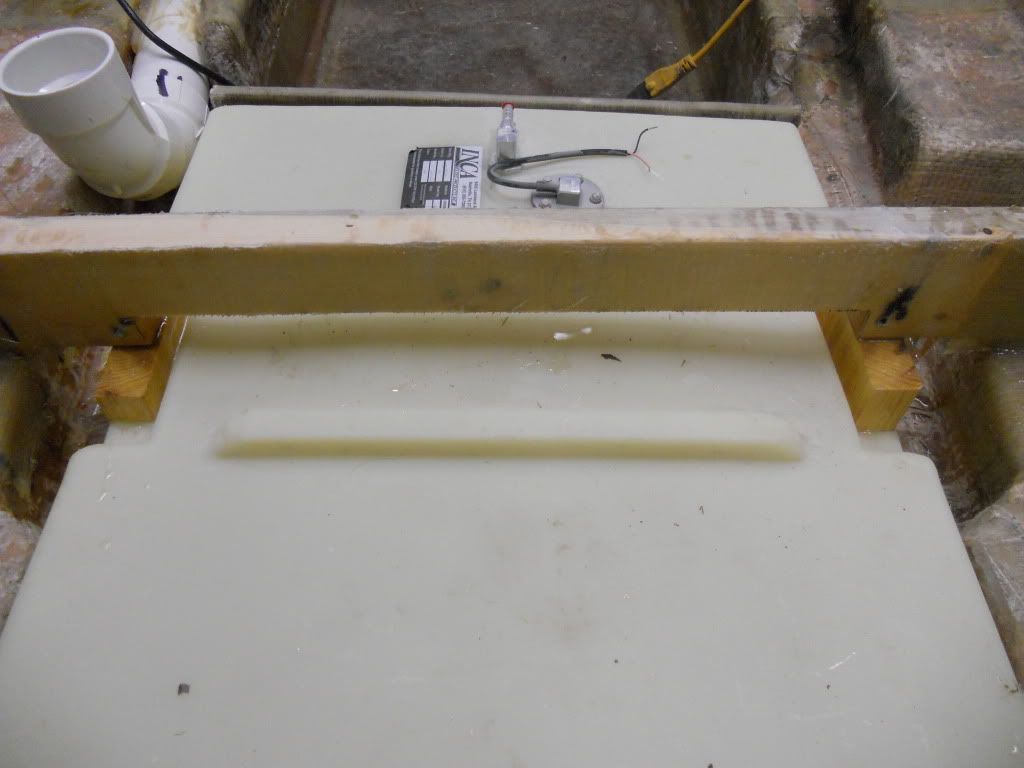
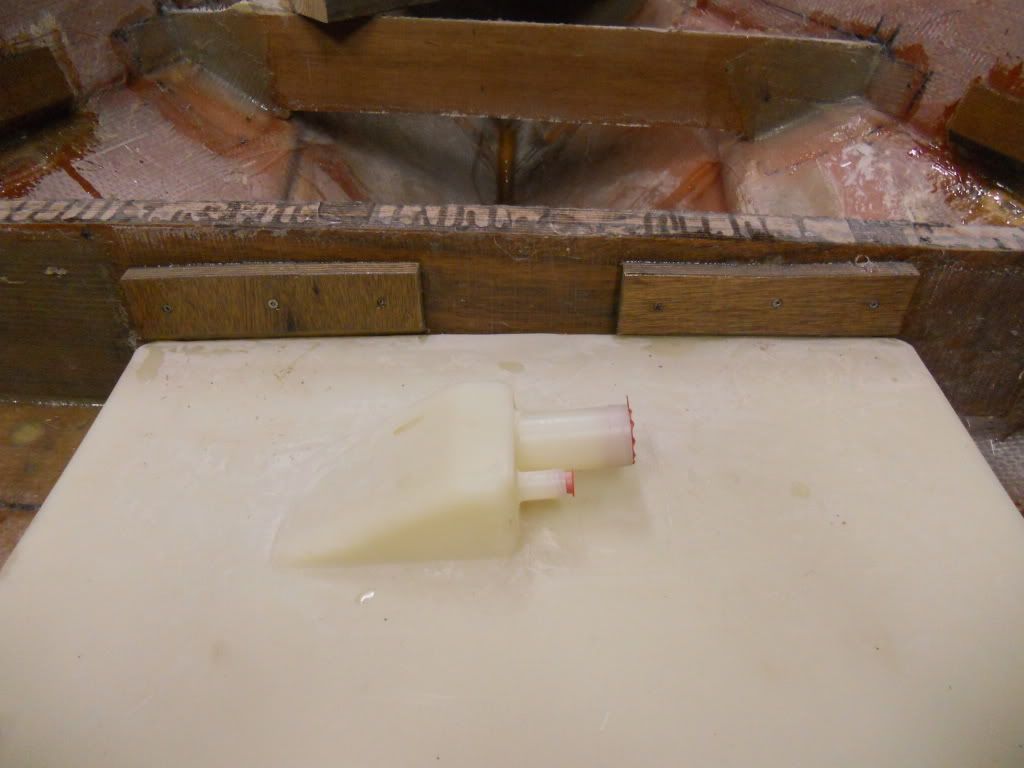
Glassed the pieces on the sides and transom. Screwed some wedges to hold down the gas tank and some blocks to hold down the rear. I just coated them with epoxy.
|
|
#44
|
|||
|
|||
|
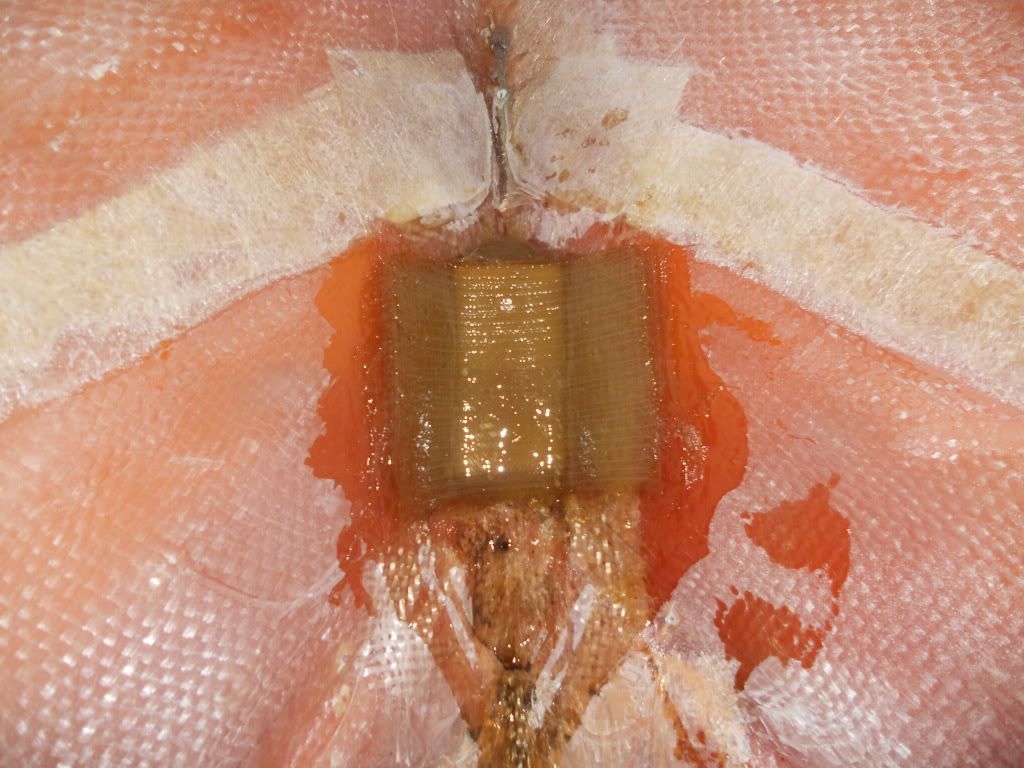
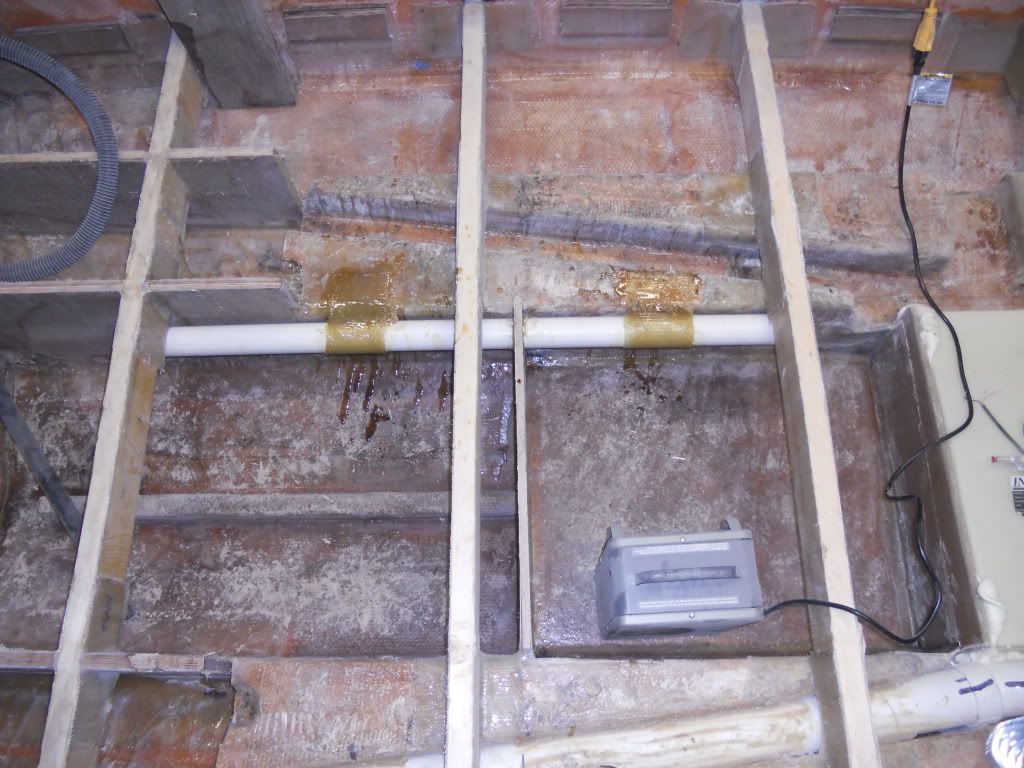
Glassed a new block in for the bow eye. Glassed a 2" pipe in for the gas line and a raw water washdown that will go under the console.
|
|
#45
|
|||
|
|||
|
My dad came over this afternoon to help cut out the new deck.
Also hot coated the bottom of the deck. All I need to do now is paint the bilge, box under the console, and anchor locker with bilgekote and I can screw the floor down. I now have 20" cockpit depth in the stern and just over 23" deep in the bow. That is to the lower part of the recessed bow. 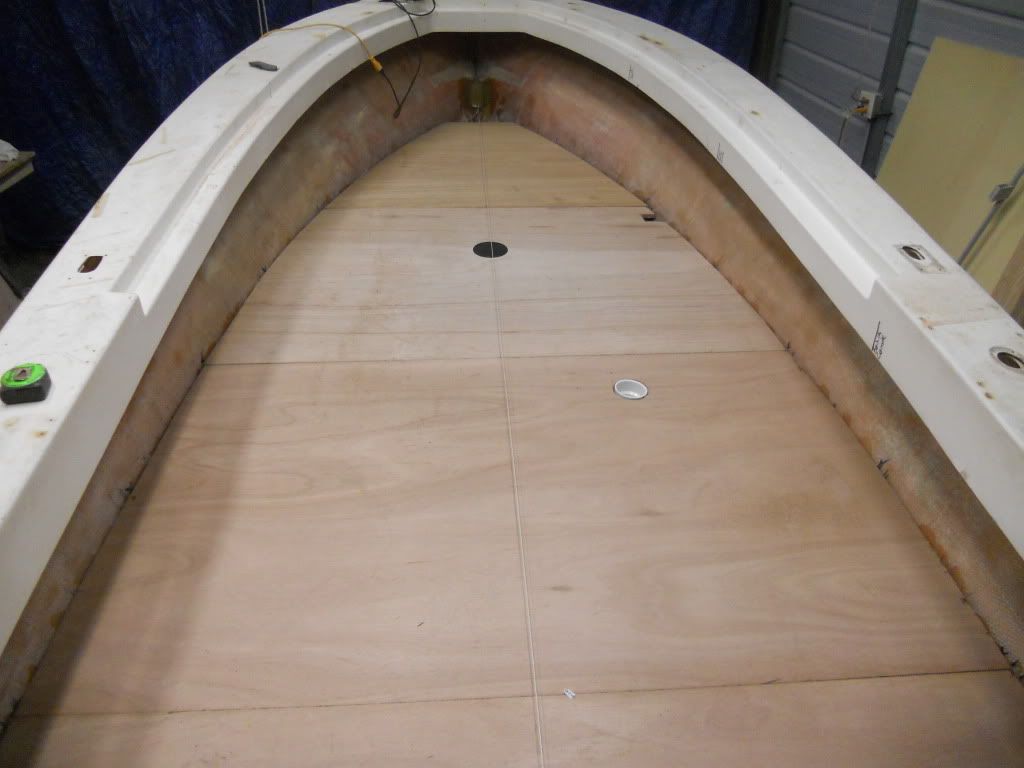 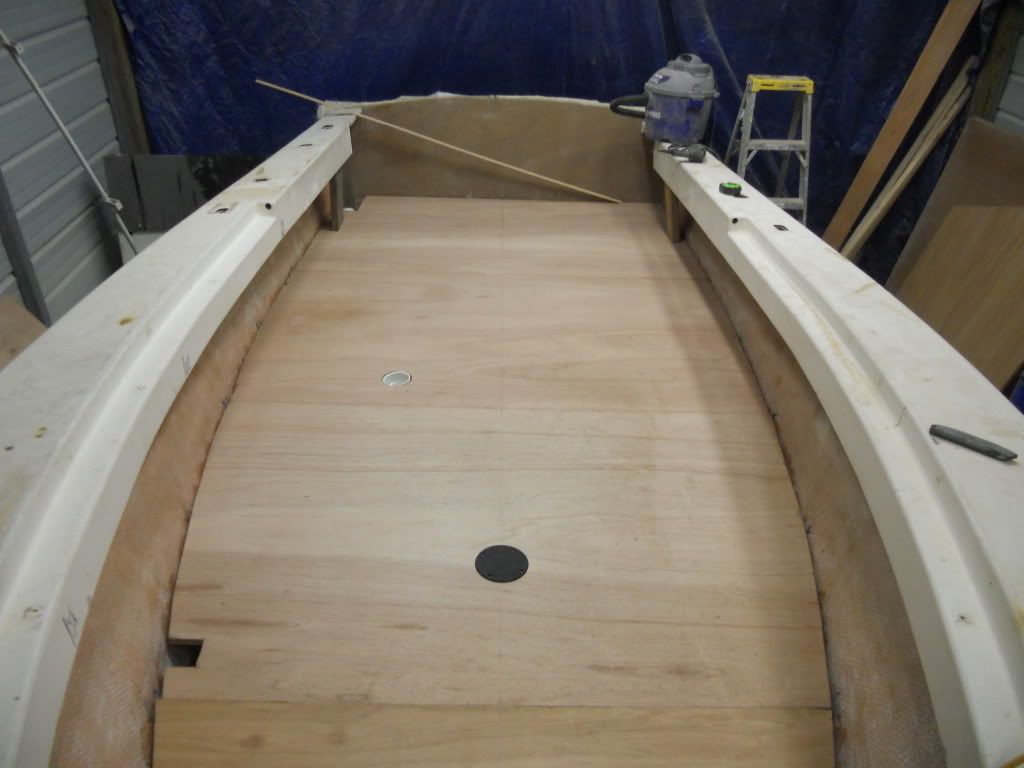 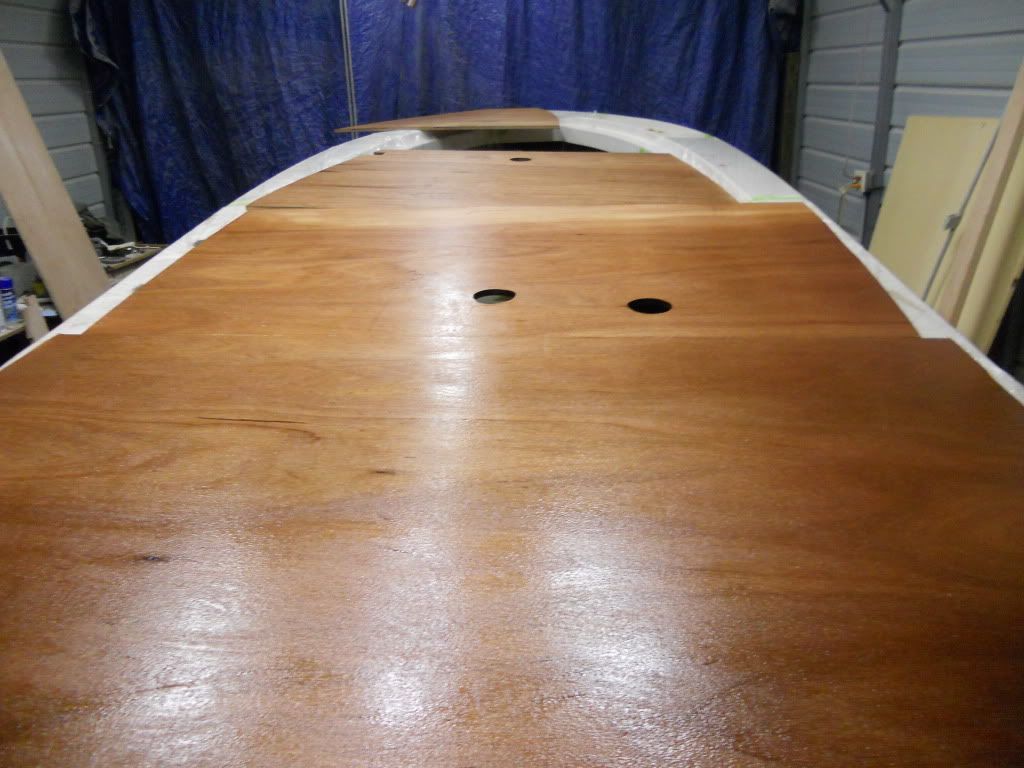
|
|
#46
|
|||
|
|||
|
Are you going to lay glass on the deck?
Top and bottom?
__________________
[SIGPIC][/SIGPIC] "If You Done It...It Ain't Braggin" my rebuild thread: http://www.classicseacraft.com/commu...ad.php?t=18594 |
|
#47
|
|||
|
|||
|
Maybe it's just the angle of the picture, but could there be a little twist in the hull? It looks like the plywood seam farthest aft slopes slightly from right to left and the one farthest forward slopes slightly from left to right.
 It might not be a bad idea to lay a level and straight edge across the gunwales aft and forward to see if they're both level. If there's a twist, it will be a lot easier to correct before the deck is glassed in and it becomes permanent. Or maybe it's just my overactive imagination. Anyway, your work is moving right along. You'll have her in the water in no time at this rate. I see you've made good use of the space heaters to keep your resin active. I think I'm going to have to invest in a couple more of those myself. Dave
__________________
Blue Heron Boat Works Reinventing the wheel, one spoke at a time. |
|
#48
|
|||
|
|||
|
I am just hot coating the bottom, the top side will get 1 layer of 1708 with 1.5oz matt on top of that to give me something to sand smooth. I feel since I am using 3/4" plywood putting glass on the bottom is just adding weight. Now if I were going to use 1/2" plywood then glassing the bottom would make sense. And the resin is waterproofing the wood good enough.
Blueheron.. The floor is pretty level when I pull a string and measure up the sides. It is pretty close, may be alittle off. You will never notice once everthing is put back together. The hull looks alittle twisted because the top cap is not really connected to the hull. Just a couple of screws holding it together. I had to undo a bunch in order to lift the top cap to get the plywood in. But I will definatly put a level on it before I screw down the floor. Once I get the floor glassed I will do the top cap. The space heaters work good but the reddy heater I bought for $30 off craigs heats the place up very good. I can even work in short sleeves!! Only thing is, kerosine is $3.40/gal. I guess I use about 2gal in a evening glassing. I usually keep it off when sanding and stuff. Thanks for the input guys. Next couple days will be slow. I pulled my back doing something last night. Maybe by thursday It will be feeling better. |
|
#49
|
|||
|
|||
|
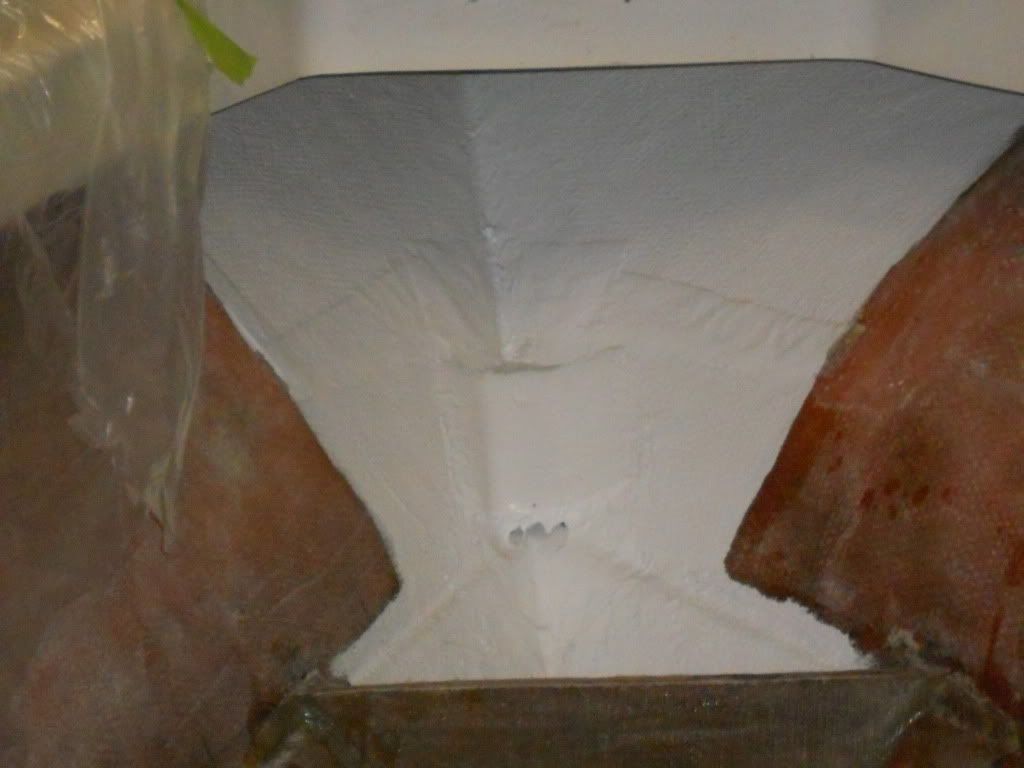
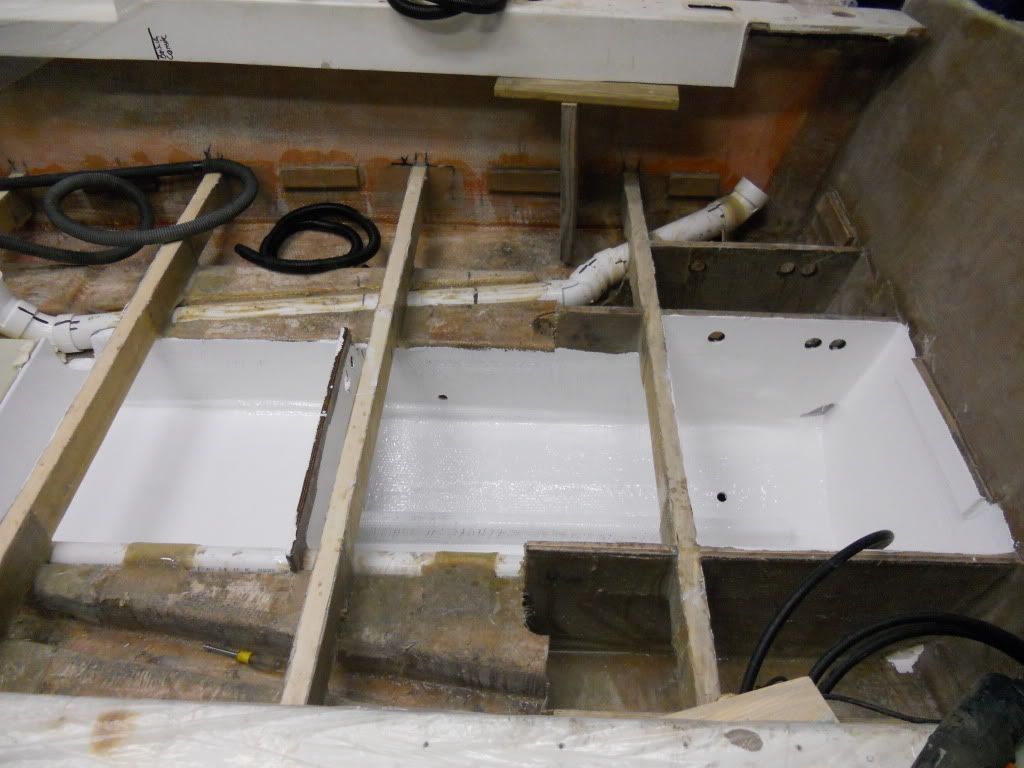
Clamped on the fuel lines, cut the bilge pump hoses to length, and painted the bilge, box under console, and anchor locker with bilgekote.
|
|
#50
|
|||
|
|||
|
Quote:
Run two stringlines diagonally across the deck as in the picture below. Pull the red one first, then pull the blue one over the top of the red one. Pull both strings tight and then slide a 2x4 block under each end of each string. The strings should touch in the middle. If there's a space between the strings, you have a twist. If there's no space, switch the strings so the red one runs over the blue one. If they touch again, you're good to go. Dave 
__________________
Blue Heron Boat Works Reinventing the wheel, one spoke at a time. |
 |
|
|