
 |
|
#41
|
|||
|
|||
|
Looking good, you can cut a console for me anytime. keep up the good work
__________________
36' Yellowfin 1972 20' seacraft 140 suzuki http://www.classicseacraft.com/commu...ad.php?t=18607 |
|
#42
|
|||
|
|||
|
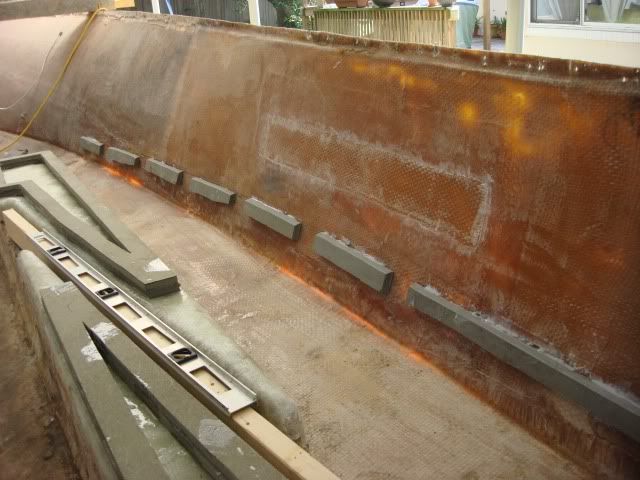
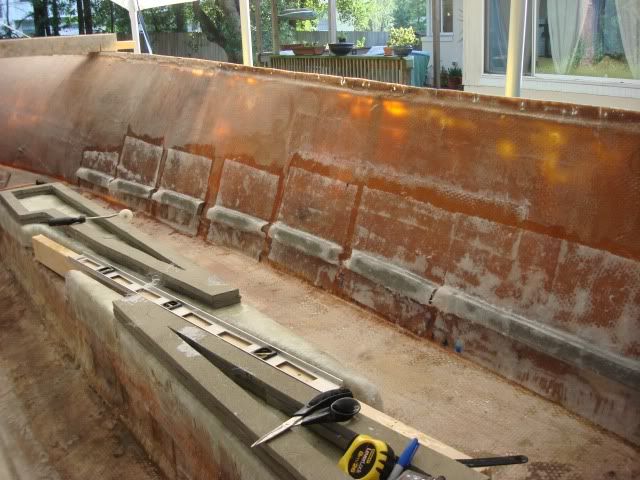
After a couple of weekends dealing with domestic issues I was able to get after it again last week. I started off by taking some of the coosa board scraps and attaching them to the sides of the hull with Cabosil to serve as a ledge support for my future deck (an idea copied from Strick). It was a real PITA but after they cured I glassed them in with 1.5 oz matt. This was my first time using matt and wasn't real happy with the appearance but it is rock solid and will be hidden to view after the deck is in.
  Not very much work accomplished before I had to go fishing again. This time it was the Jacksonville Kingfish Tournament. It's a real treat for those who may have never participated. Around 500 boats this year which is well off the average but was a blast anyway. The fishing wasn't great and a 42 lb'er took the $40k on Thursday and a 40 lb'er took the cash on Friday. The prize for the aggregate of both days was roughly 62 lbs. This pic is leaving Mayport the first morning. Boats as far as you can see. 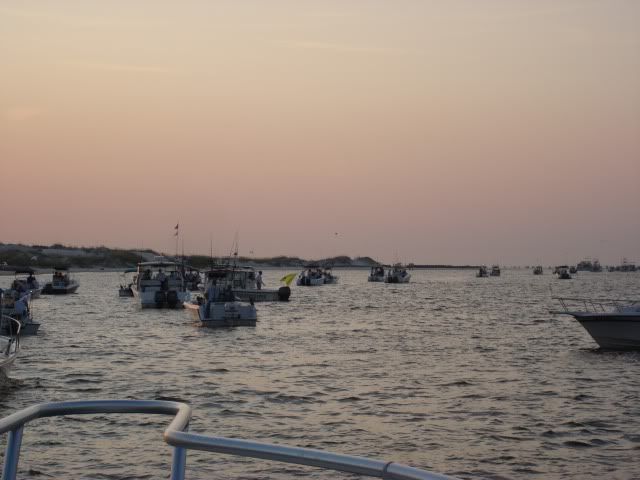 Due to the number of boats, you have a predetermined check out on north or south. This is the south side. 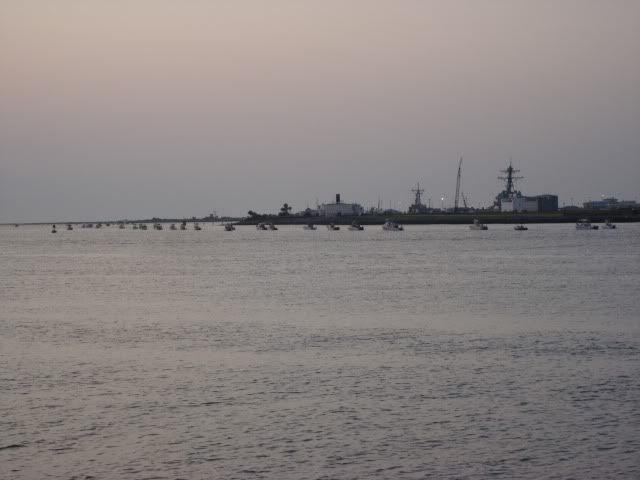 Taxpayer dollars at work! US Navy Seahawk helicopters were everywhere as we came back into the mouth of the St. Johns River, compliments of the US Naval Base at Mayport.  For a while I've had thoughts about reusing some of the original forward compartments in different areas during the restoration. While dealing with the larger of the two I found some rotten coring on the bottom of the box that I hadn't noticed before. I'm stripping that to be recored and patching the other hole that had been filled in with caulk and painted. 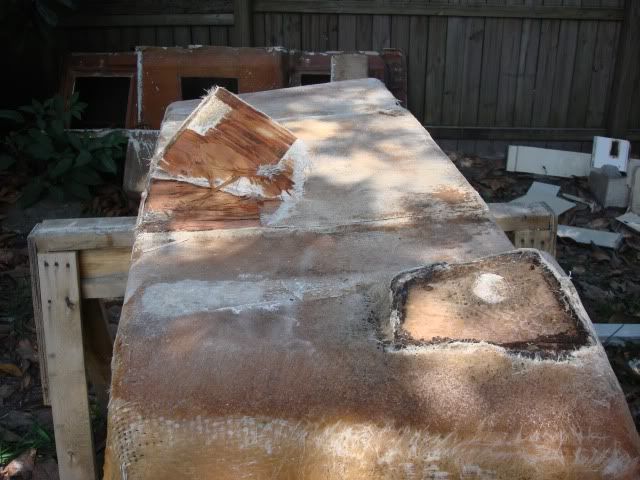 Another area that I addressed was adding additional layers in the corners of the transom. I'm not looking for overkill but do realize this will see additional stress after I add a bracket. 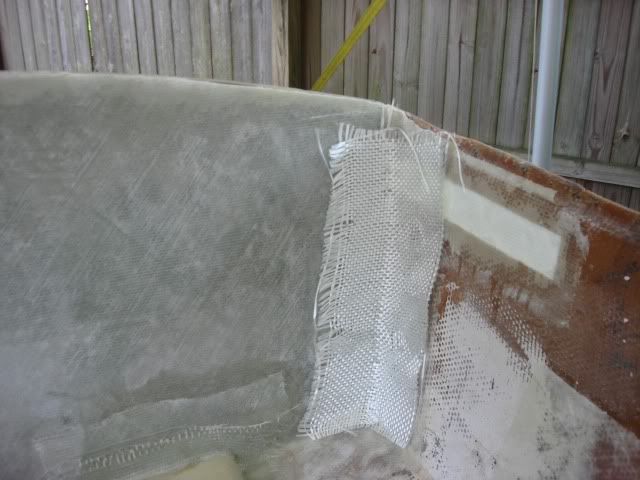 I used three layers which consisted of a layer of Woven Roven, 15 oz. biax and another layer of Roven to finish this up. 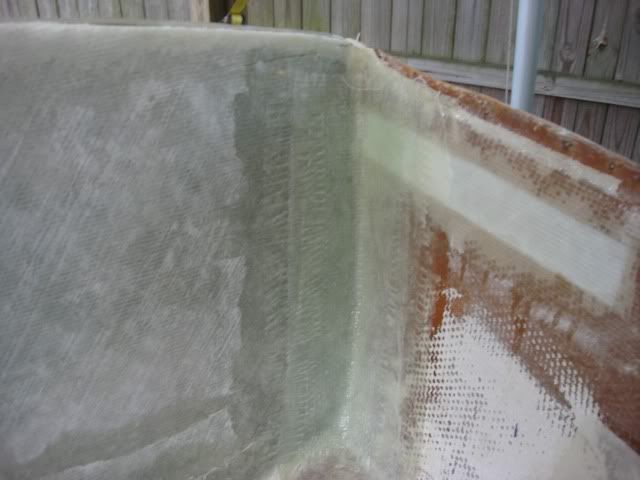 Here is where I need some constructive criticism. This is what I'm thinking, this second panel forward of the transom will leave me approximately 12" of space to house my bilge pumps, washdown pumps, fuel fiter, etc. I will add access hatches and additional structural support to tie it together. 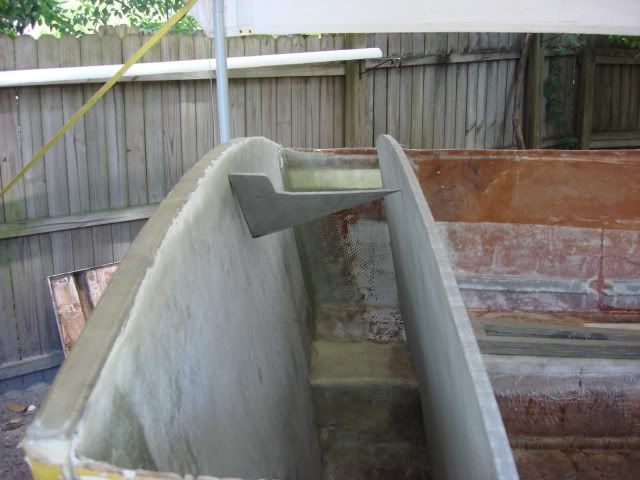 This is a dry fit with one of the original compartments. I need a large fish box and felt this could serve the purpose in a convenient area. 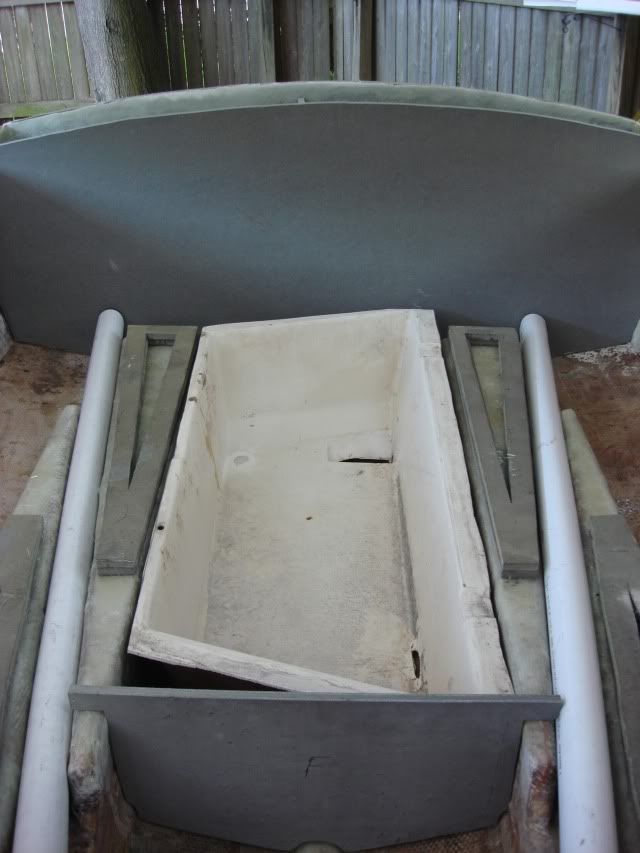
__________________
Will |
|
#43
|
|||
|
|||
|
Will,
Looking good. From the way it sounded in the post you want to put all the pumps, etc in the space between the transom and the next wall. This 12" space will be maddening to work in. Not only is it small in width it will be deep. Hard to access. The area where the fish box is going would be a better location. You could use a smaller fish box and put the pumps in the floor behind the fish box with an access hatch in the floor. Just my two cents but, being a tournament fisherman, you know what a PITA it is to change a live bait pump offshore. It would be nice to have a nice clean area in the bilge that will house all pumps, fuel filters, transducer, etc. BA |
|
#44
|
|||
|
|||
|
After giving some thought to your comments BA17, I went ahead and ordered the pumps that I will need. Once I receive I can lay everything out to see how much room I have to work with and what changes may be needed to make my idea work if possible. Not ready to scrap my plan just yet but also don't want to paint myself into a corner.
While waiting I moved ahead and started stitching up the center console. I'm using the left over coosa board anywhere I can and will glass over it after all the pieces are in place. I have some 1 1/2" coosa left over from the transom and am thinking about using it to core the sides of the console where a t-top will fasten for maximum strength. 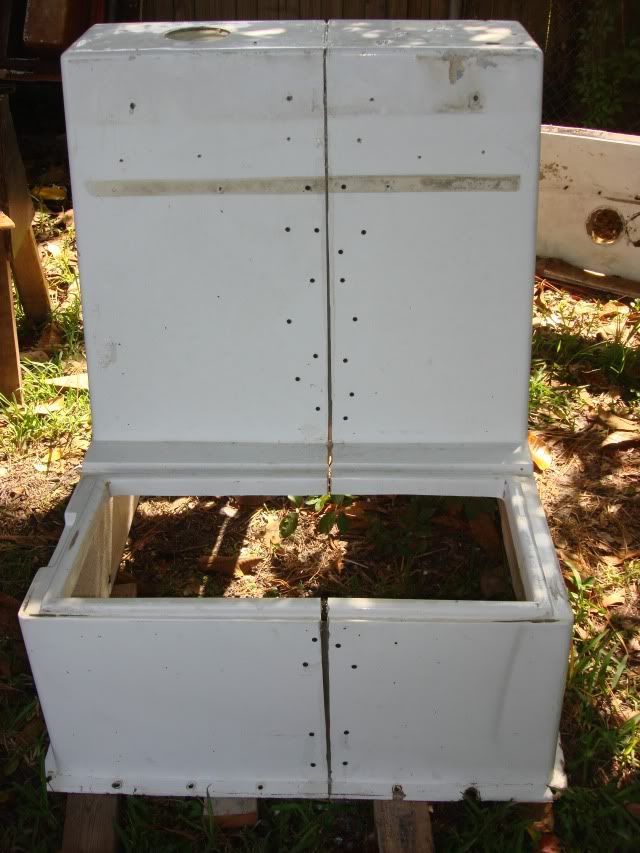 View from the inside. 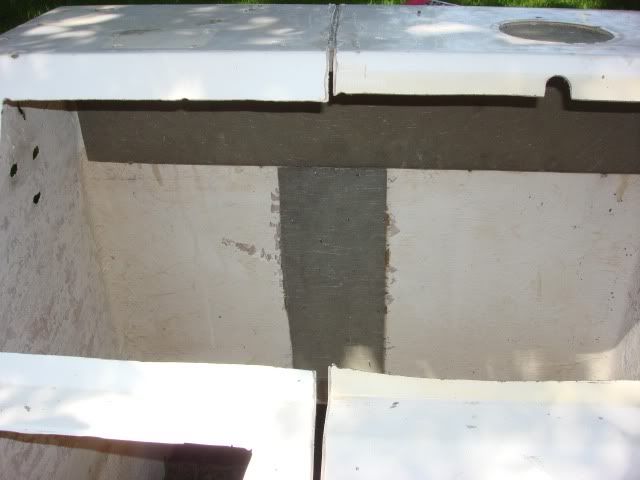 I went ahead and glassed the notch at the transom as well. 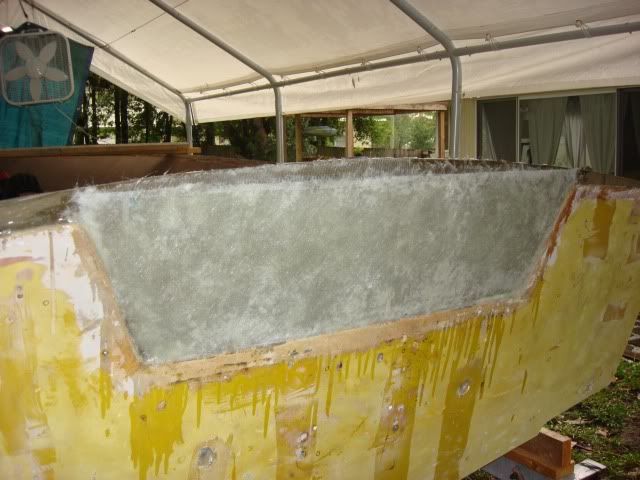
__________________
Will |
|
#45
|
|||
|
|||
|
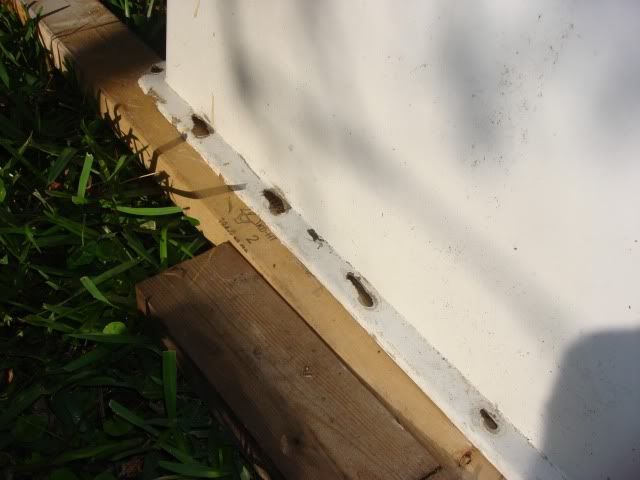
Continuing with the console. You can see how the screw holes in the flange were gouged from previous movement between the console and deck. I'm going to use 2" glass tape to reinforce the bottom of the flange and then fill in the holes with thickened epoxy.
 This tape is the easiest fiberglass product I've worked with to date. Wet out very easily. 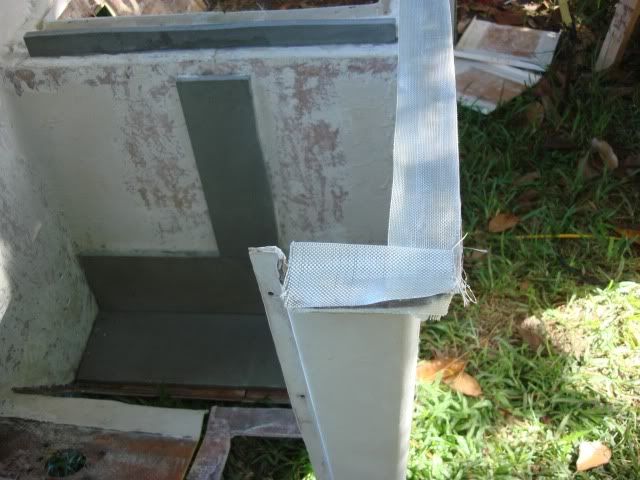 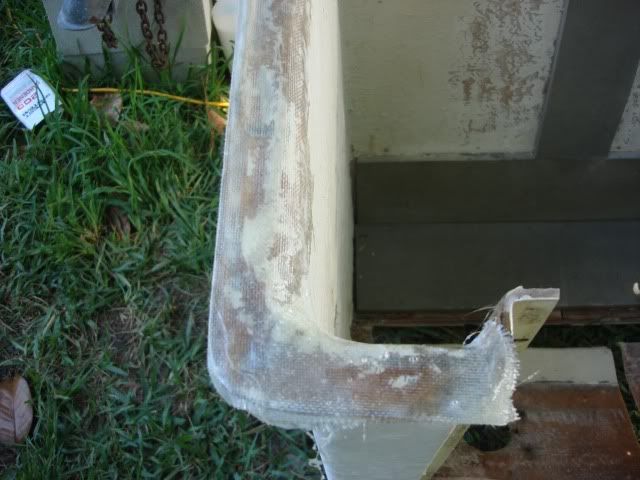 Divider wall between the forward compartment and the rear area. I've got a feeling that a subwoofer will be calling this home in the future. 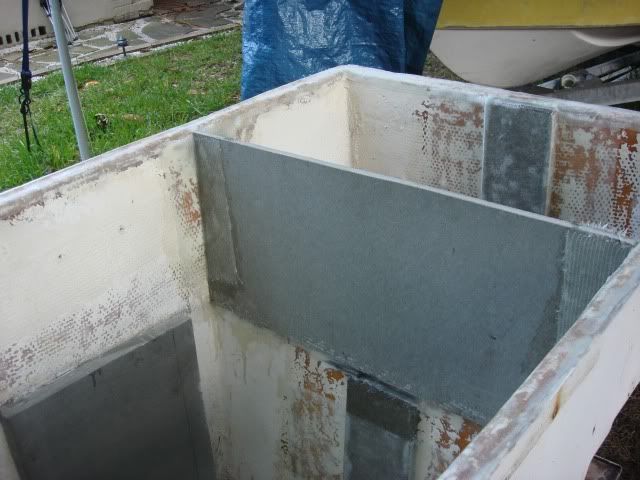 Jumped back over to the top cap. I'm removing what's left of the plywood and balsa coring and preparing to reassemble. I've also marked the area of the inner liner to be cut that will form the new gunwales that will have an open bottom. 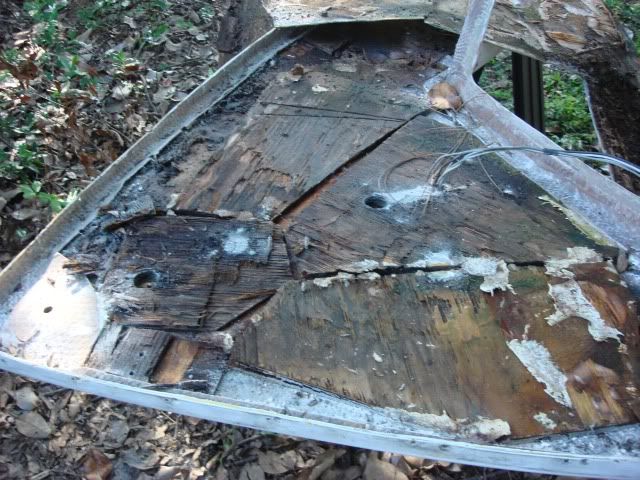 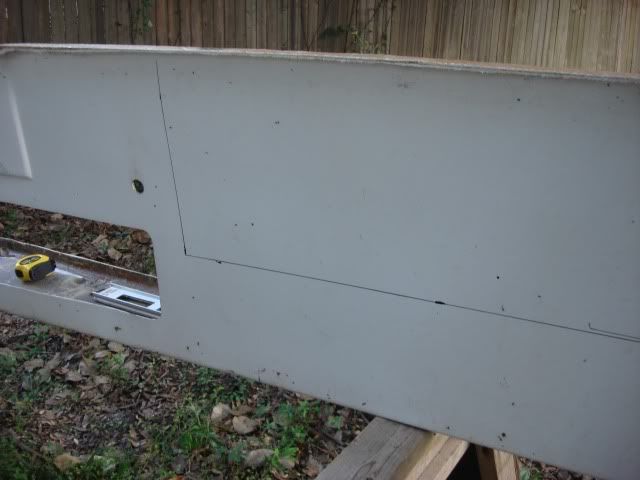 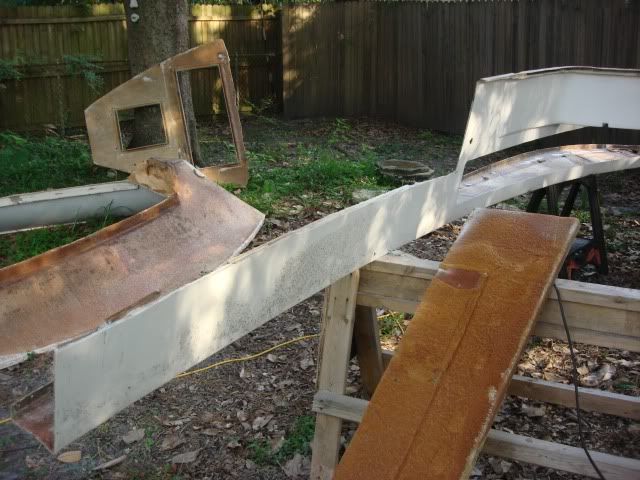 With my fuel tank ordered I cut 6 pieces of left over 3/4 " Coosa 26" long to form the slats for the fuel coffin. This picture shows the biax that was cut 42" long that will be glassed to the inside side of the stringers. 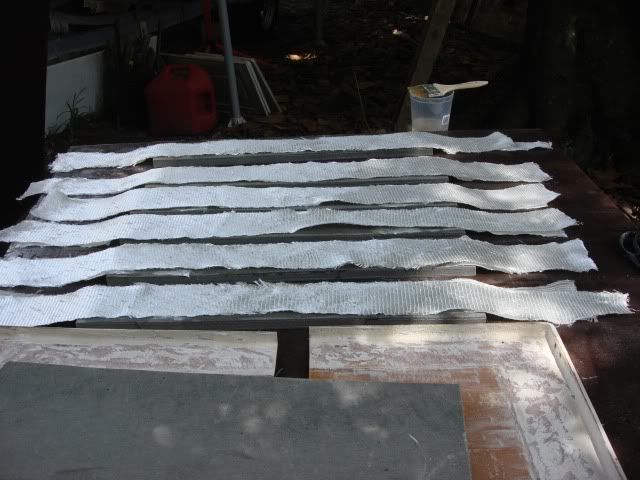 More to follow:
__________________
Will |
|
#46
|
|||
|
|||
|
The windshield you gave me fits perfectly! I just need the mounting hardware which is on order now. Thanks for helping me out.
One more Ė did you by chance save any of the aft portion of your top liner when you removed it? Iím talking about the stern where the two aft compartments and motor well used to be. I see it on the ground in your pictures. If you have it and are not going to use it, I would be glad to pay you for what you think itís worth. Iím removing that Porta Bracket and cutting back to a 25 inch transom, and the compartments that are there now will have to come out. They were built during the last rebuild that put the Porta Bracket on. |
|
#47
|
|||
|
|||
|
It is still sitting in my yard. Give me a call.
__________________
Will |
|
#48
|
|||
|
|||
|
With Ron Brooks requesting the rear boxes I wanted to make sure I wasn't giving away something that I would need in the future. After taking some measurements I realized that when I had cut it out during the intitial tear down, my gunnel caps weren't going to be long enough. Glad I caught this. That would have been a real shocker to get ready to install the top cap and realize it was 14" short. In this photo you can see where I marked what had to be cut.
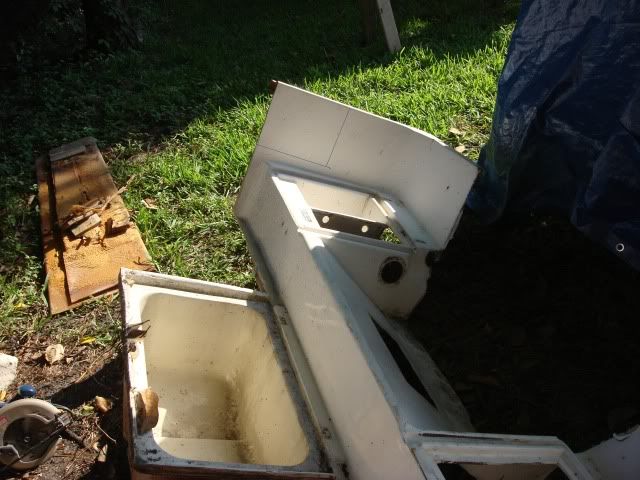 After cutting I clamped into place before glassing to the top cap. 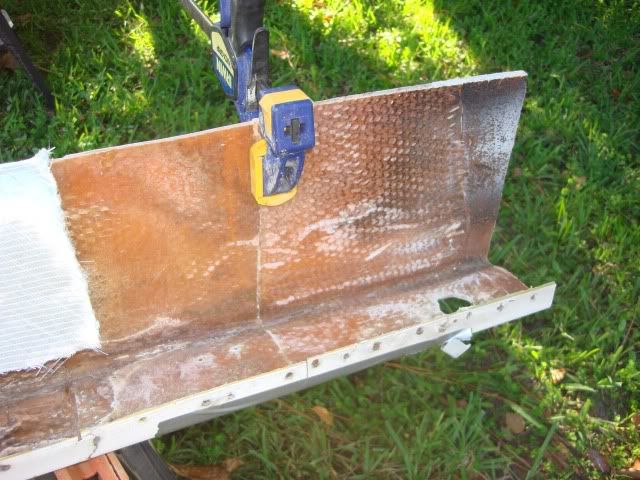 My first trial with a mold release went pretty well. I was trying to figure out how to glass in the large opening in where I had cut the storage compartment out of the center console. I used some hardi board that I waxed with Partall #2 then brushed on about three layers of PVA. After fastening this to the outside of the opening I then turned the CC upside down and begin applying layers of 1708 from the inside. Now some sanding and filling the rest of the voids. 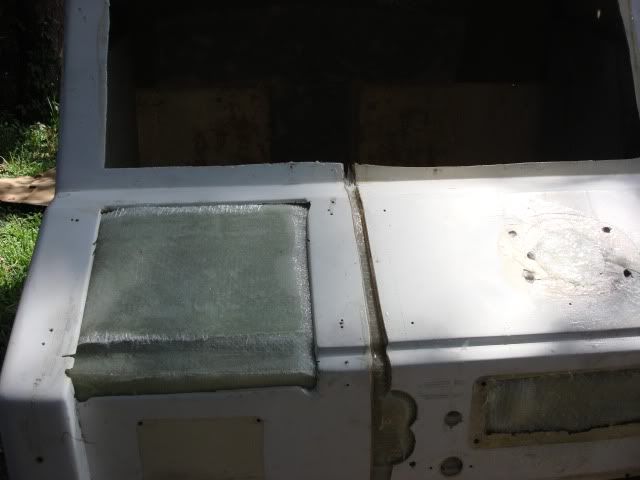 Another thing I did was build this short 18" table. Since I don't have the luxury of a covered area for my entire project, it allows me to keep the CC off the ground during rain events to keep it clean and it's easy to lean and tilt in any direction to access the area I need to work on at any given time. 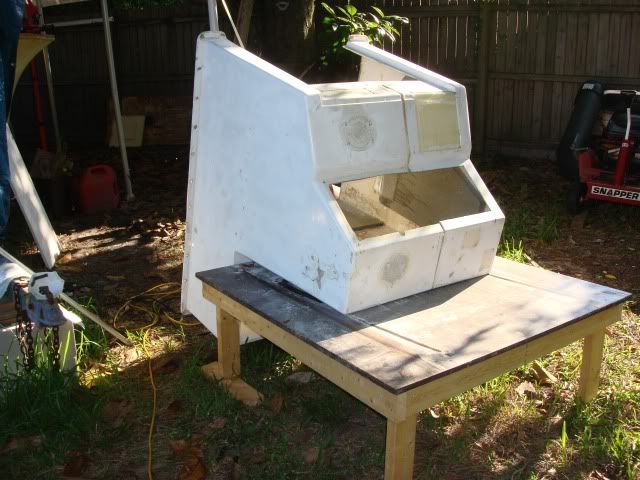 Back to the top cap. In the process of removing all the old coring I got to a point that I could recognize an old repair. 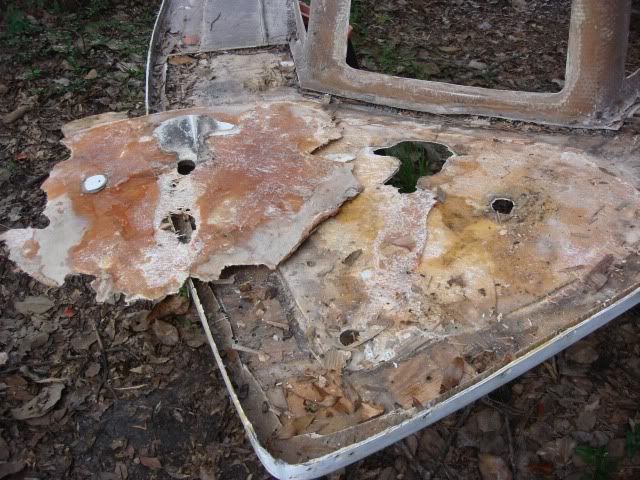 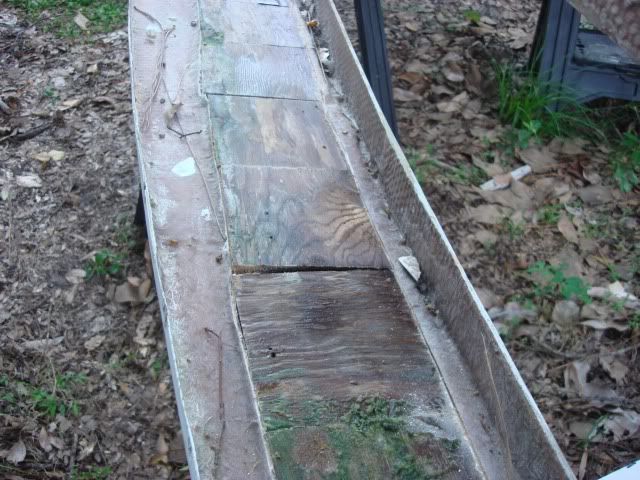 Everything sanded and cleaned up.  New coring. This will be installed with Cabosil and glassed over with 1708. 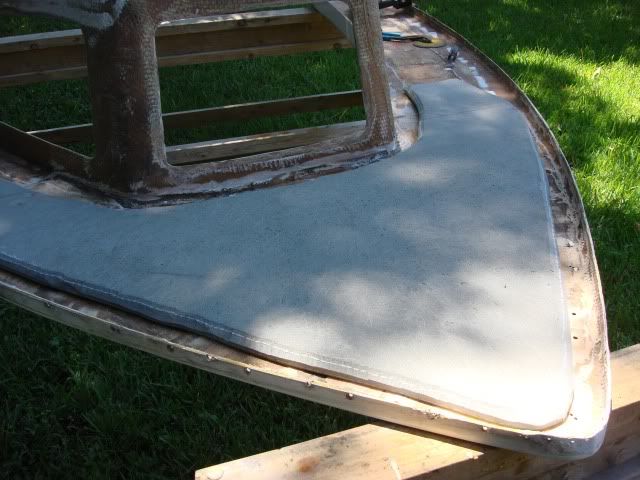 There are some cracks in the top cap that will have to be fixed. 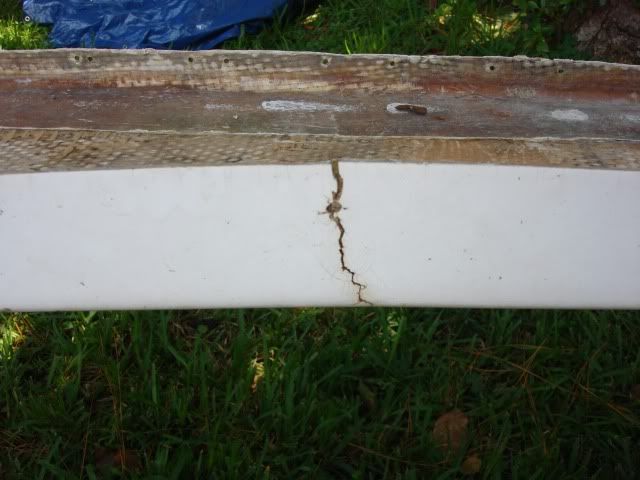 I'm using a Dremel tool to grind out the torn glass and will patch from the inside with strips of glass. 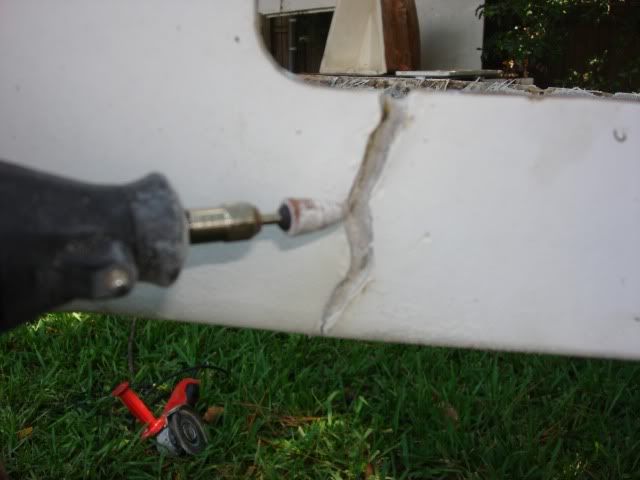 Putting the final wrap on the inside of the transom. This is a final layer of 1708. Next step will be building the equipment mounting pads for my pumps and fuel filter. 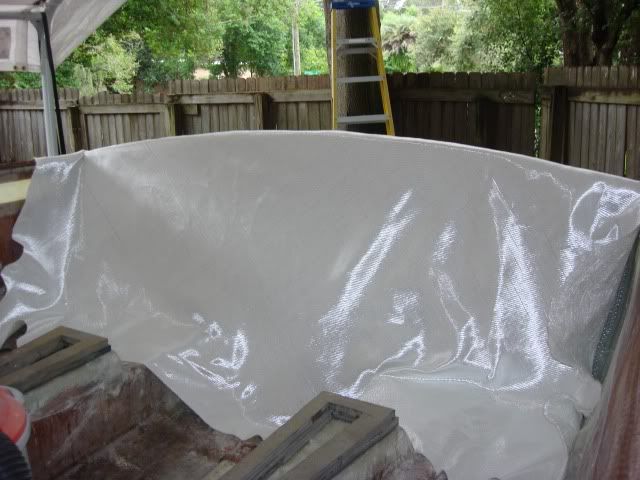 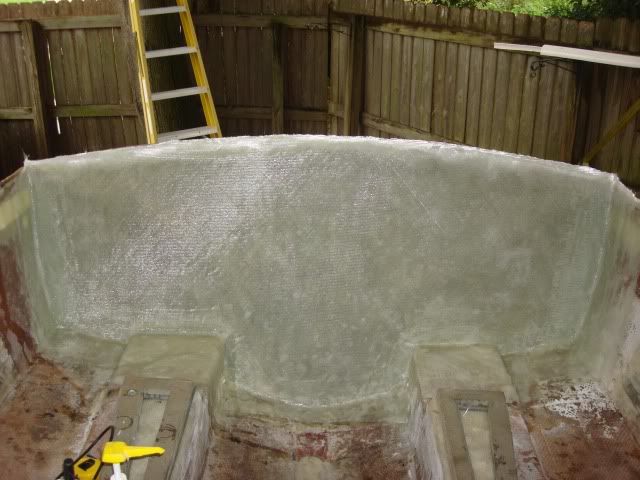
__________________
Will |
|
#49
|
|||
|
|||
|
Nice to see this one coming along. Instead of the dremel on those cracks, you might want to just take it down w/ your grinder and flap disk. 12 - 1 or so. Even if you have glassed the inside surface, I would still take the gelcoat down and feather in some x-mat or 1208-3/4 mat to keep the crack from telegraphing and re-cracking from flexing. I had it happen to one I did after doing the dremel thing too. Keep it up! Looking good.
__________________
20' Mako 175 'rude Sacto, CA looking for a landlocked 23'-25' Seacraft  http://classicmako.com/forum/topic.asp?TOPIC_ID=13979 |
|
#50
|
|||
|
|||
|
Will,
I have the back piece you gave me - a little heavier than I thought so I am glad I brought a friend! I'll be starting mine after Sept 20. I have some fishing commitments between now and then - and it will hopefully have cooled off some. You're doing a fantastic job! The windshield fit perfectly and this aft compartment will allow me to repower on a 25 inch transom rather than that Porta bracket I have. It moves my COG way back and the boat sits aft heavy in the water. If you need some help some time just call me. I would love to help just to learn more! |
 |
|
|