
 |
|
#11
|
|||
|
|||
|
Looks just like my 76 except the top of one of my stringers failed and seperated. When I pulled the floor the top came with it. How much of a gap between floor and stringer did you have? Mine was approx 3/4 of an inch or more with th gap filled with a big turd of potter putty. The rear port stinger wasn't even bonden to the stinger. The thick bead of potter putty was there, but the gap was so large it never bedded. I was also suprised they never glassed over the holes for the foam? Good luck with the floor. Do you have a game plan?
__________________
www.lionheartlandscapes.com Design, install, and concrete pavers. Will travel |
|
#12
|
|||
|
|||
|
Yeah my gap was about the same. I basically cut the floor into three sections and it came right out. Most of the putty had broke loss from the floor. It was still glued to the stringers pretty good though.
I guess I am going to raise the floor 3-4" high. Mainly running some 2x6's from side to side every two feet. Where the seam in the plywood is going to be put 2 2x6's glassed together. Off course the 2x6's will be glassed to the stringers and hull and trimmed down to proper height. Then along the outside edge glass about an 1"- 1 1/2" ledge for the floor to sit on. Probably do that in 1/2" strips that I will steam so I can do it in one piece and fit the contour of the hull. I will put down some thickened resin and also screw the floor down. I may try and get away with 1/2" plywood and just put alot of glass on the bottom and top to make it all 3/4". That is what the original floor was. Of course my 23' I redid I put down 3/4 plywood. That was definatly strong. How has yours been coming along? Any pics? |
|
#13
|
|||
|
|||
|
Started on the transom. Alot of wet plywood up top and at the bottom. The foam had minimal water in it so I will just leave the foam alone. Sanded down all the high glass on the sides so I can blast them when I blast the hull, making it so I do not have to sand all of it.
Look at the close up of the transom. Where the stringers are and where the wood shelf was glassed in at the transom they did not even glass the transom to the hull. All the wood under there was rotten. 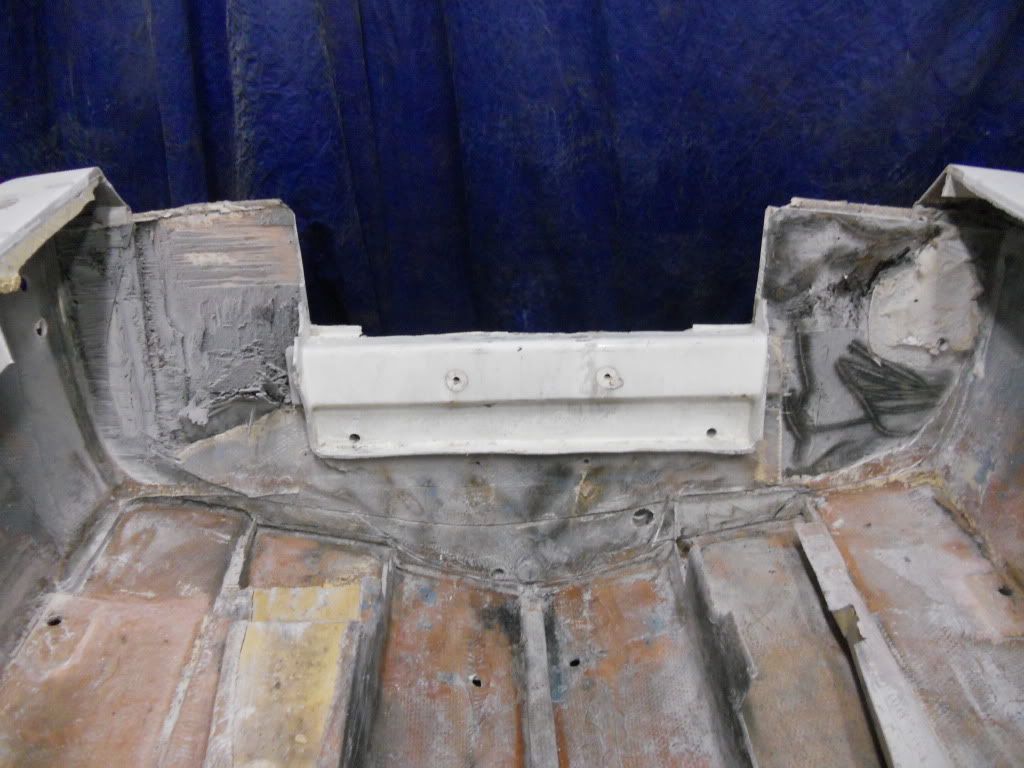 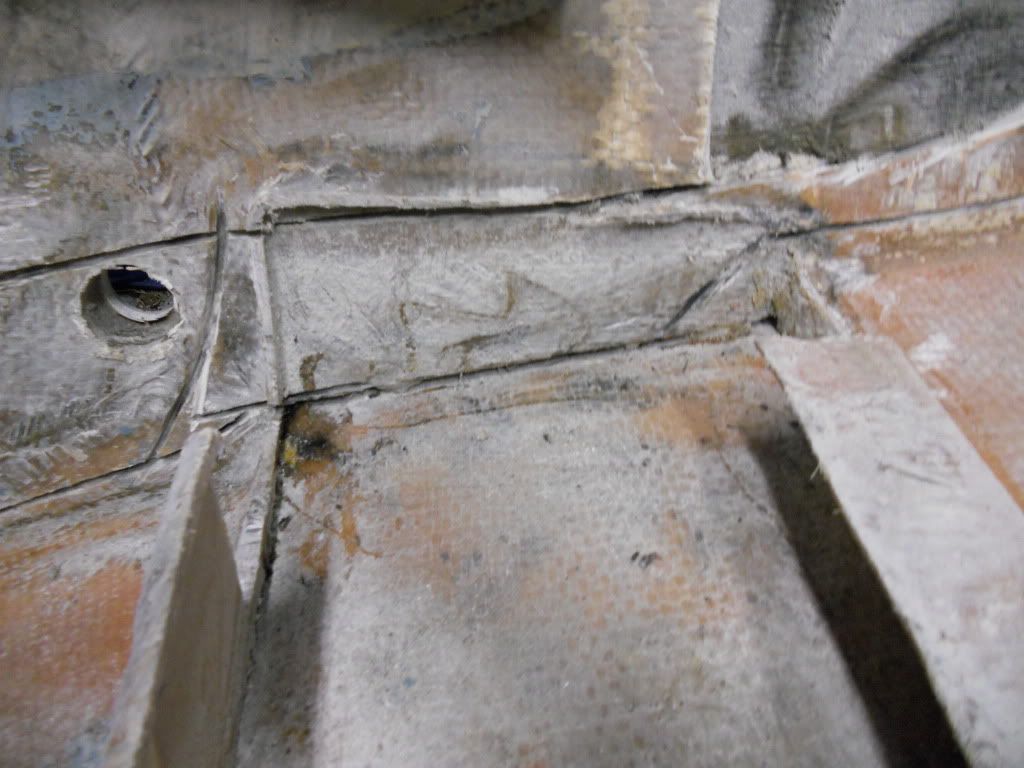 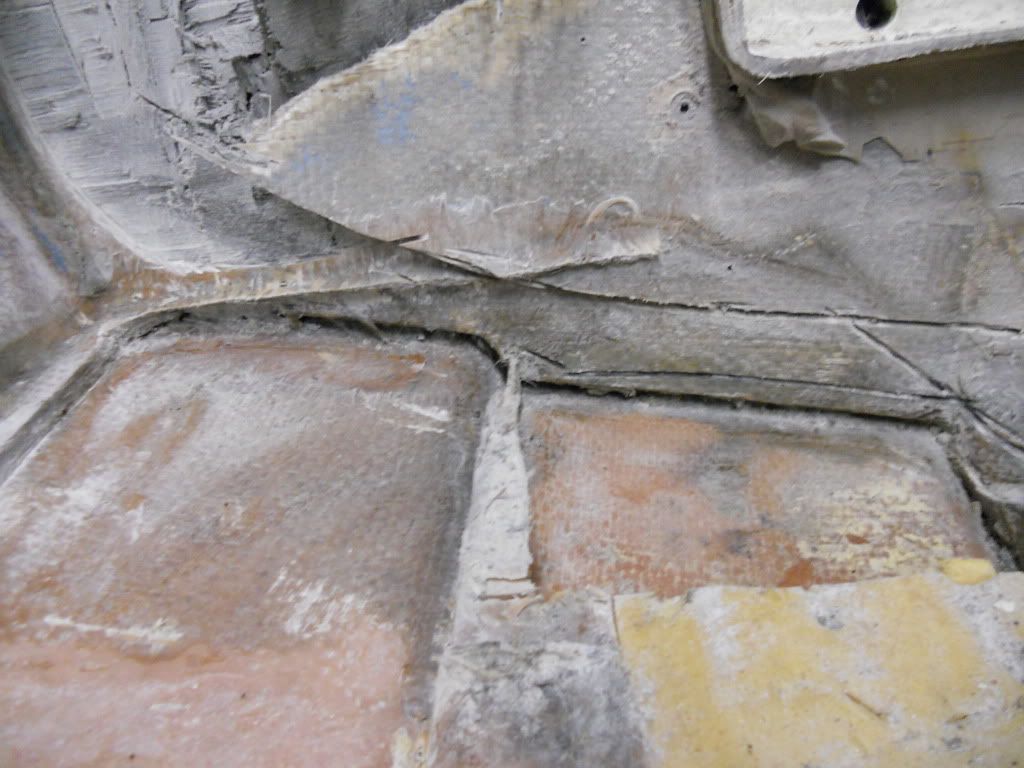 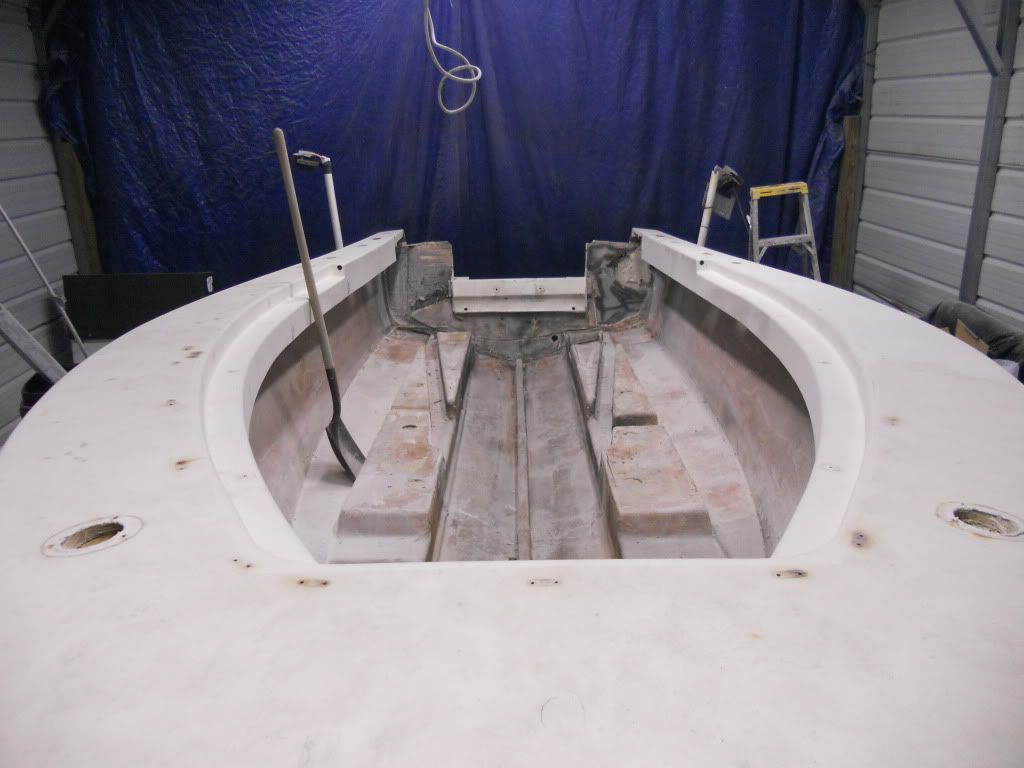
|
|
#14
|
|||
|
|||
|
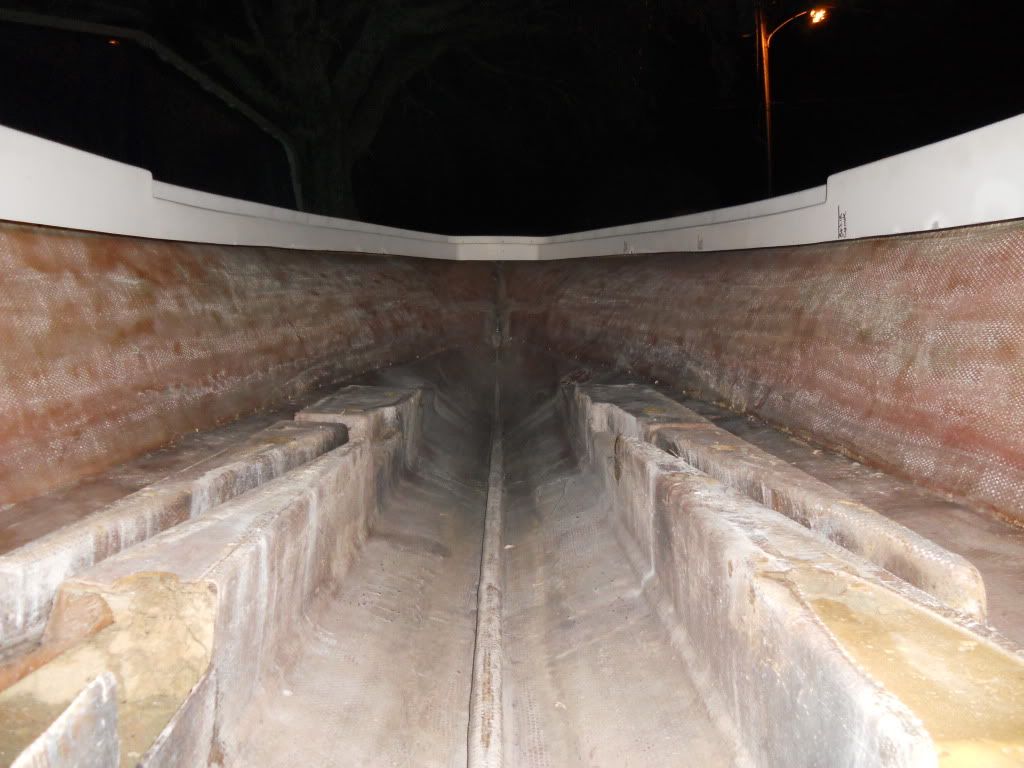
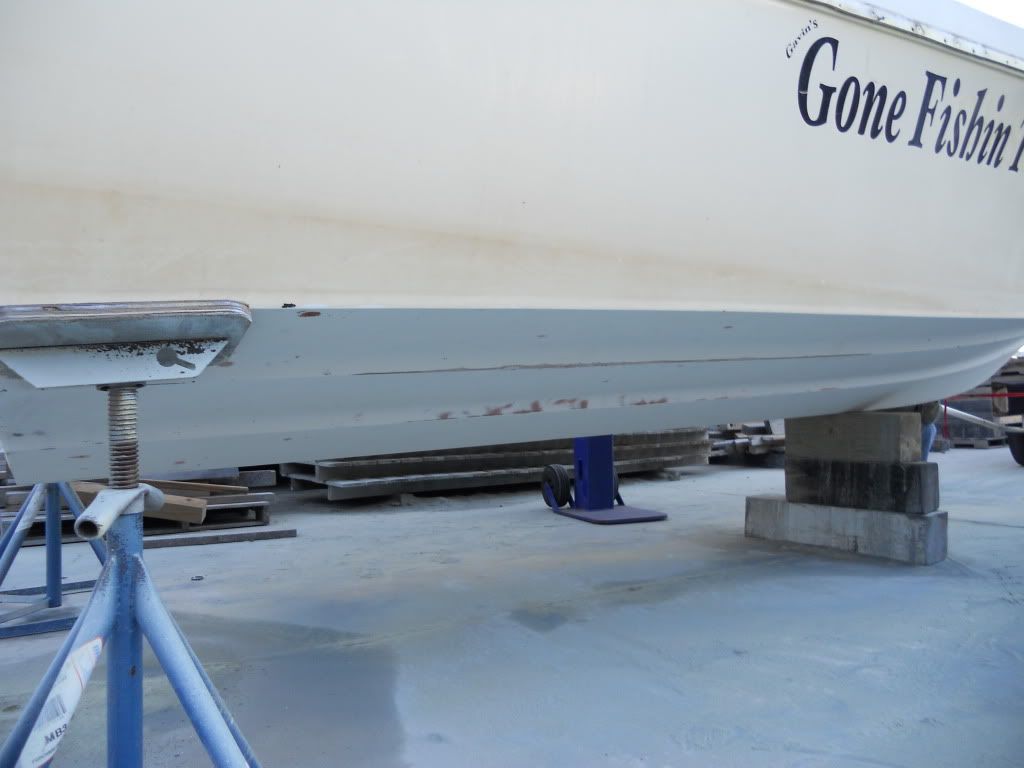
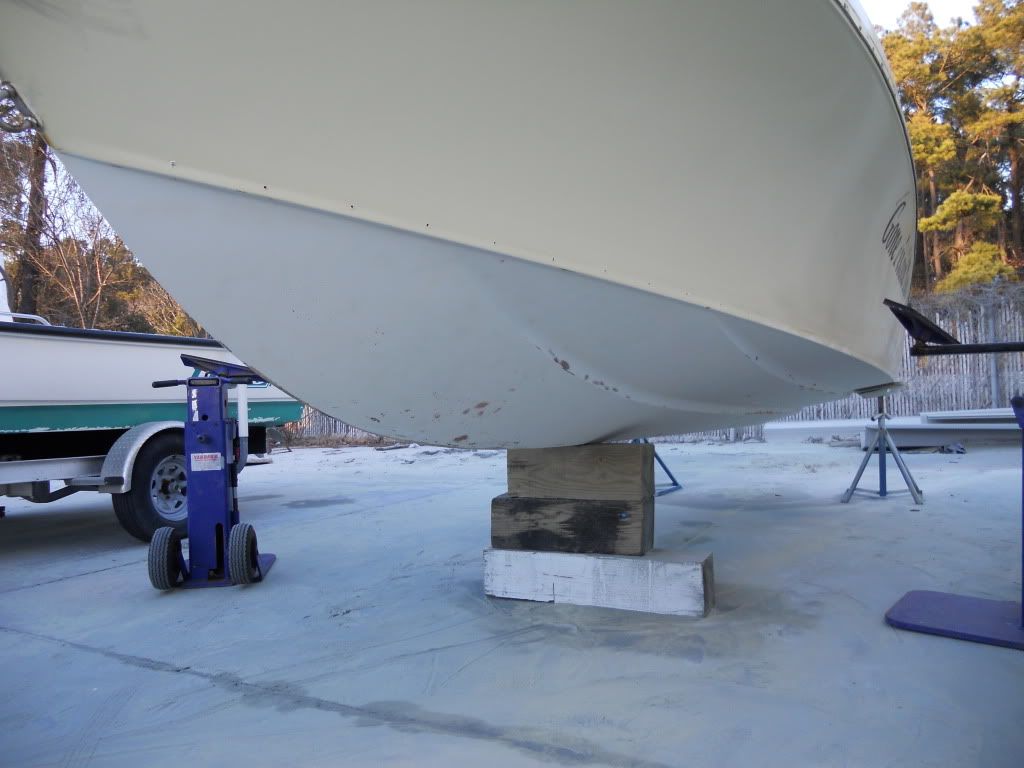
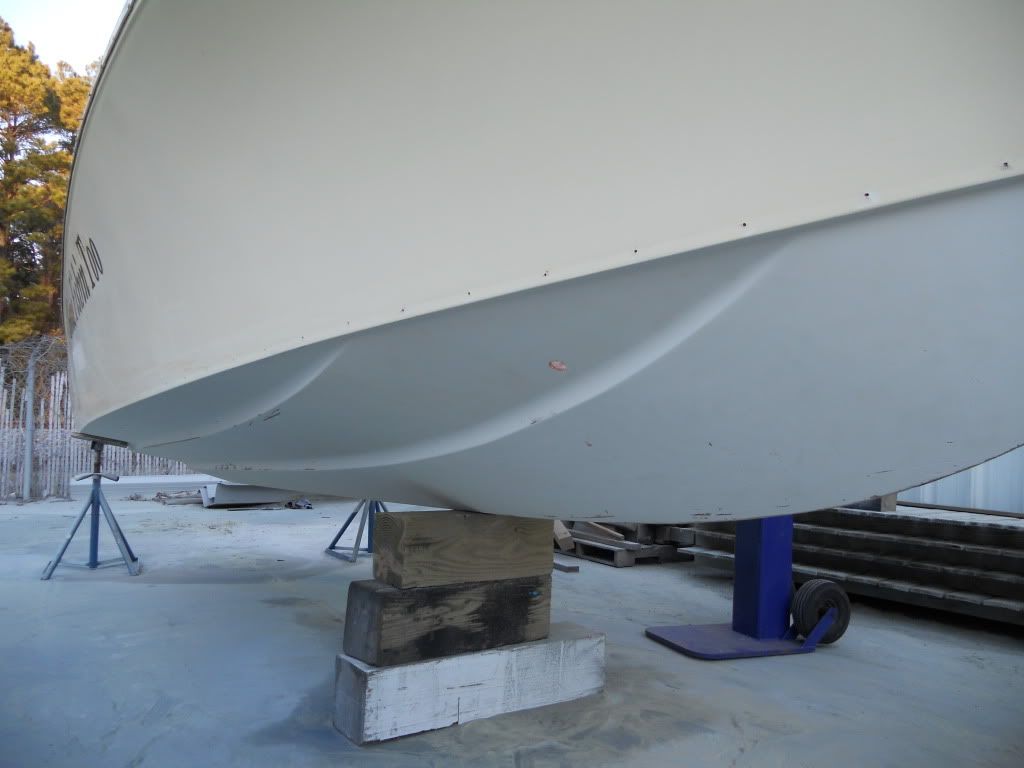
My friend over at CarolinaSodaBlast.com offered to let me blast the boat at his place. Used his farrow system blaster and it did an awesome job. Not to many dings and nicks for a 34 year old bottom. Also blasted the inside to get it cleaned up and to rough it up so I can lay another layer of glass on it. Alot better than sanding!!
     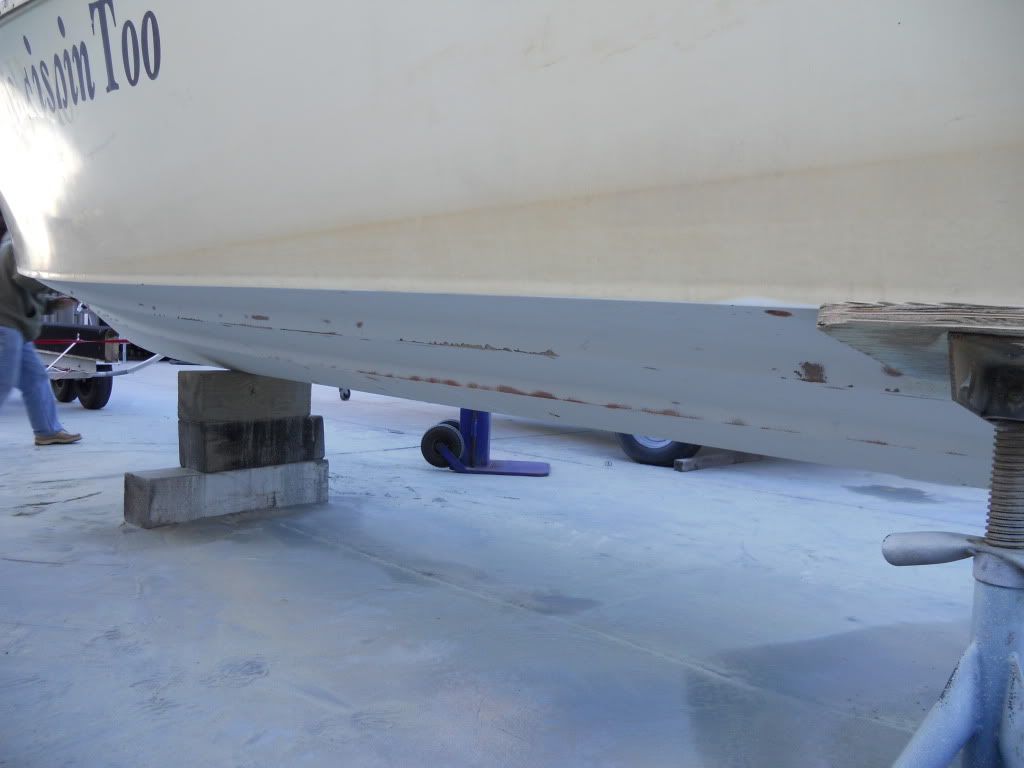
|
|
#15
|
|||
|
|||
|
You can't beat having friends!!!

__________________
1975 SF18/ 2002 DF140 1972 15' MonArk/ 1972 Merc 50 http://i833.photobucket.com/albums/z...photos/SC3.jpg |
|
#16
|
|||
|
|||
|
Man I am extremely thankful for what he did for me. Saved me a ton of man hours and sand paper!!
|
|
#17
|
|||
|
|||
|
Pulled most of the wood off the transom and ground out the holes in the hull that will not be used again. My father went and picked up my wood for me. 6 sheets 3/4" Aquatek. Some 1/2" and 1/4" Aquatek left over from my fathers boat build. Then some 3/4" divinycell that I will use under the top cap.
Next step is glass all the places in the bottom, fair out the outside bottom of the hull and put the transom in. Hopefully the tank will be here in about 2 weeks. 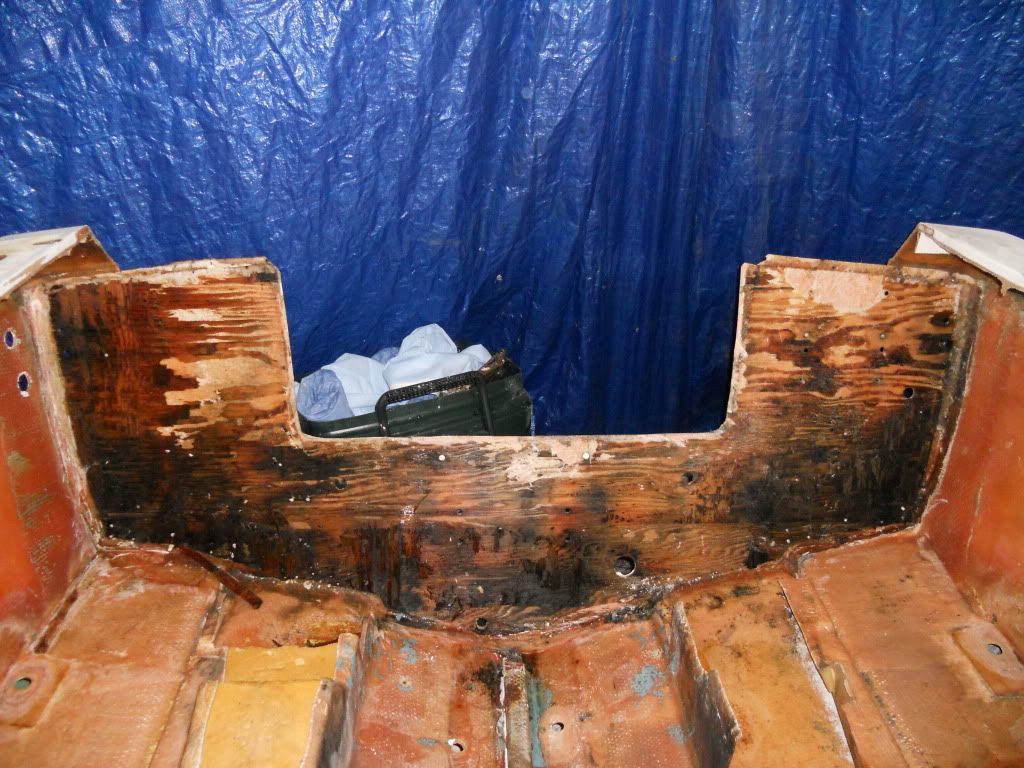 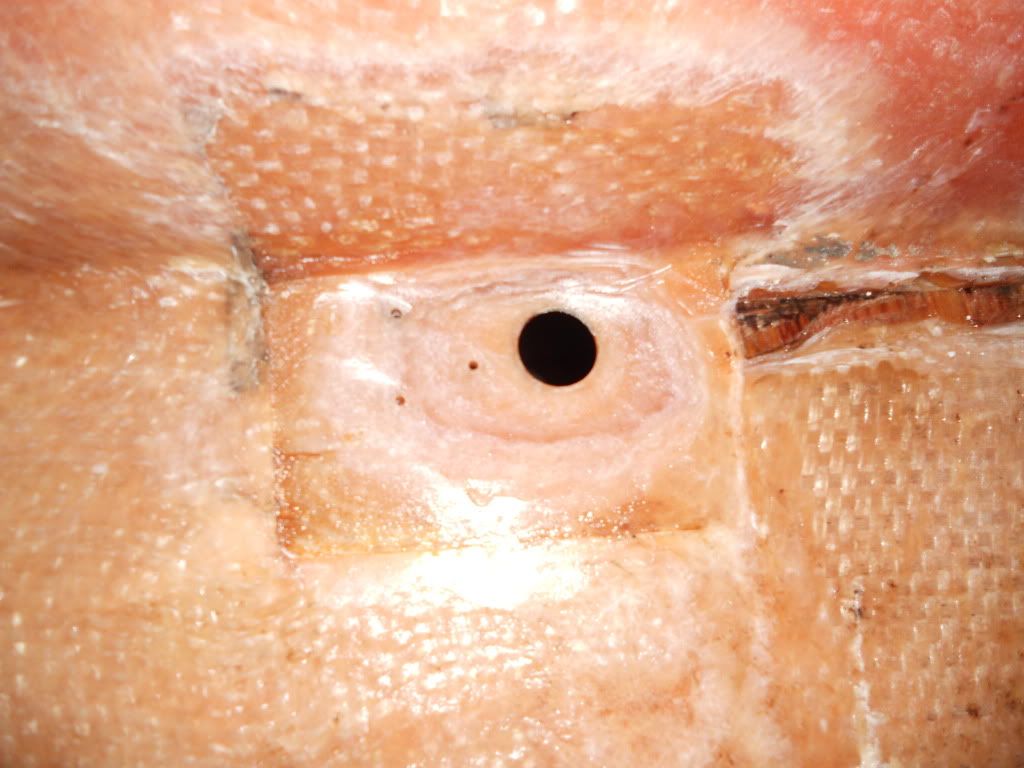  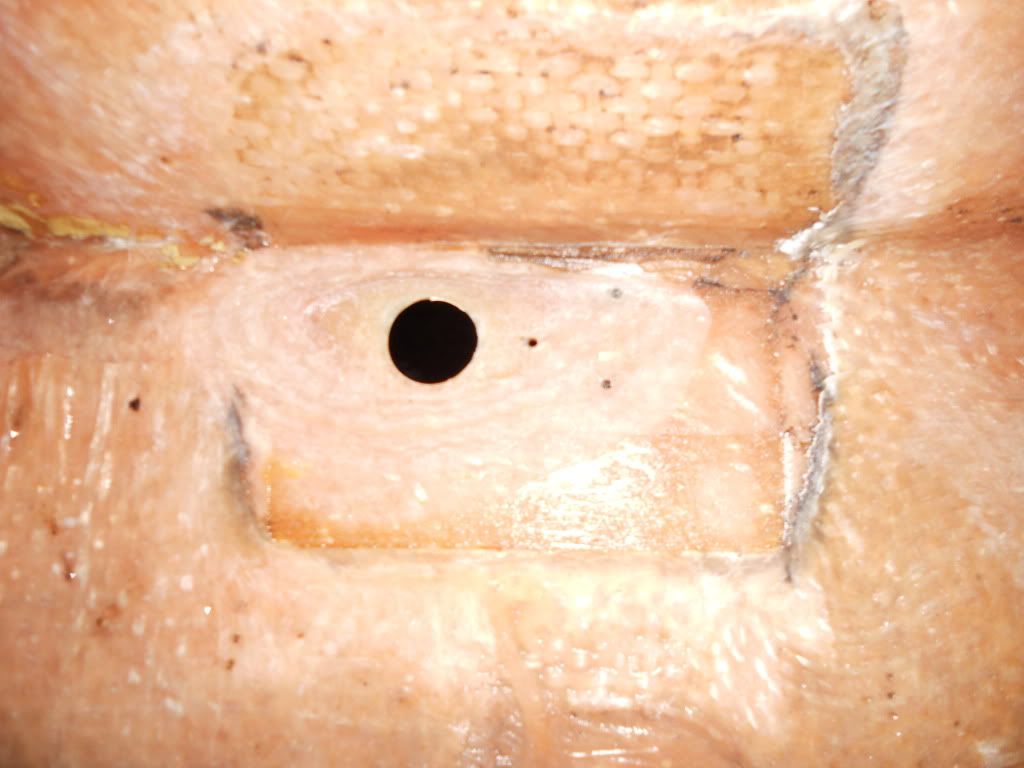  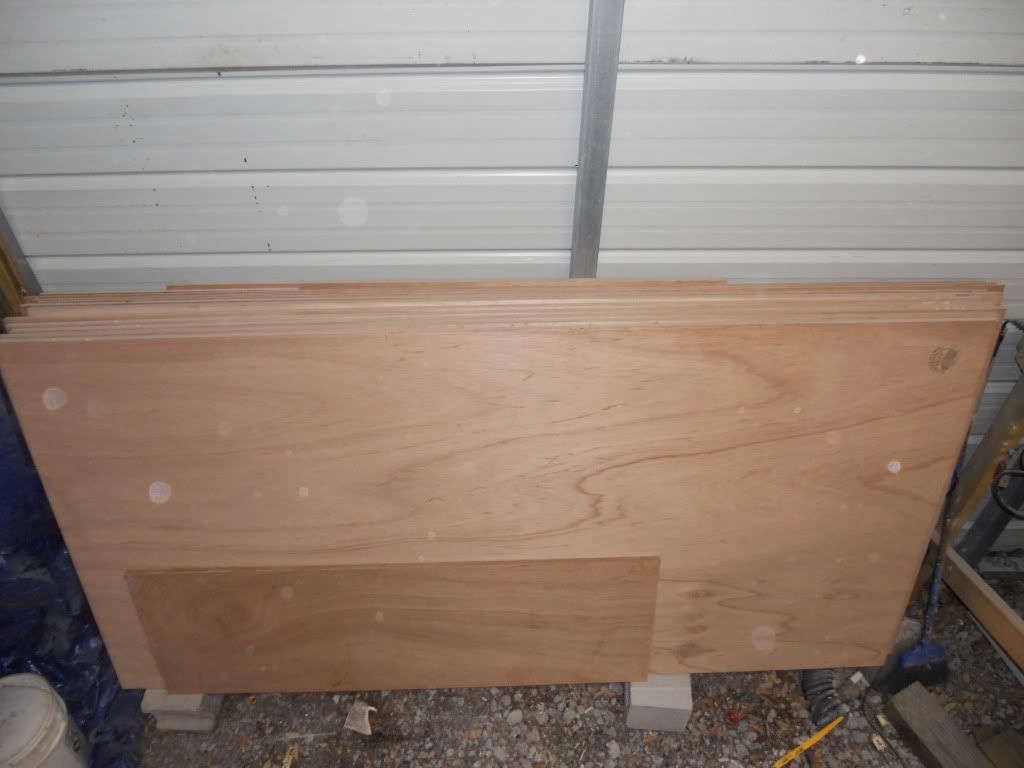 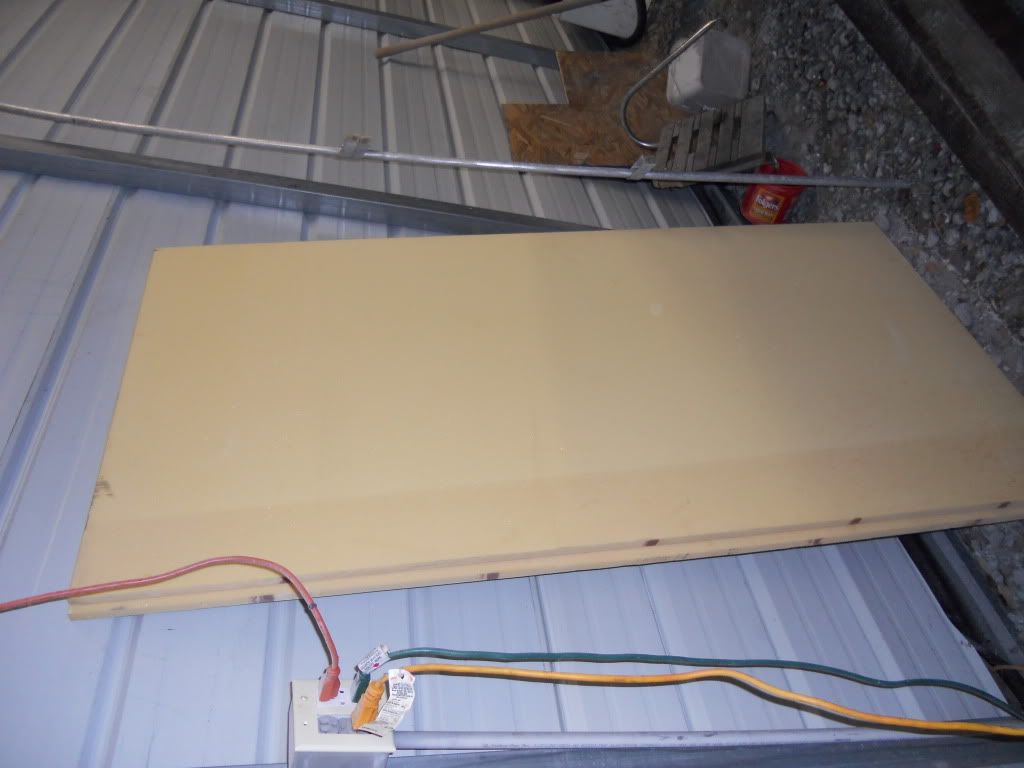
|
|
#18
|
|||
|
|||
|
Cleaned the rest of the transom and sanded it down to get it ready to put the transom in. Cut out the transom. 2- 3/4" sheets. Started fairing the bottom.
Hopefully get the transom all glassed in this week. 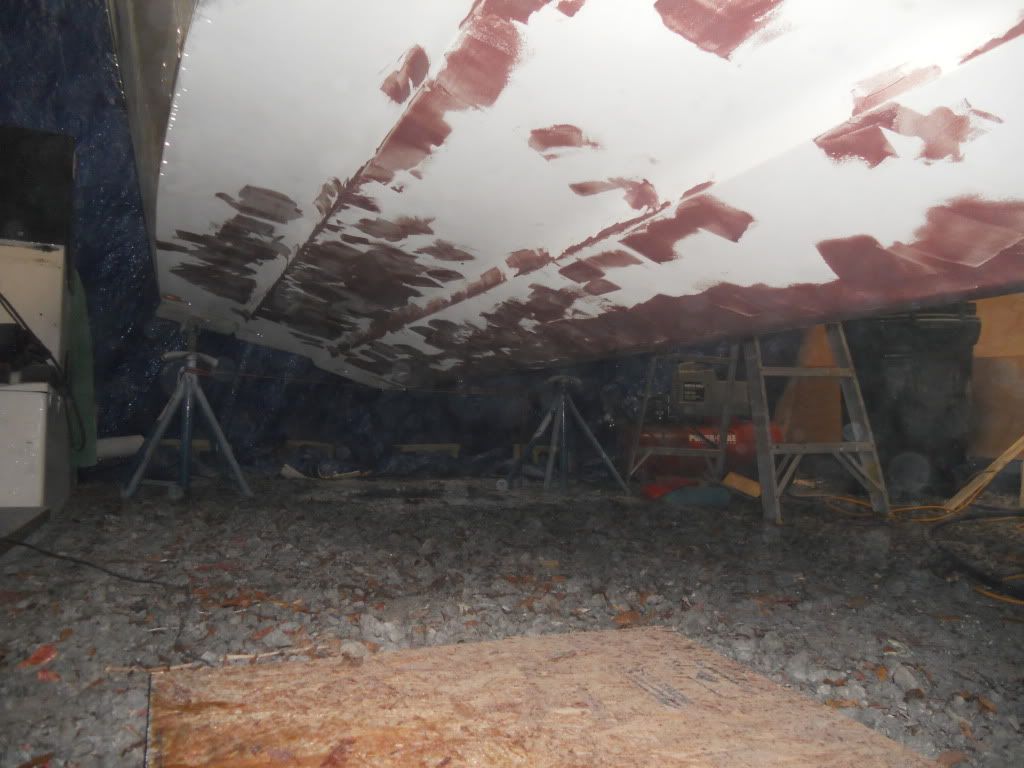 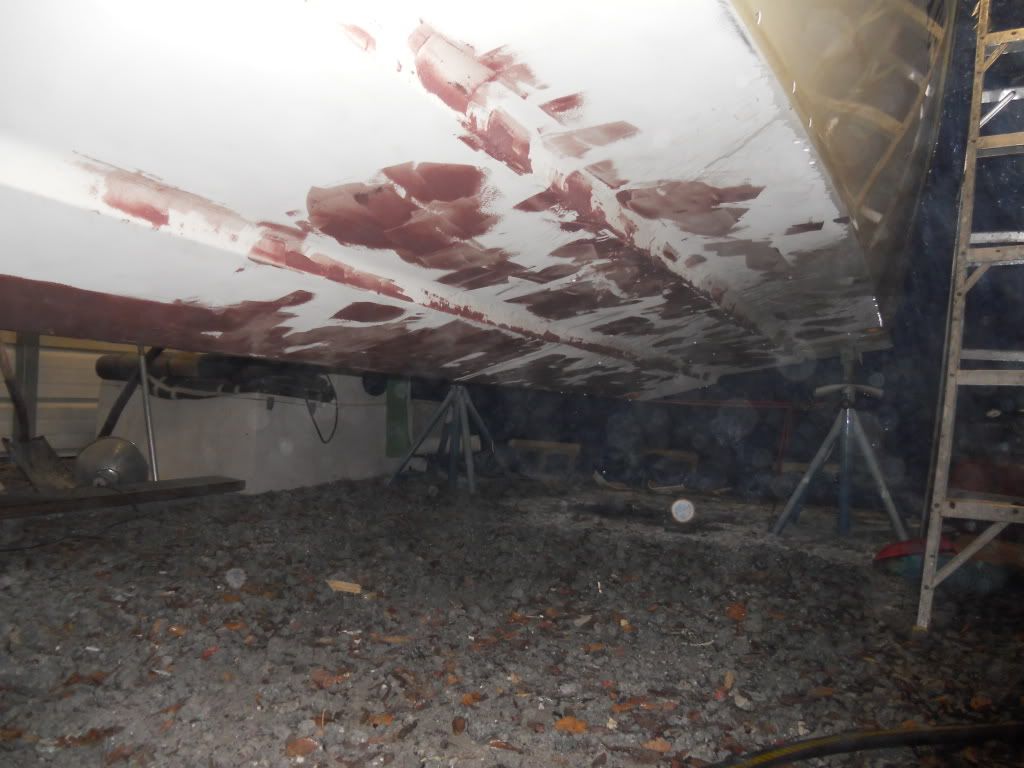 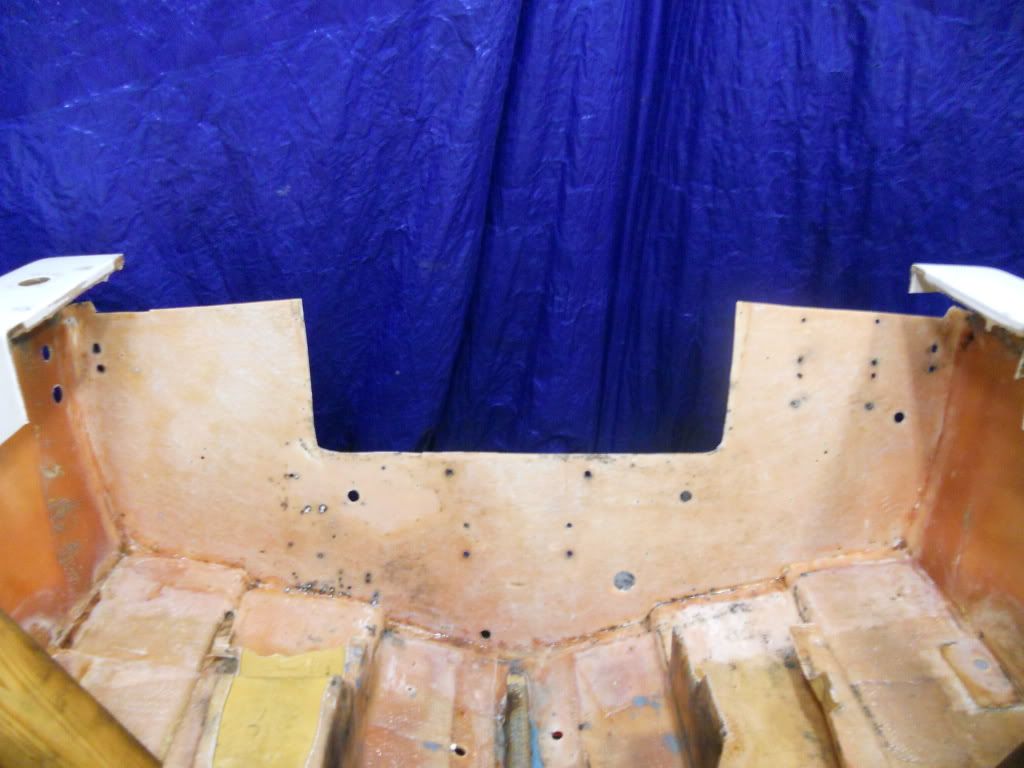 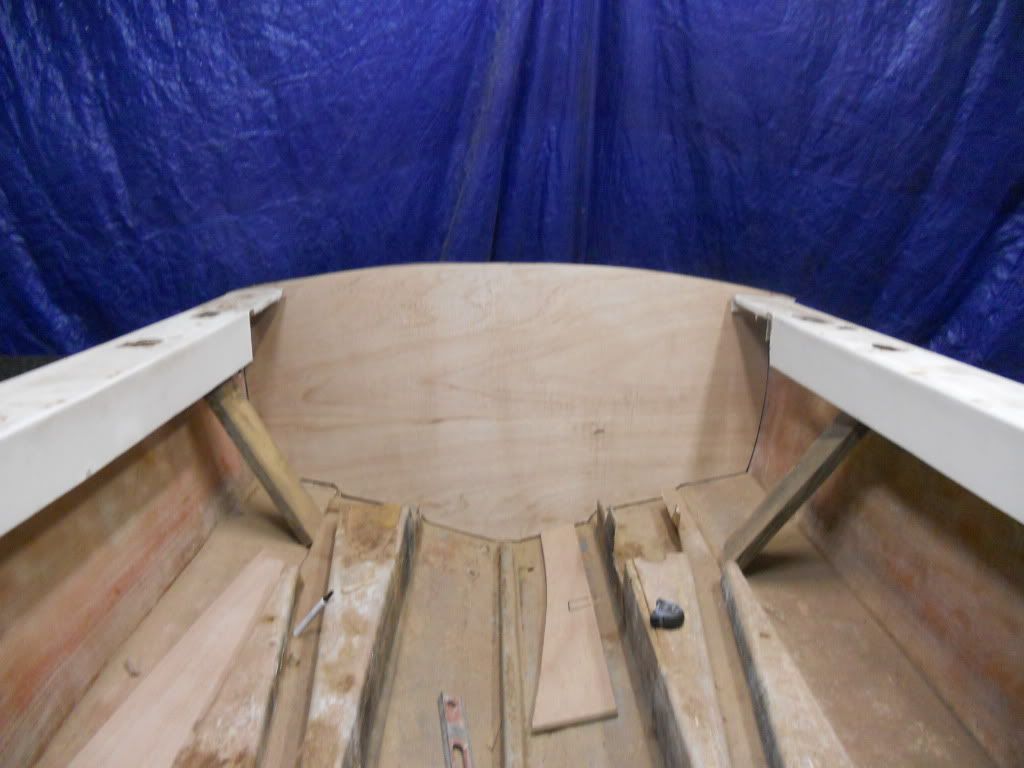
|
|
#19
|
|||
|
|||
|
good work on the stern
|
|
#20
|
|||
|
|||
|
Thanks. Still needs a belt sander to it to fine tune the curve.
Glassed up the holes for the fish box drain and floor drains along with one of the thru-hull high speed pickups. Counter sunk all the screw holes in the transom, inside and out, to get it ready for the wood to be glassed in tomorrow evening. All the patches from previous holes and everything were redrilled also. Look at all the holes from transducers, swim platforms, and aux motor mounts the transom has had over the last 33 years. Going to lay down a thick bead of cabosil mixture along the perimeter of the transom, and all holes will get cabosil in them and then some troweled across the whole stern. Two layers of 1.5oz mat sandwiched between the transom glass and wood. Then I am going to screw the glass into the wood and let it set up, while I attach the second sheet. 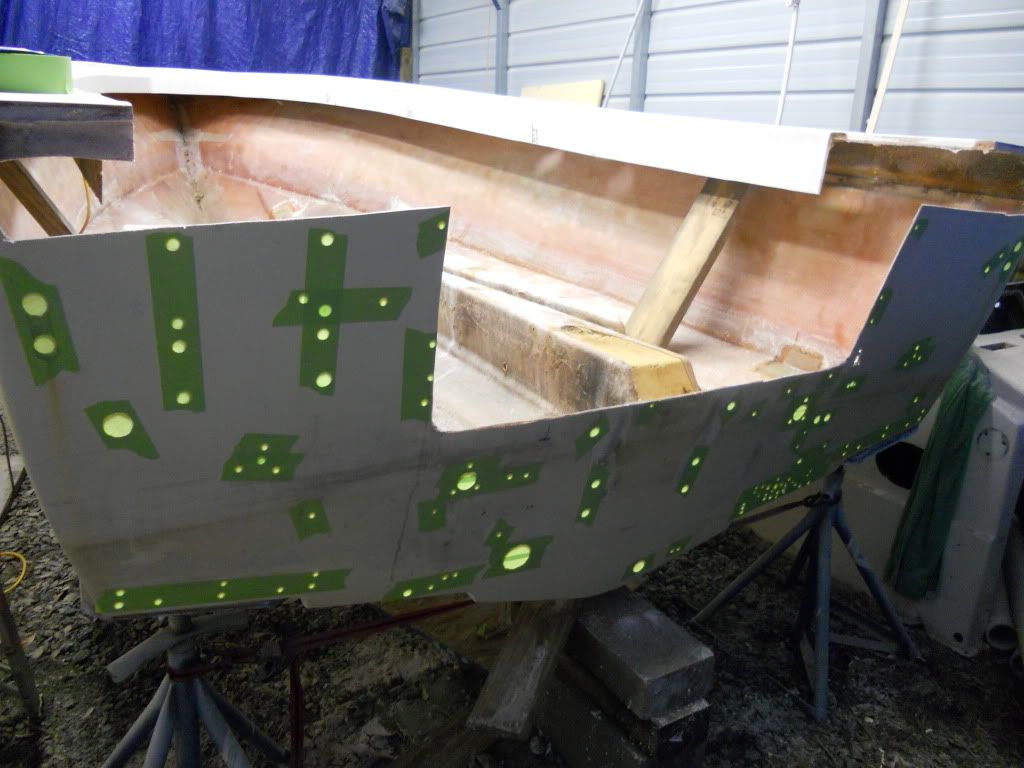 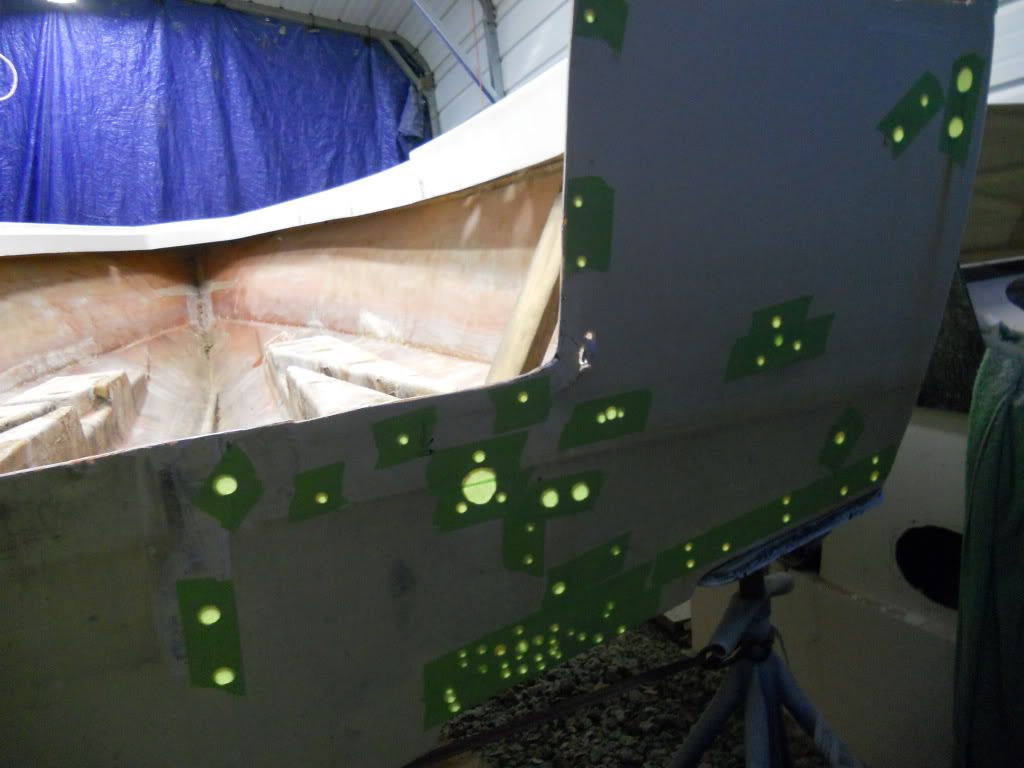
|
 |
|
|