
 |
|
#121
|
|||
|
|||
|
Alright, Alright.....
This is fishbox after two heavy coats of Signature. 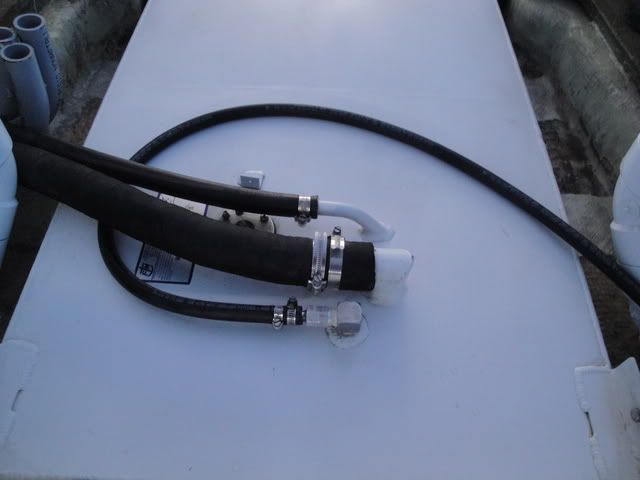 Yesterday the 3/8" fuel line that had been backordered was delivered after waiting for a month. Thanks to advice from Sea++ I swapped out my 1/4" pickup tube that came with the tank before the deck went in. 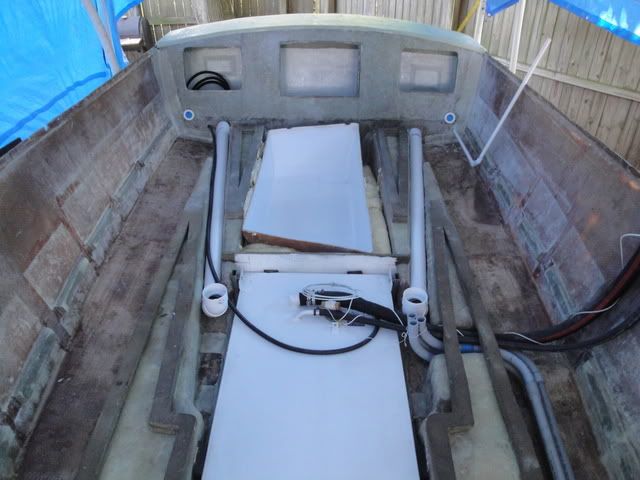 After reviewing everything to make sure I hadn't forgotten anything to be installed below the deck I vacuumed her out one last time. You can see the bow area has one coat of Signature on it as well as the CC further in the background. 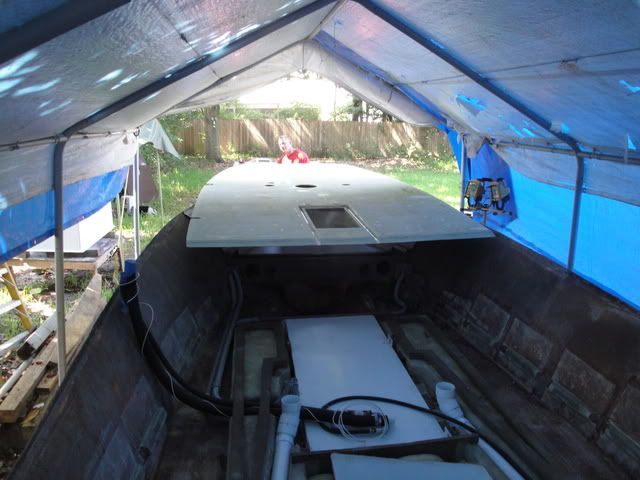 The PVC pipe in the back right is for the raw water washdown. It almost got left out but remembered at the last minute. 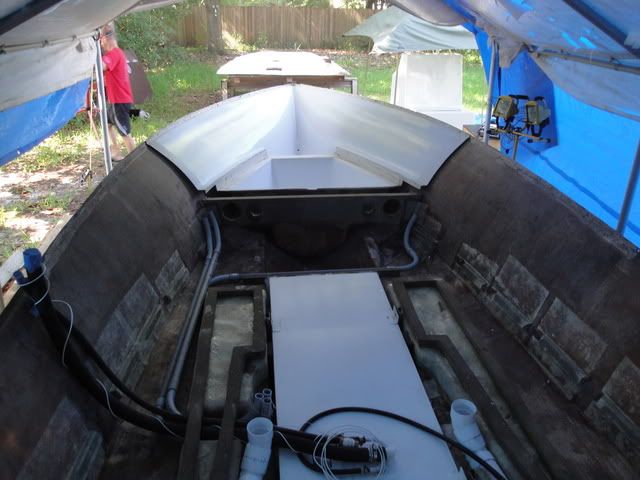 We balanced the deck on the bow to get in position to drop it in. 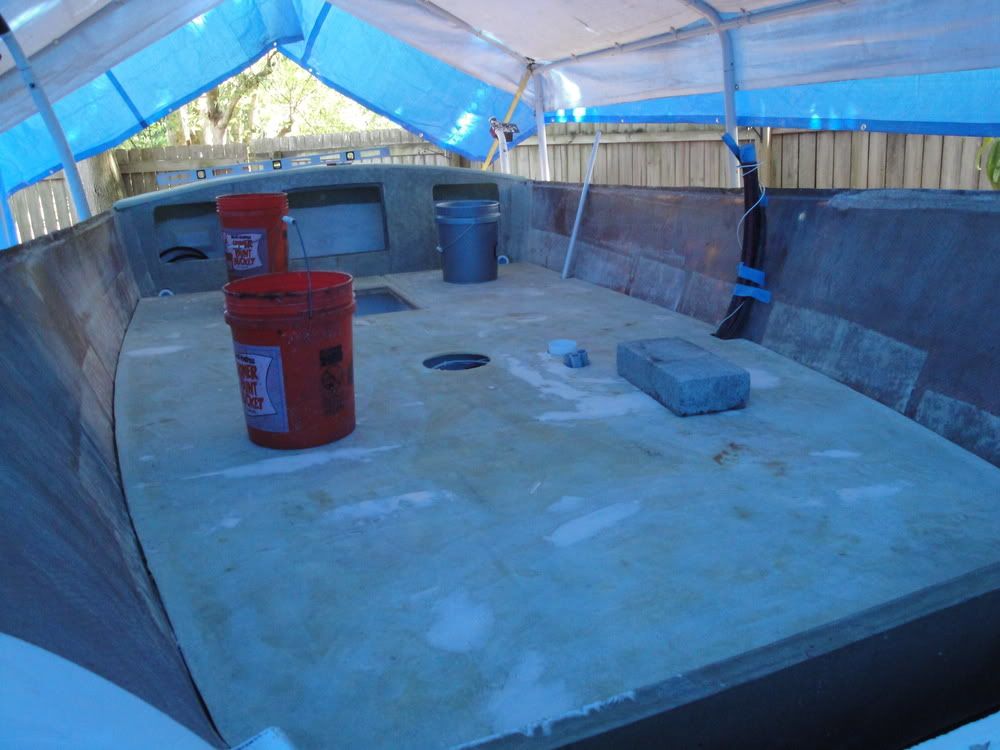 After on last test fit I smeared Cabosil on the stringers and dropped it in place. After that cures I will go around the perimeter and add more cabosil where the deck rest on the blocking before I finish the seam with 2" tape. 
__________________
Will |
|
#122
|
|||
|
|||
|
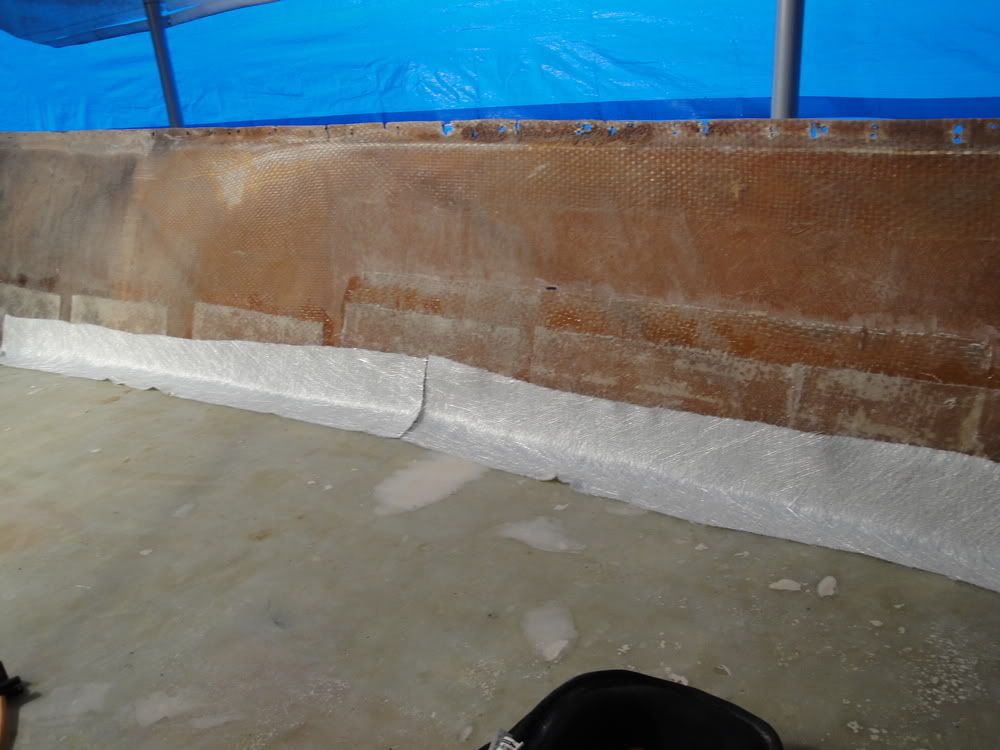
Looks like I posted the same pic twice. This was the installed shot.
__________________
Will |
|
#123
|
|||
|
|||
|
Looking great....deck fits nice and snug but it's hard to see in those tiny little pictures. Size your pictures 640x480 before posting
 strick
__________________
"I always wanted to piss in the Rhine" (General George Patton upon entering Germany) |
|
#124
|
|||
|
|||
|
Not sure about the technical issues with Photobucket but will try to get some more posted this week.
__________________
Will |
|
#125
|
|||
|
|||
|
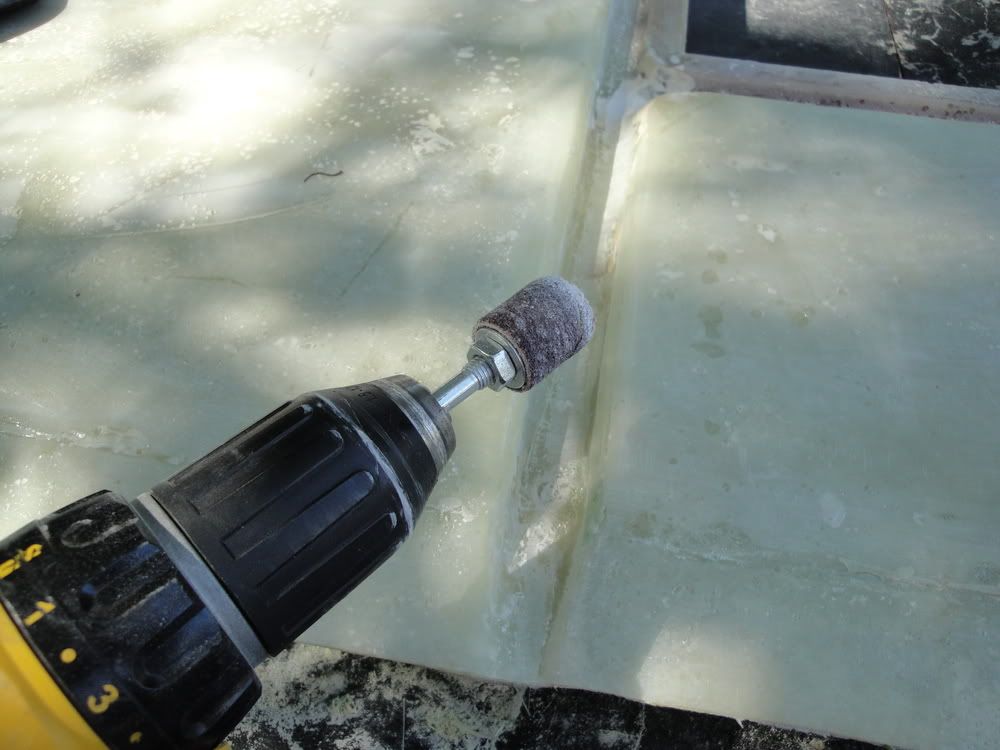
I found this attachment for sanding with a drill. Works pretty well in areas like the recess for the hatch.
 Before I started working on the deck again I decided that I wanted a way to access the compartment around the fish box since it was completely enclosed and foamed in. This port was installed in the bilge area that will take a water tight deck plate so that I can air it out from time to time and access if if necessary. The overcut was filled with 5200 before the deck plate went in. 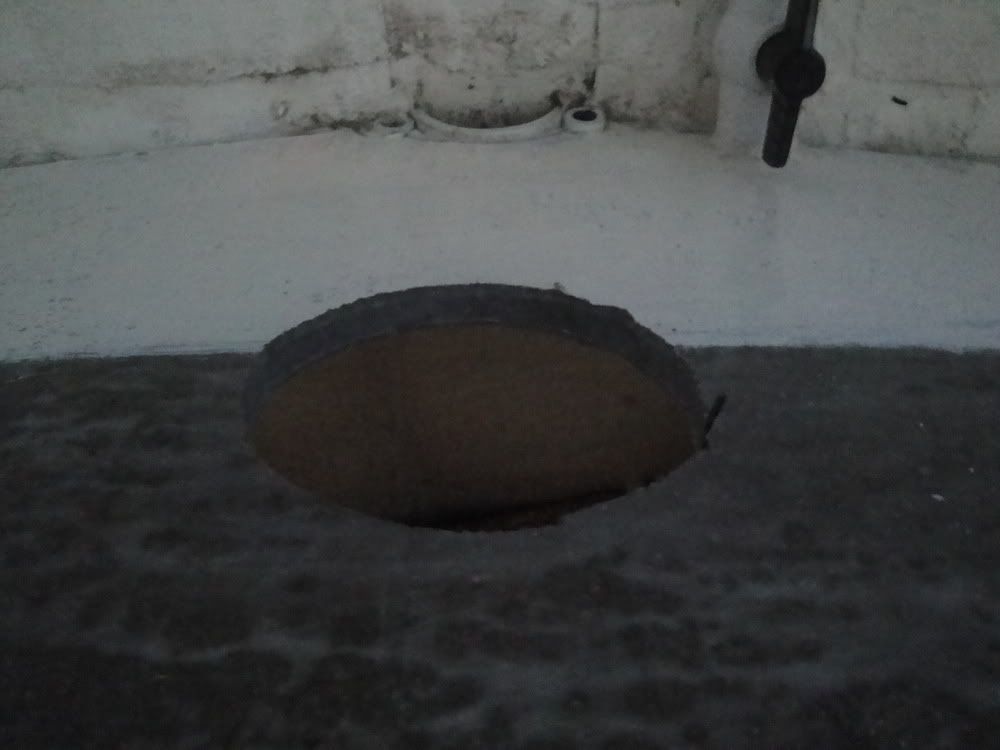 The drain fittings that will flow to the scuppers were installed and bedded in 5200. 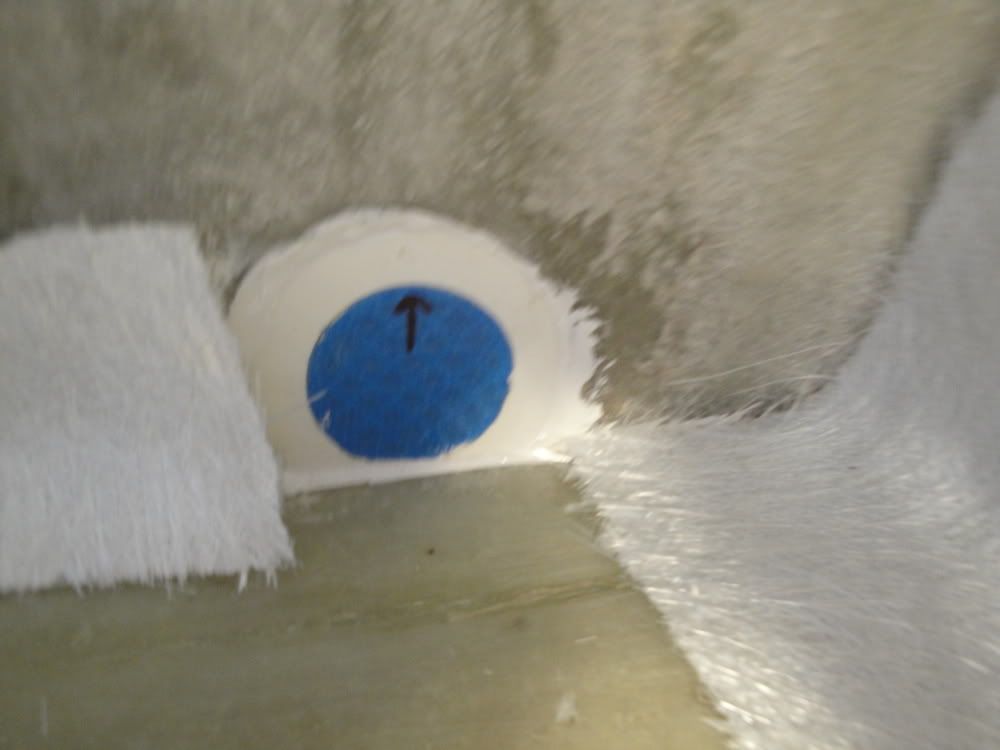 Instead of using the 2" tape I mentioned earlier I opted for 6" strips of 1708. I wanted to make sure I had a good bond on the edges of the deck.  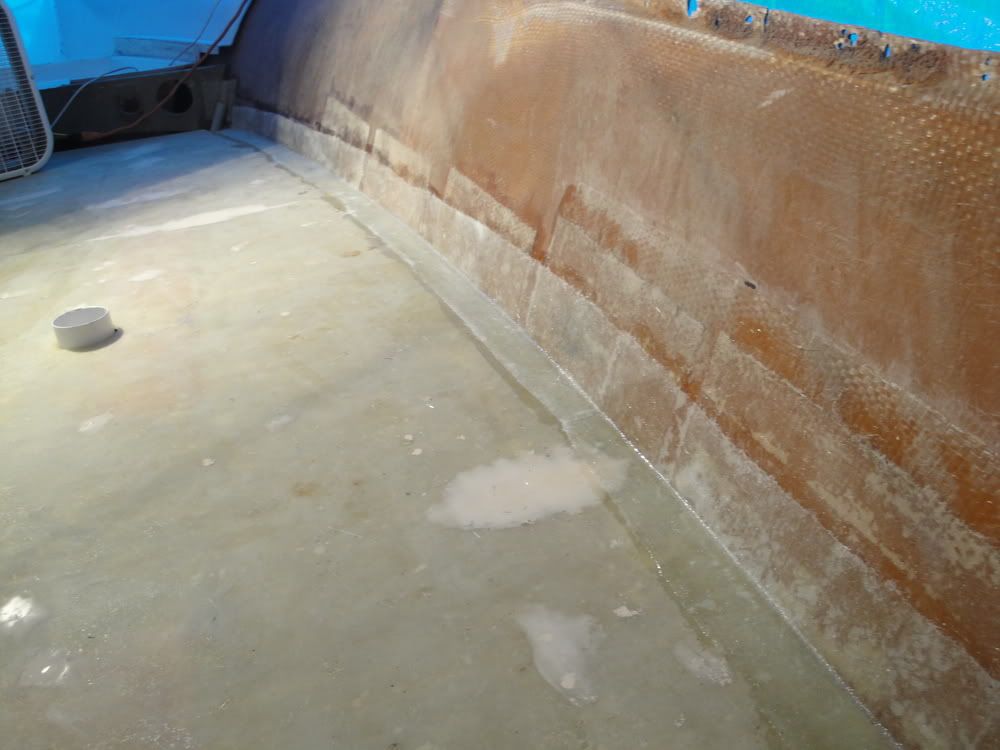 After making the connnection to the forward deck transition. 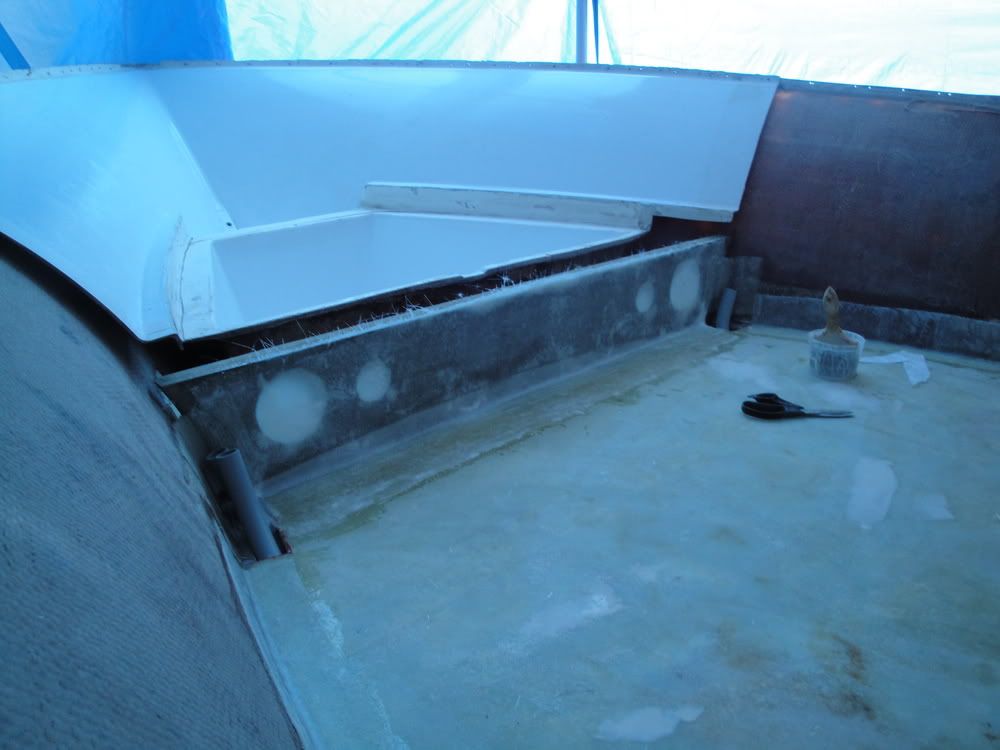 Next I decided to install the transom cap permanently. I took some measurements and there were a few areas that had to be built up to make a good connection. You can see the strips of cloth that I used to do this. 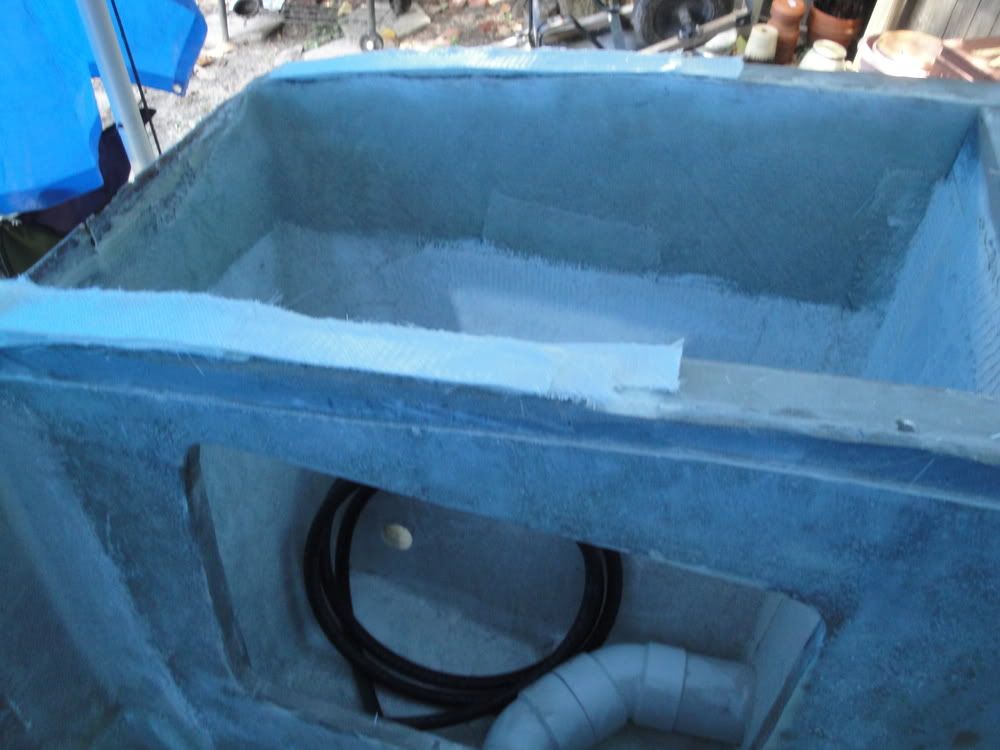 After setting the cap in a bed of cabosil I used concrete blocks to keep it stationary until everything set up. 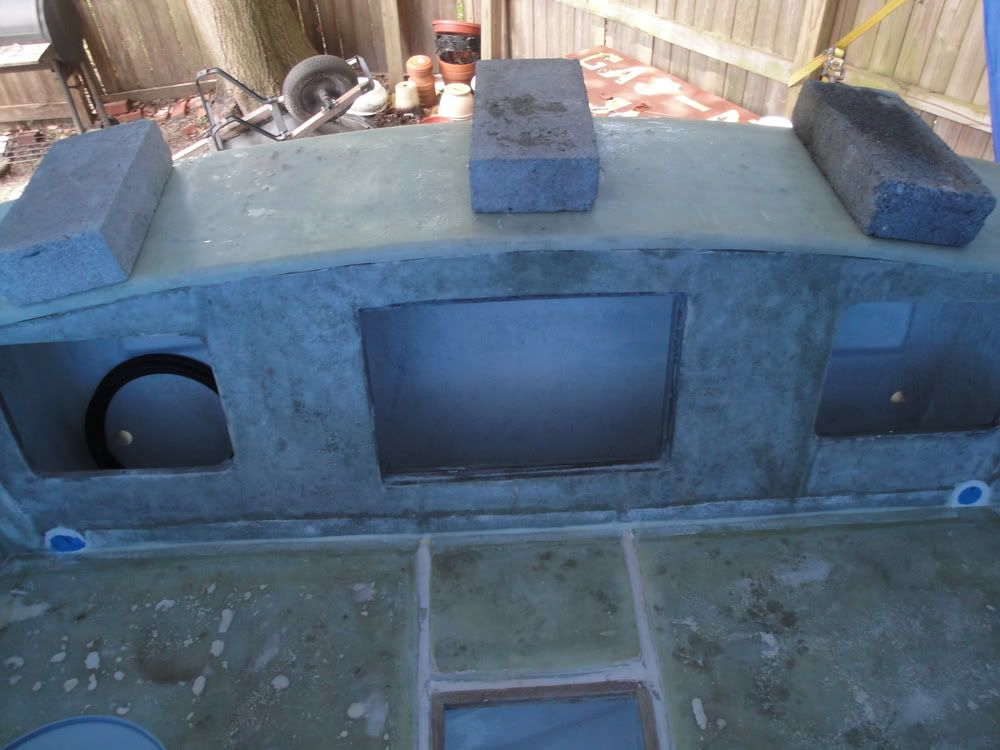 Next I turned my attention back to the top cap. I was able to obtain about 20 gallons of Polyester Resin for free and plan on using it to fabricate the remaining parts that I will need. This was my first time using it and everything seems to have went OK. I mixed up a test batch the day before. I didn't know if this would work but what I'm trying to accomplish is to close in the interior bow portion of the top cap so that I can install hatches for storage. 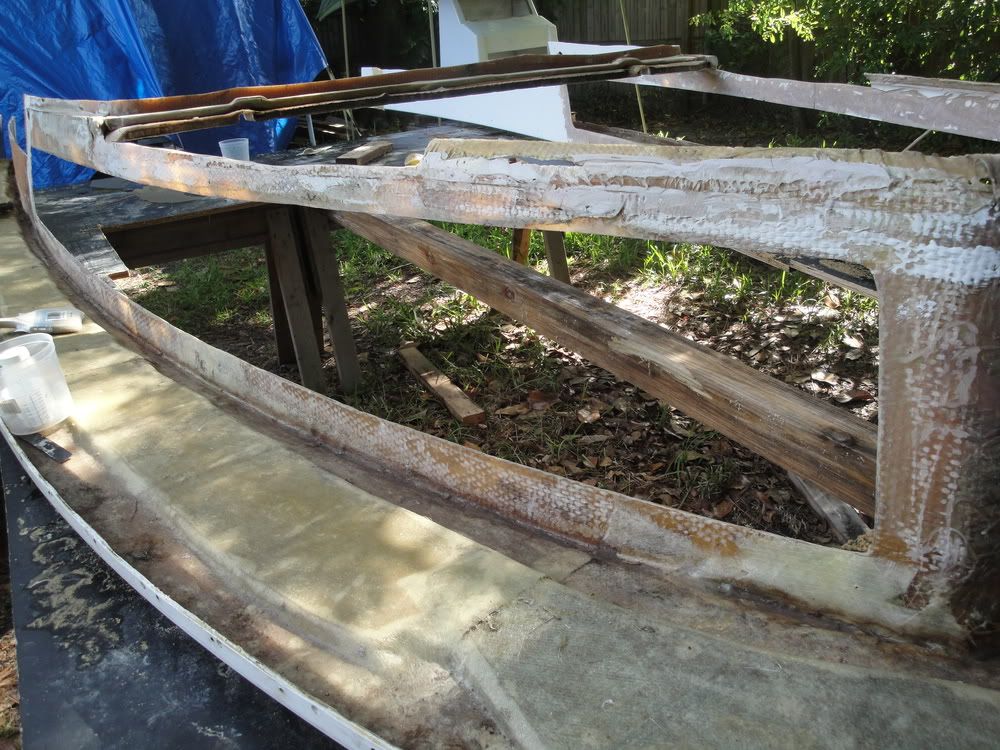 I used hardi board that was waxed and coated with PVA. I laid out out the cloth pattern that I was looking for and then wet out the first two layers of woven roven and 1708. 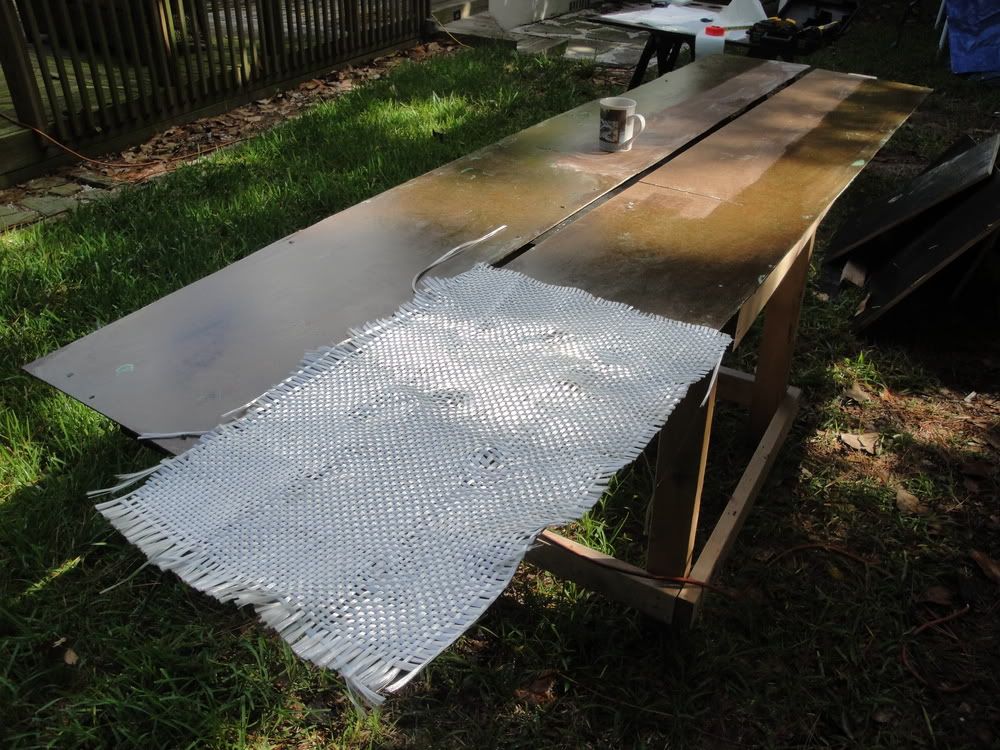 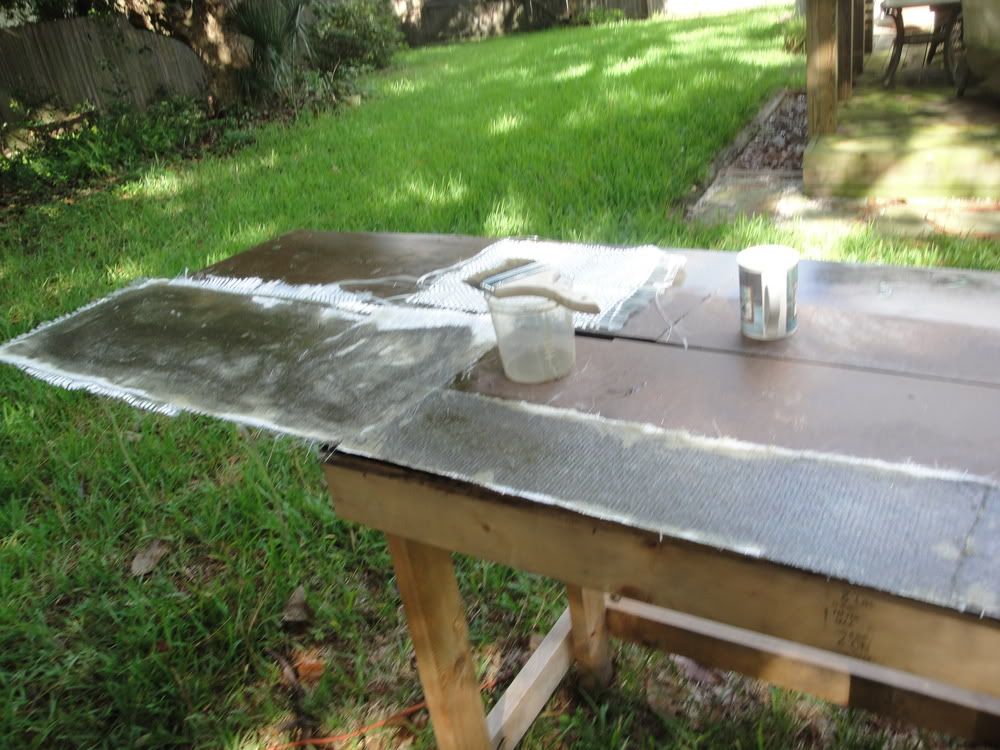 Once this cloth had gotten tacky I wet out the inside edge of the existing top cap and installed the board and secured with dry wall screws. Next I started glassing additional layers from the other side to eventually sandwich the exisitng glass from both sides. 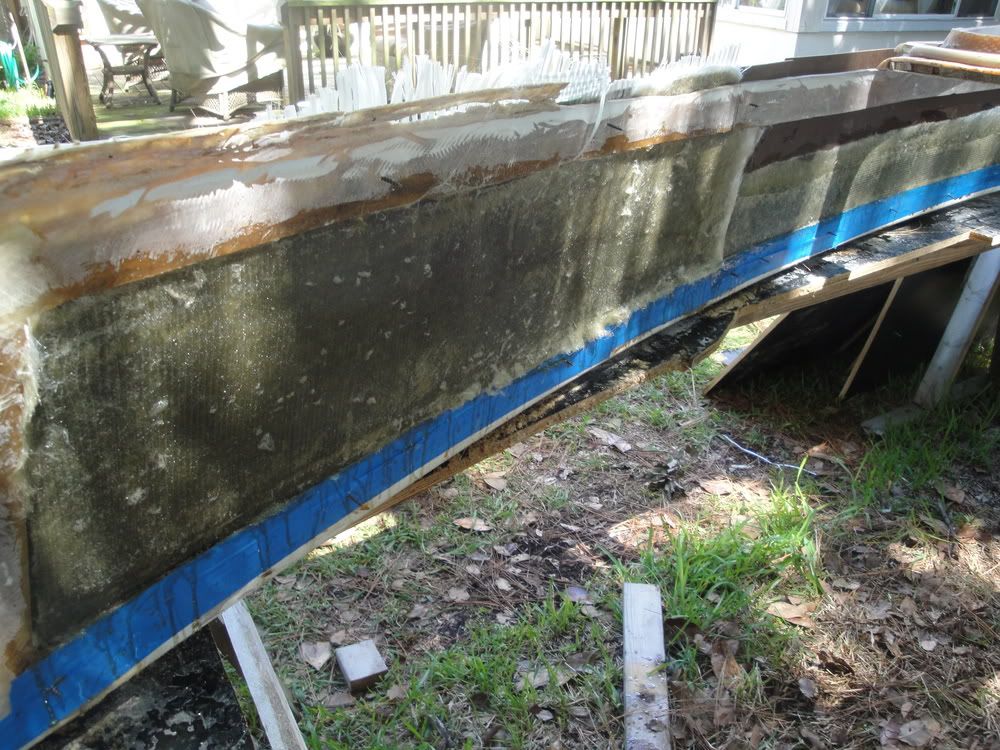 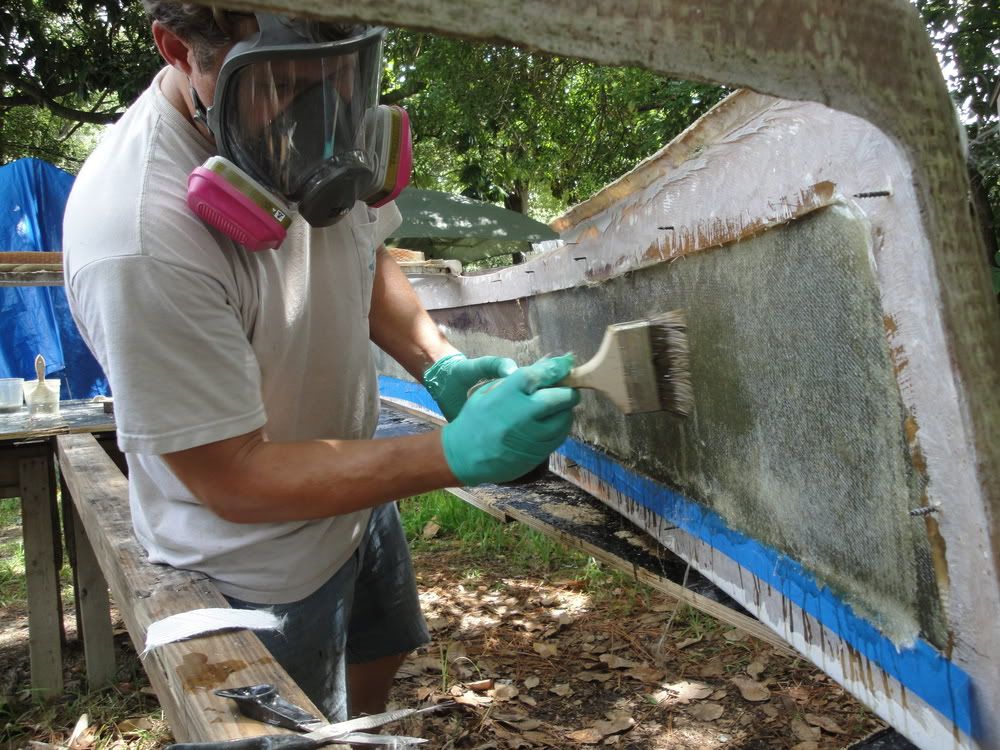 After the glass had set up I peeled back the hardi board and was pretty happy with the preliminary results. Plenty of cleanup to do but none of this will be seen. 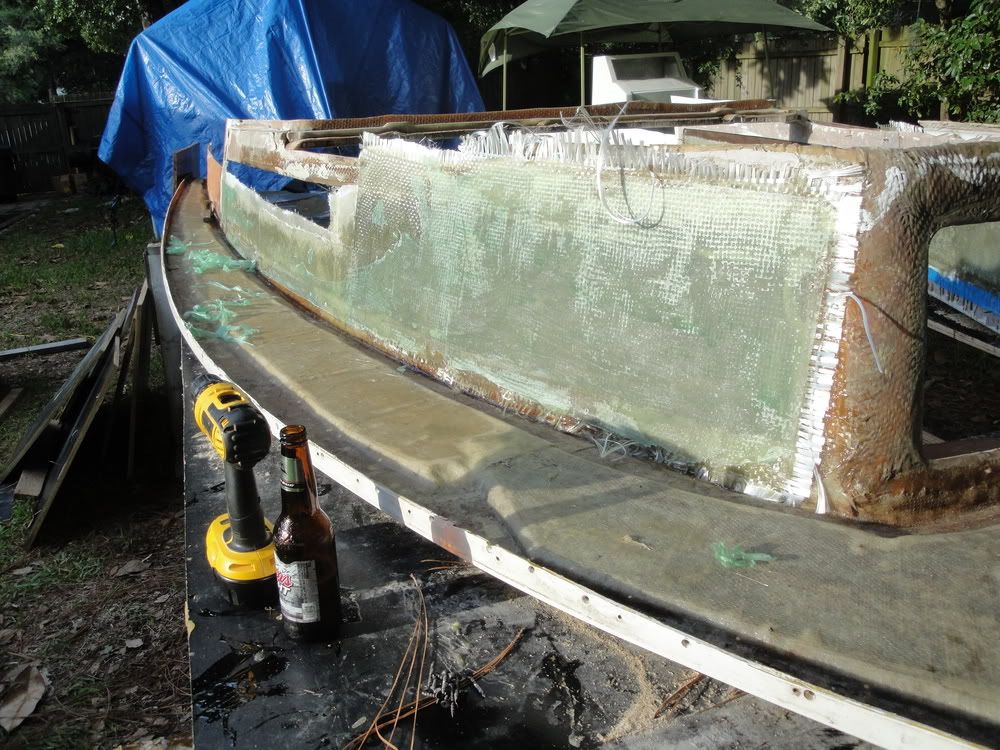 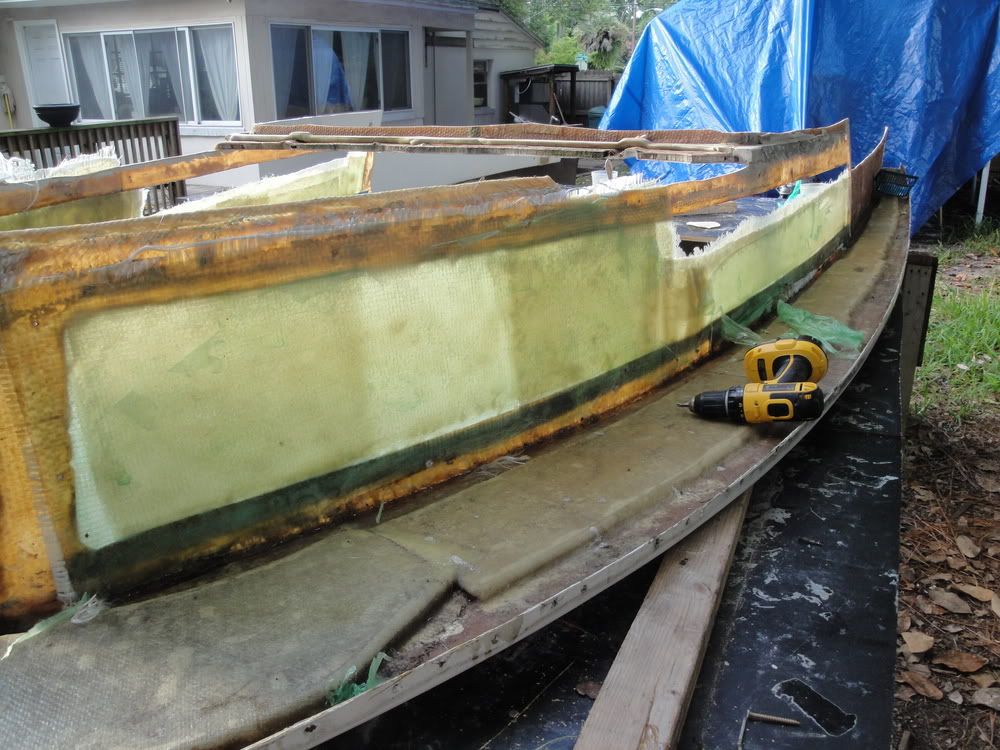
__________________
Will |
|
#126
|
|||
|
|||
|
Lookin good!
|
|
#127
|
|||
|
|||
|
Been following your posts as I have a '74 20 SF that I'm just starting to tear into ....
Little late now but curious if you checked the hull flex before glassing in the deck - remembered you had the 2x4's early on notched so the gunwhales /fwd deck will go back on?? Did it move much / any? |
|
#128
|
|||
|
|||
|
PackRat,
I have check the hull flex with my 2x4's several times so far. Most notably was after I swapped the trailer out for the one it's on now and before I built the template for the deck. I would say it has flexed very little but I did have the top cap on it to take some measurements and it went back on pretty easily. After seeing your post I slapped them on last night just to be sure. 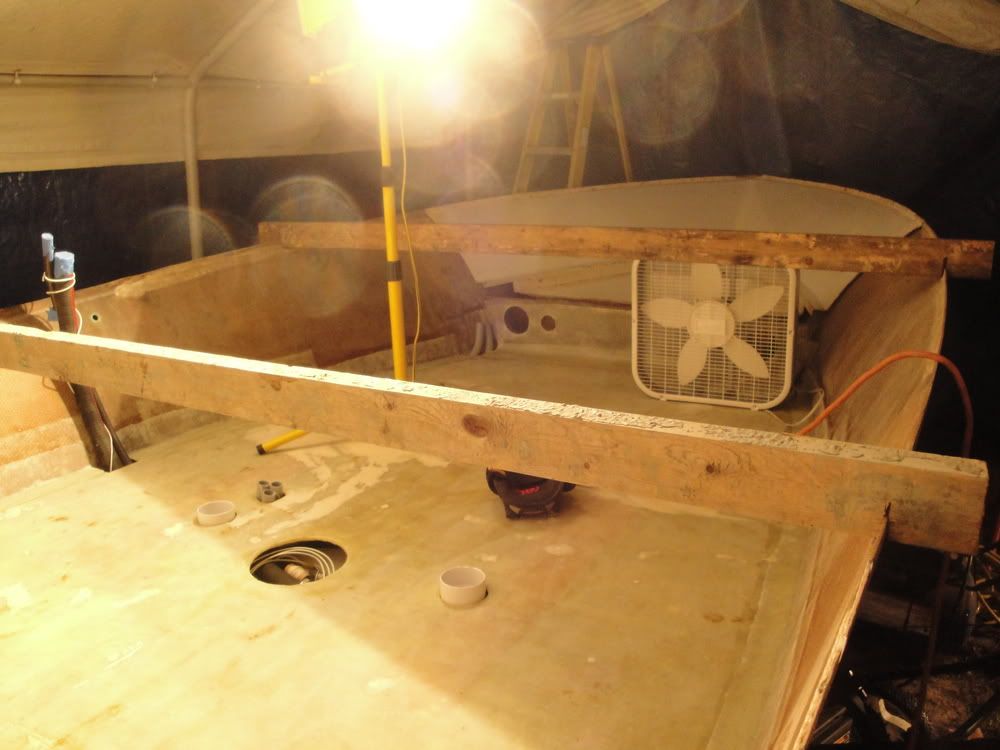 I got the top cap flipped over and started grinding and sanding to prepare for the last couple layers of matt. I would say the painters tape that I had put on to keep resin from sticking to areas of gelcoat that had already been ground down was a good thing. I believe it helped prevent much more sanding. I'll use it again on the bottom for the next application. 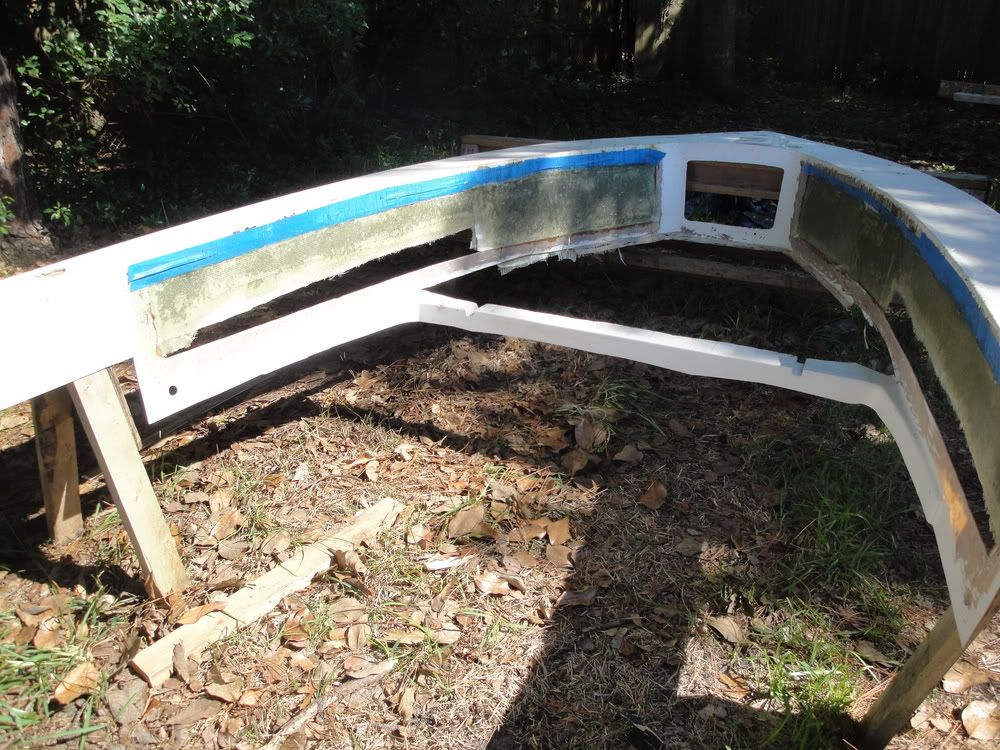 Some time ago I cut the gunnels to what I thought I wanted but after taking more measurements I'm going to trim them again. You can see near the transom will start at 4". 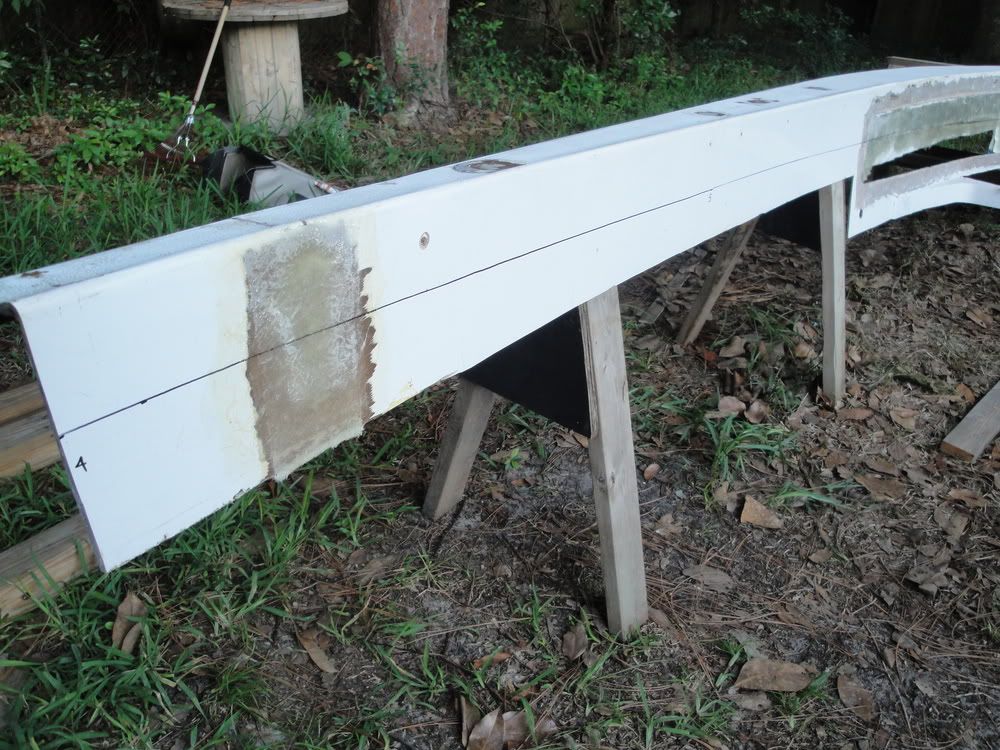 And be around 7" where the transition to the forward deck is made. 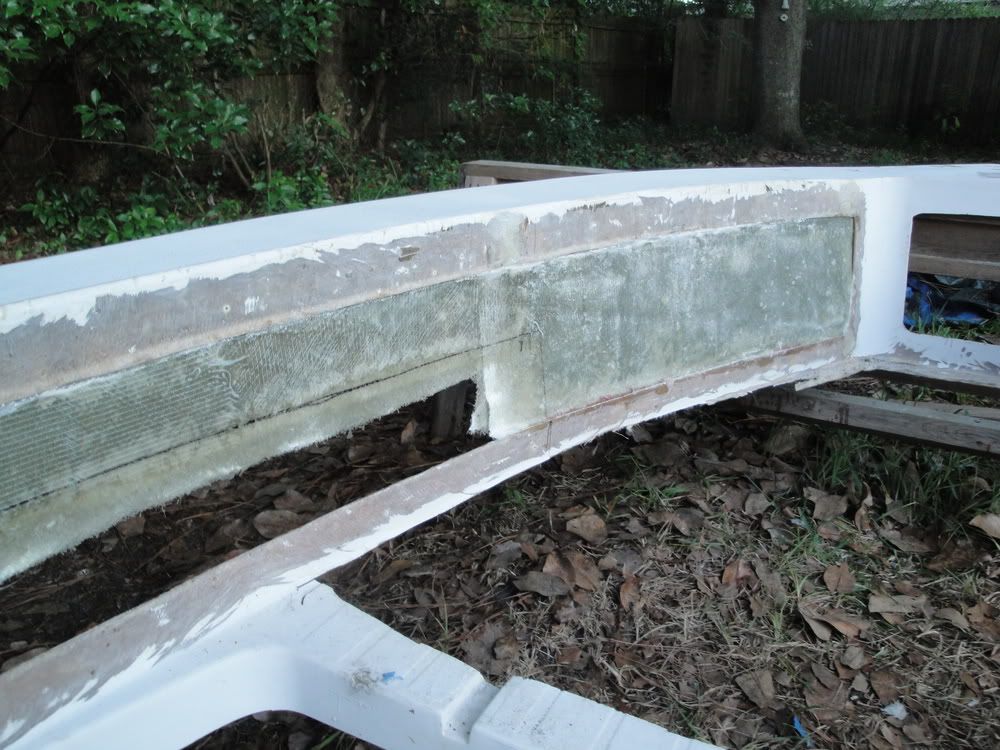 A couple of questions. 1) Did the original Potters come with rod holders in the gunnels? I didn't think so but on each side the top cap looks like it was laid up to accept the top radius of the rodholder. 2) Can the same fairing compounds, cabosil, admixtures, etc. be used in Polyester that is used in Epoxy?
__________________
Will |
|
#129
|
|||
|
|||
|
After glassing the inside of the cap. The pics may look funny due to the late afternoon sun.
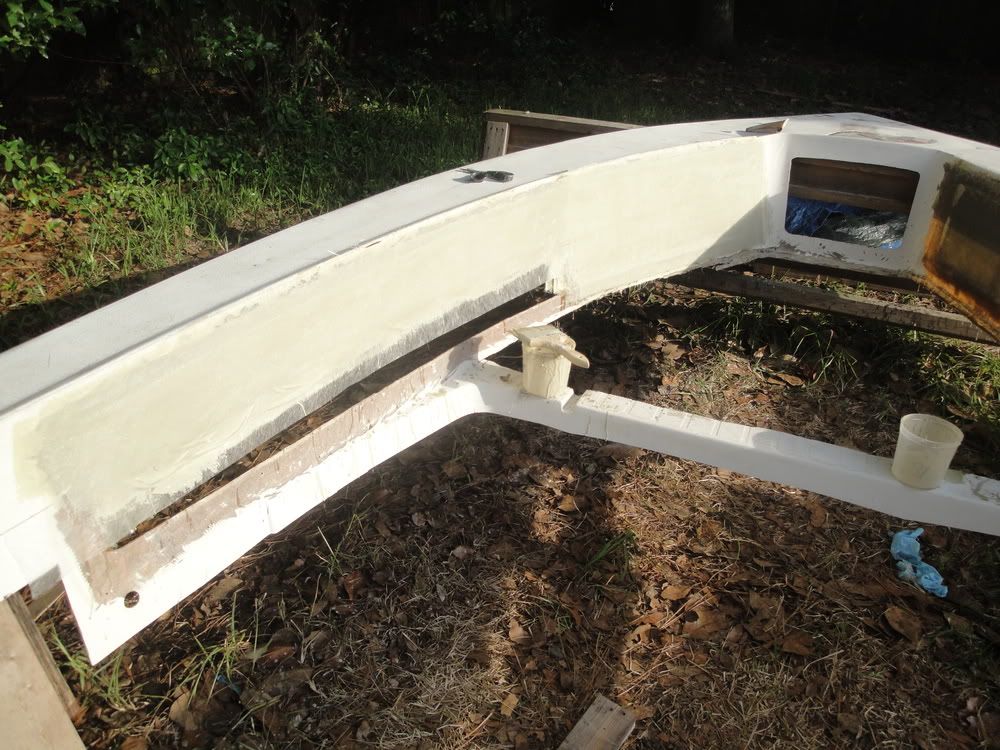 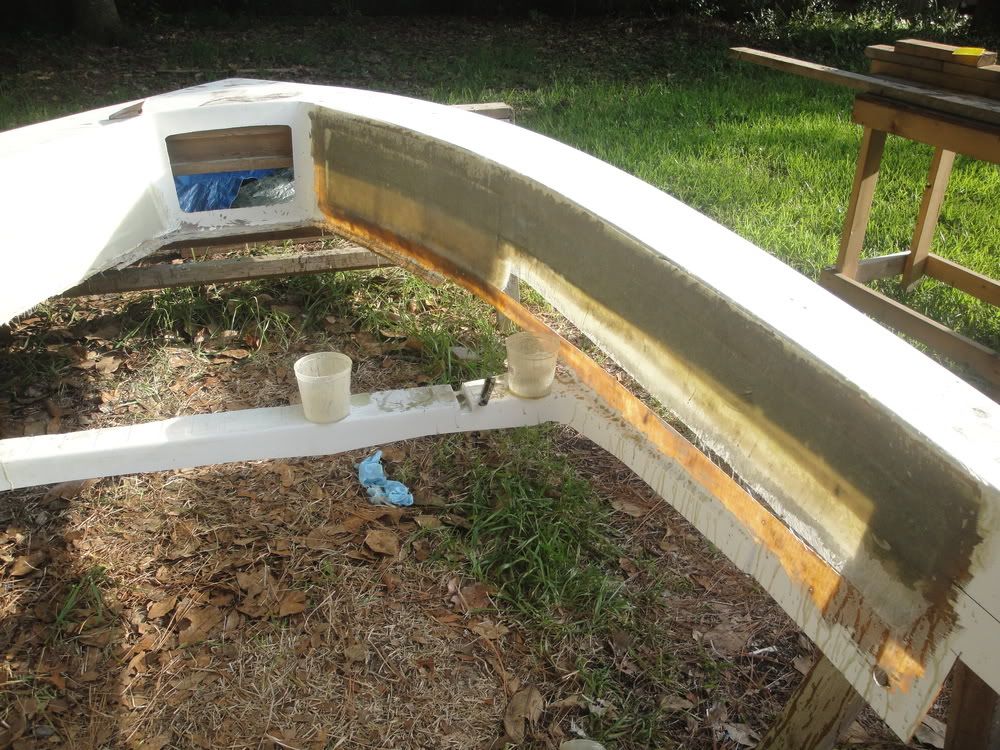 After doing some research I found that this boat did come with rod holders and decided to add some leftover coosa board for backing. After cutting out the divinycell. 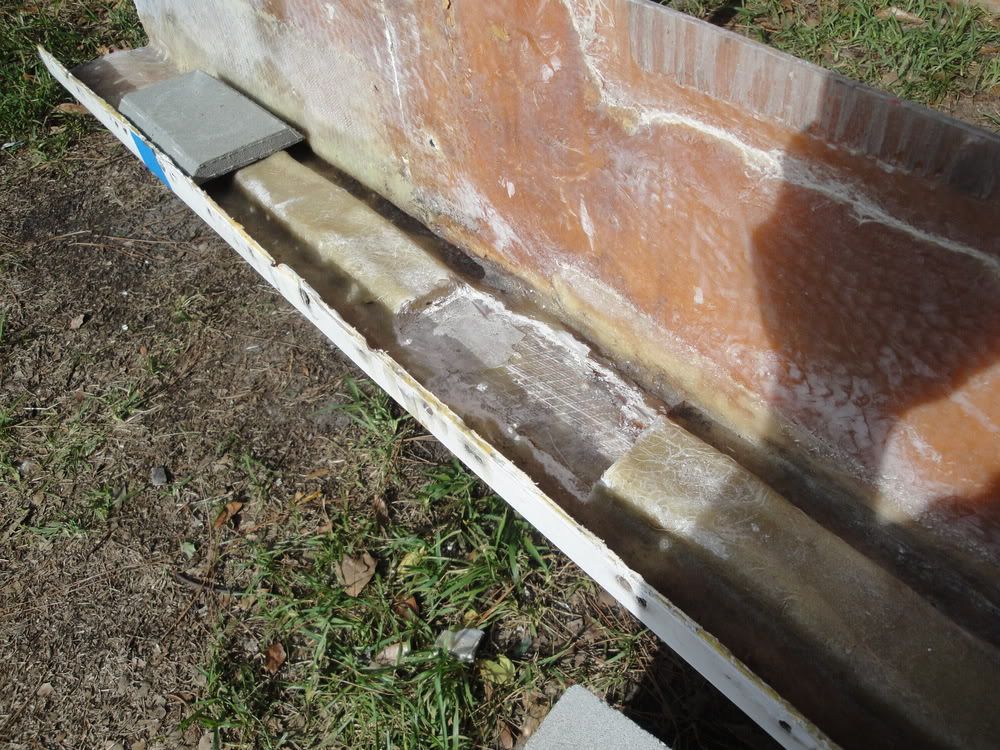 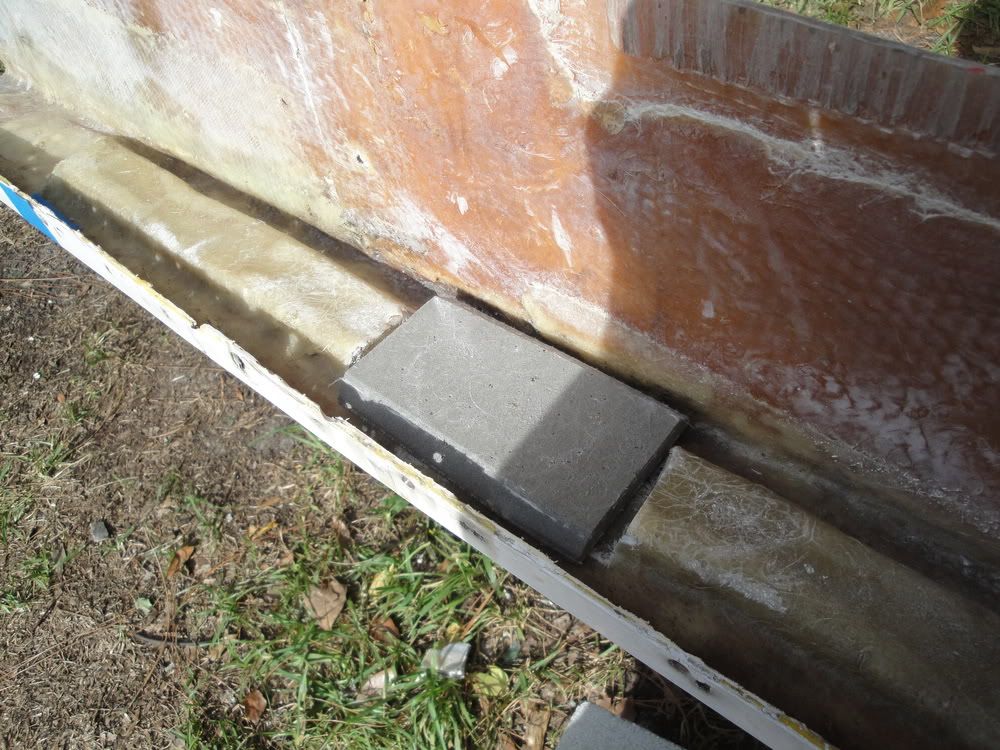 Coosa glassed in place. 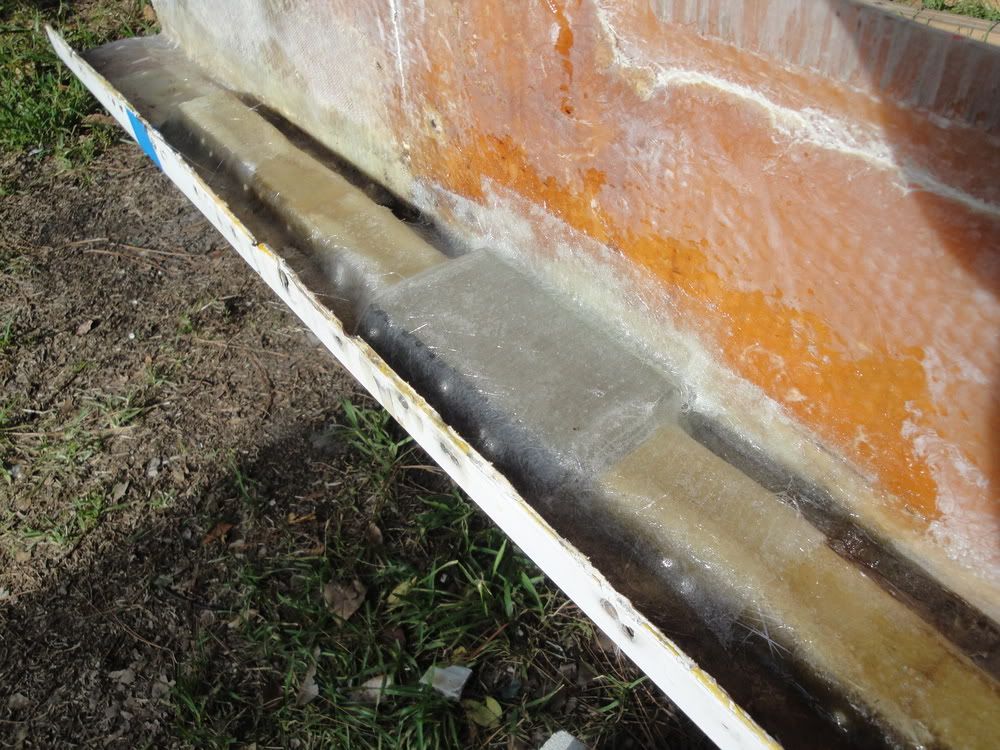 Ragged edge of the top cap from old screw holes. 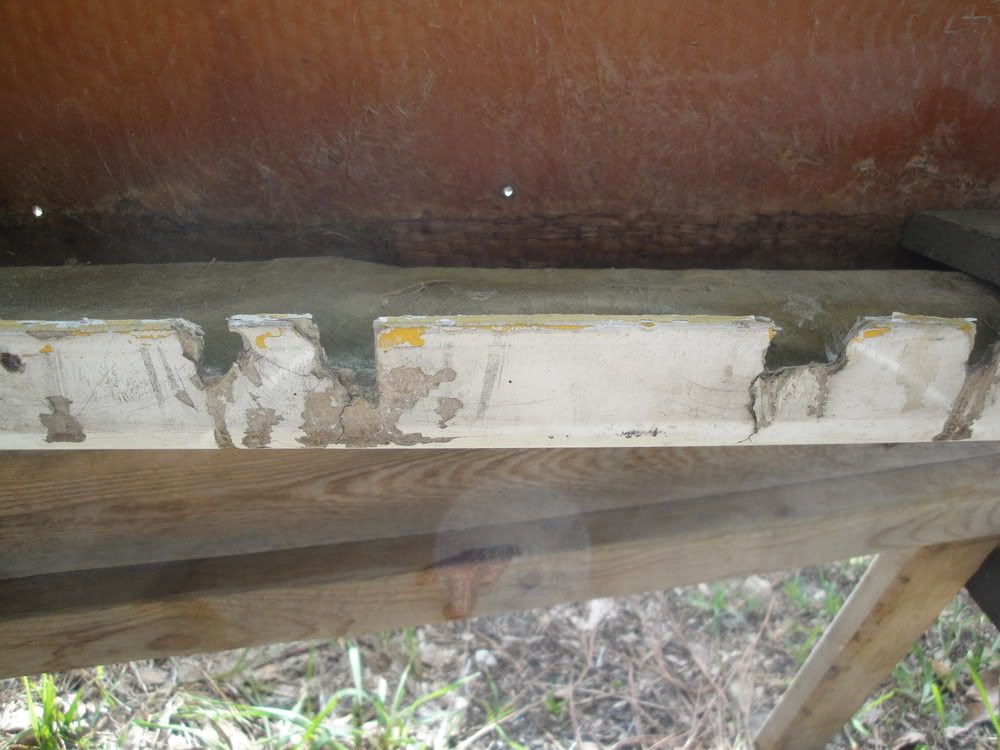 I used painters tape on both sides and a syringe to inject cabosil. It set up nicely after several hours. 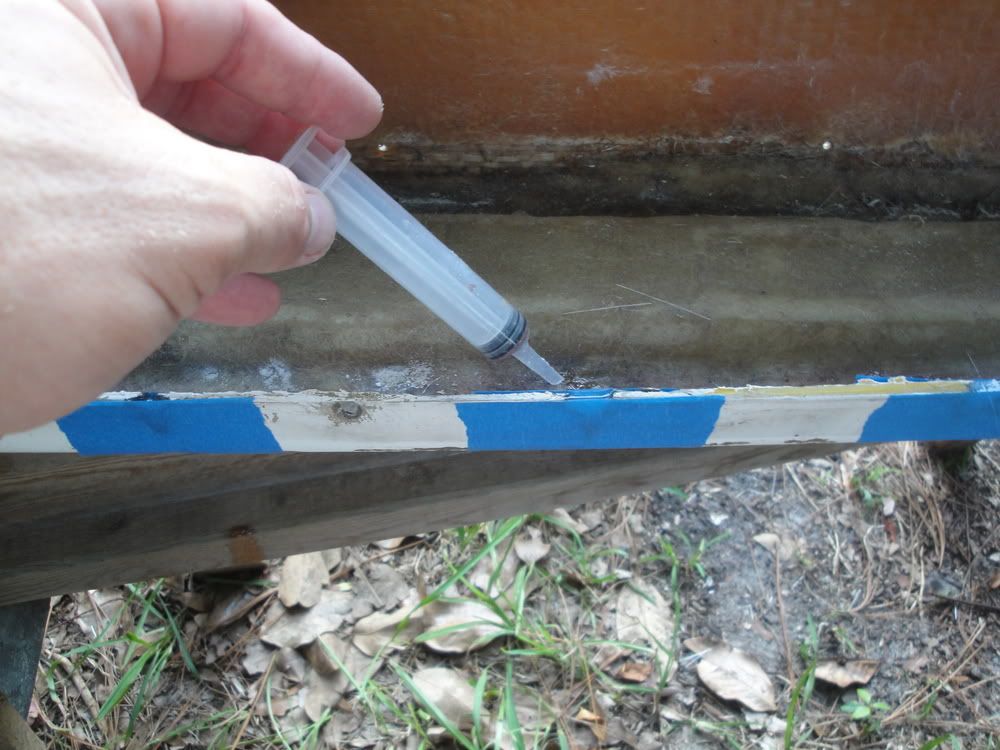 Top cap back in place temporarily. 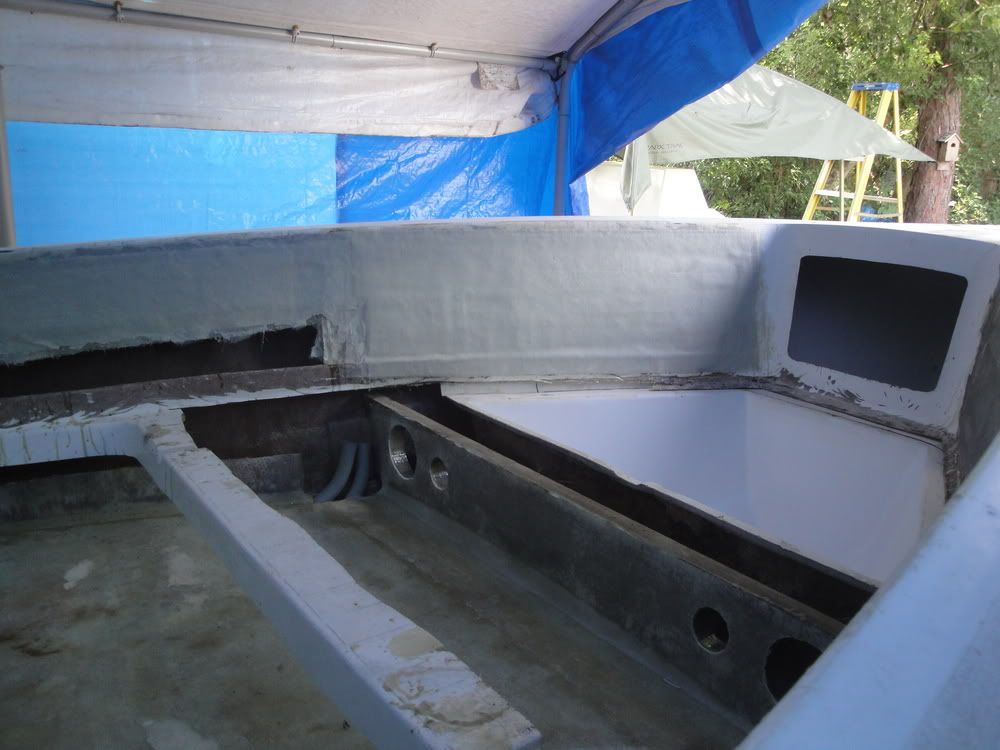 One conflict is that my raw water and rod holder location is now in conflict. I've got to figure out how to work around that. 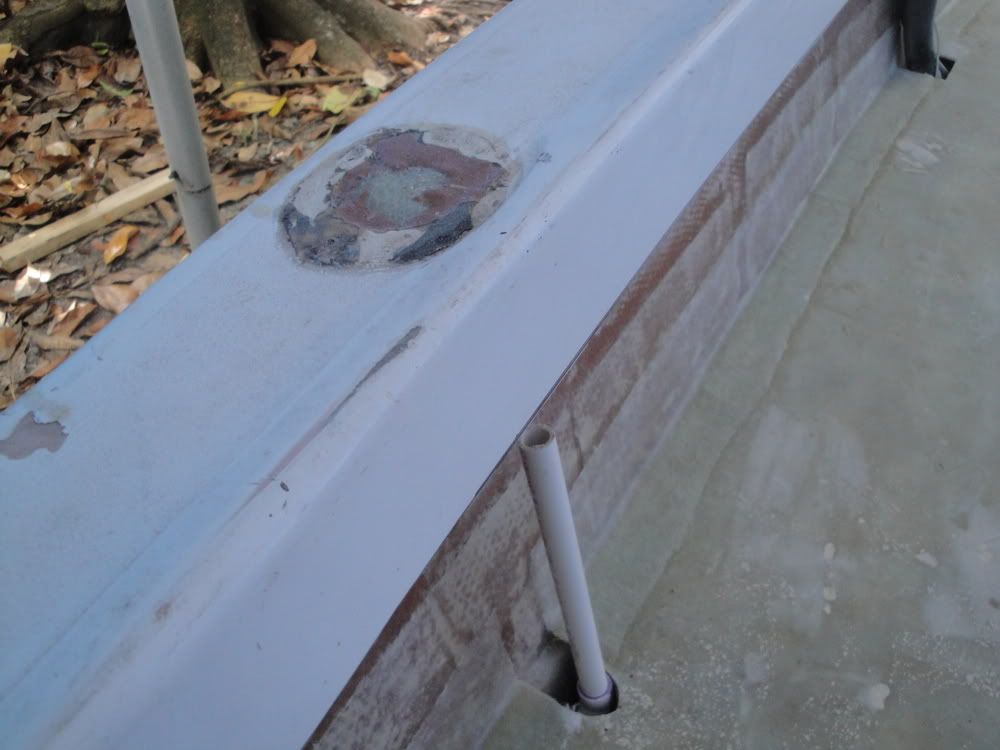 Cuts have been marked out. 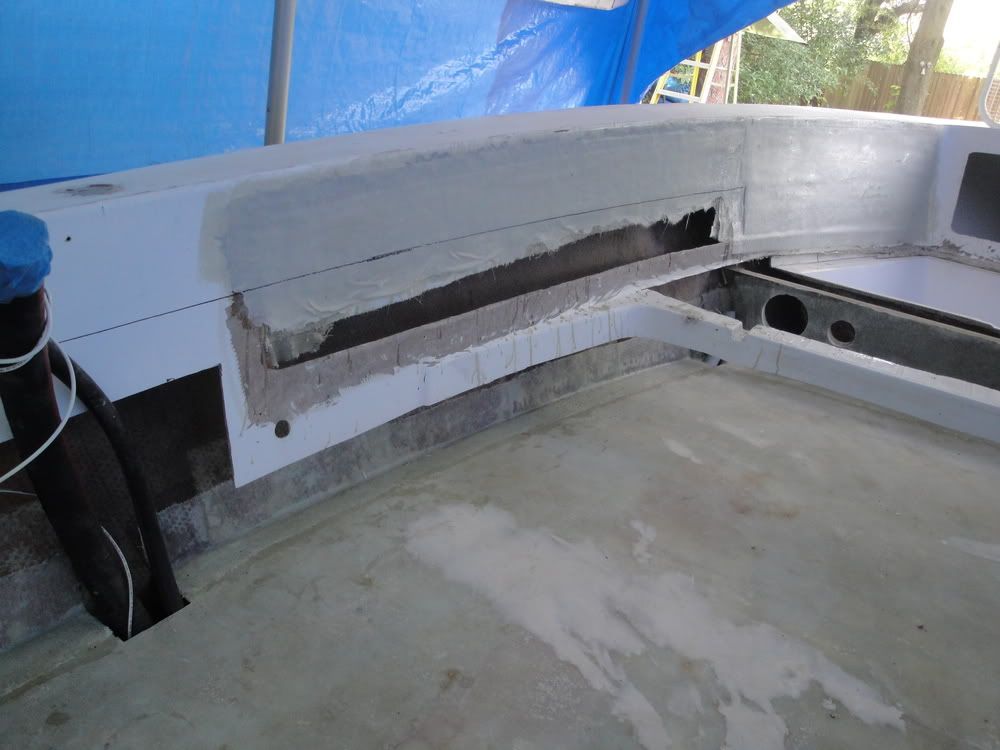 After cut is made. 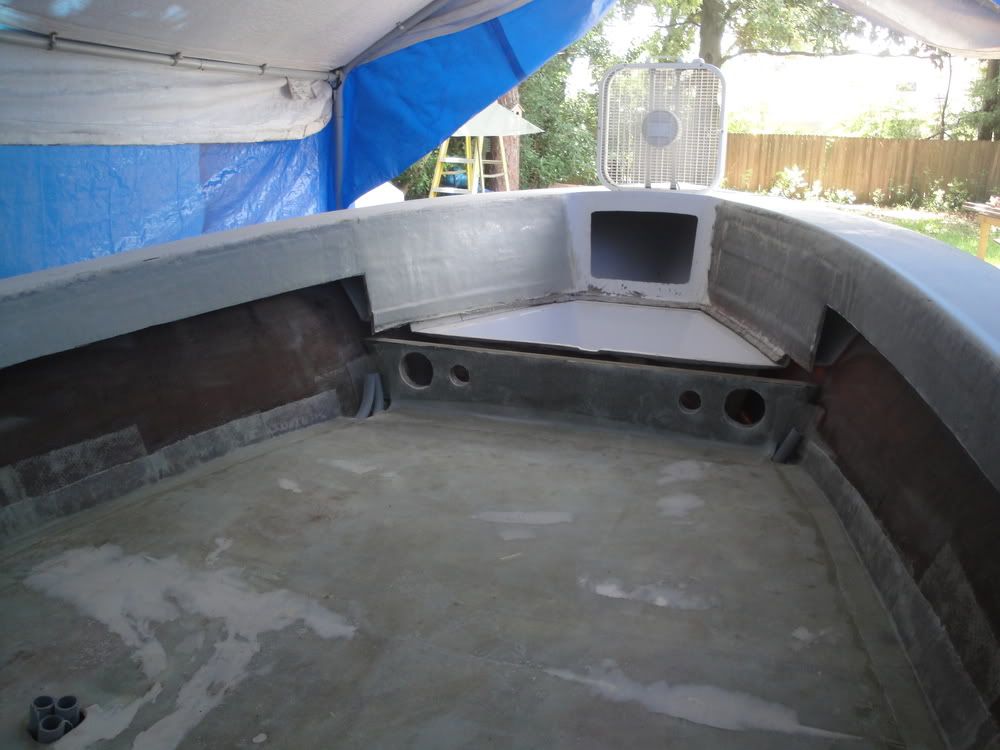 After giving it some thought I the decided to make the cut 4" the entire length. Marked again. 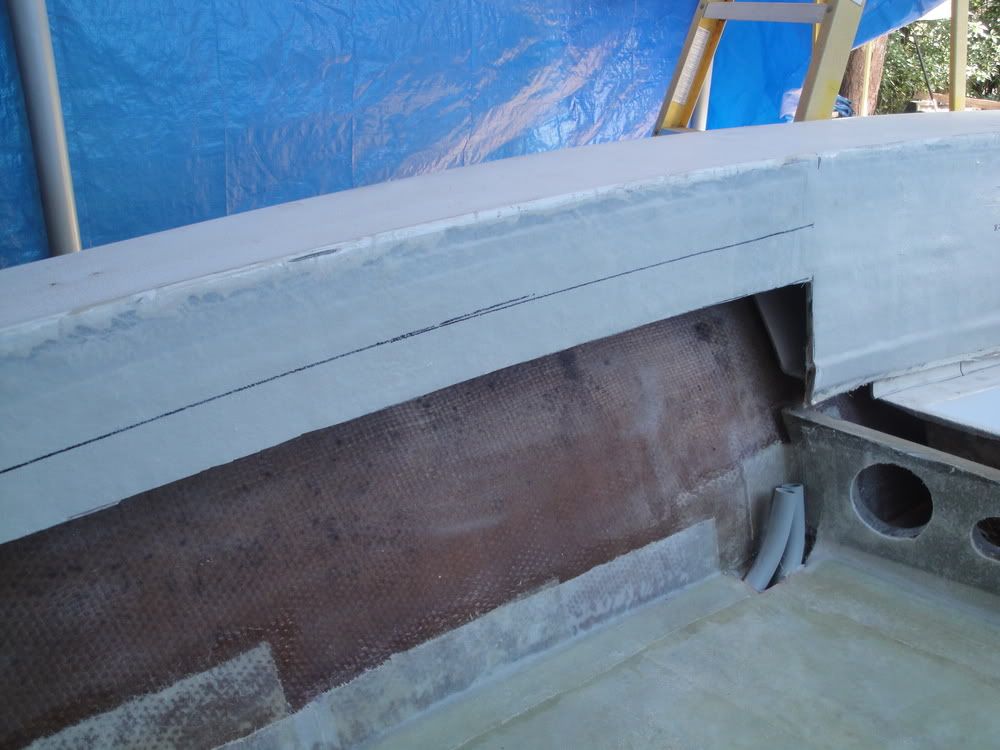 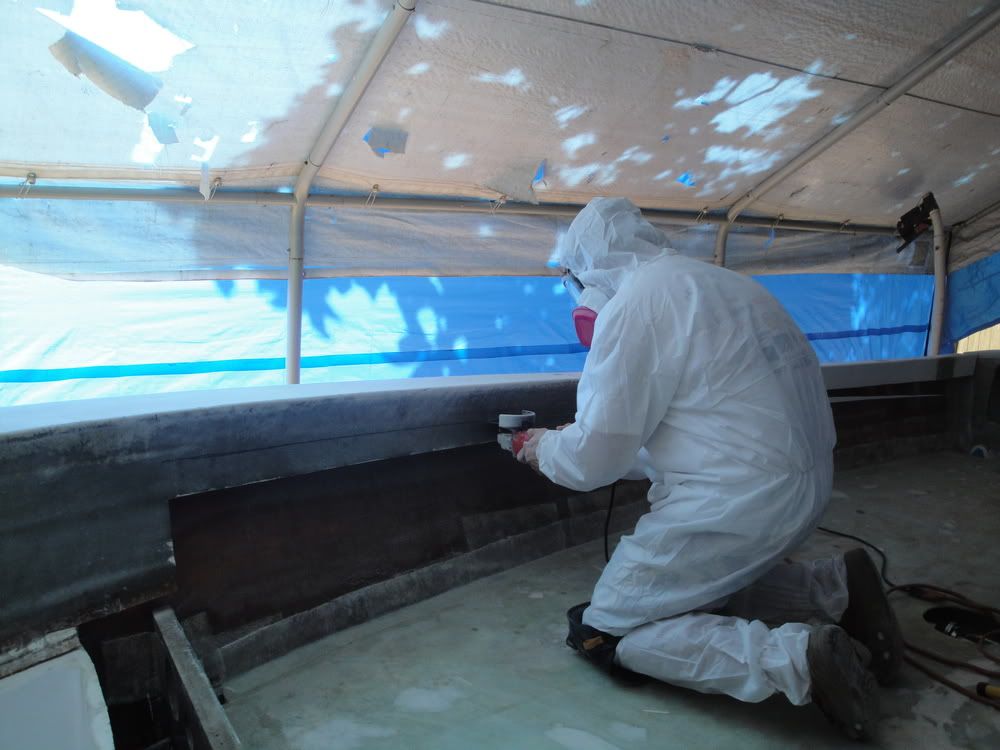
__________________
Will |
|
#130
|
|||
|
|||
|
Coming along nicely, keep it up!

|
 |
|
|