
 |
|
#101
|
|||
|
|||
|
I like the idea with the console and using the engine hatch!
__________________
Current SeaCraft projects: 68 27' SeaCraft Race boat 71 20' SeaCraft CC sf 73 23' SeaCraft CC sf 74 20' SeaCraft Sceptre 74 20' SeaCraft CC sf |
|
#102
|
|||
|
|||
|
got the coring all dry fitted , it took 7 4'x4' sheets to cut and fit everything with enough left over to do the hatches. I put corelite down where the console and leaning post will be mounted.
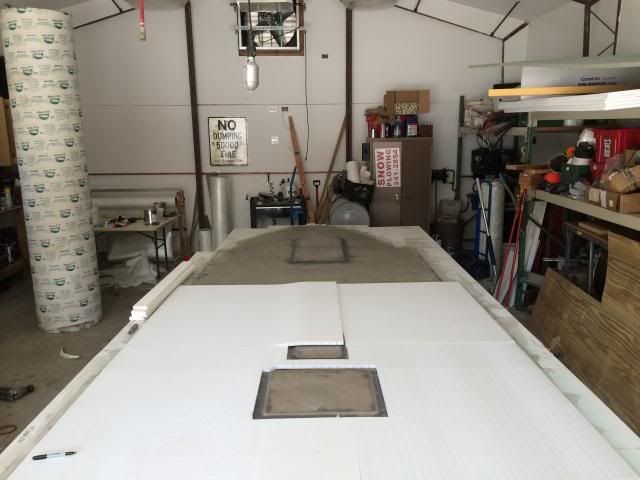 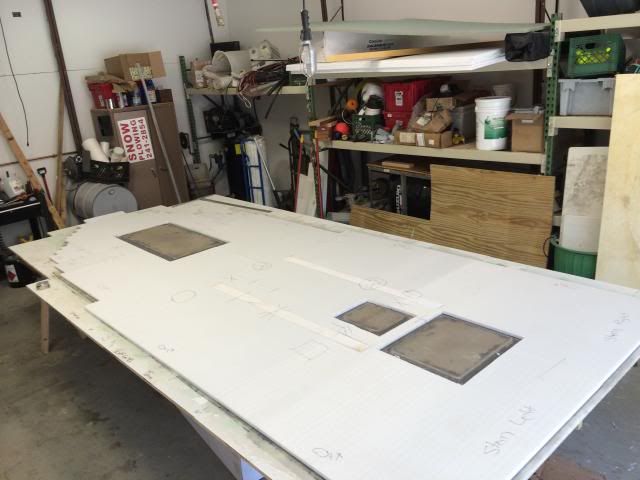 after everything is dry fitted, I mark everything to make it easy to reinstall after the I apply the divelette putty. 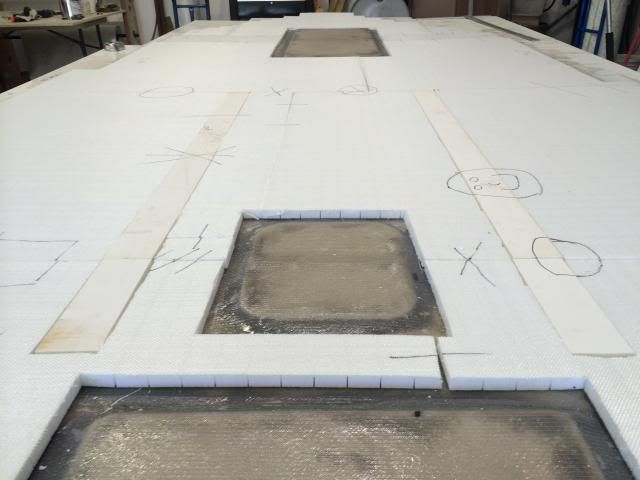 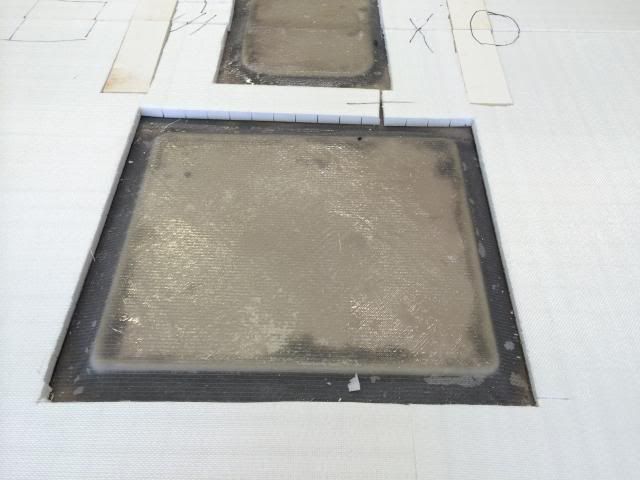 I ran out of putty and have to get more tomorrow. I got the back half of the boat all puttied into place.
__________________
36' Yellowfin 1972 20' seacraft 140 suzuki http://www.classicseacraft.com/commu...ad.php?t=18607 |
|
#103
|
|||
|
|||
|
I am REALLY glad you decided to finish this and not sell it. Seeing the craftsmanship of your work is awesome - please keep up the documentation - I have a lot to learn.
|
|
#104
|
|||
|
|||
|
guys thank you for the motivation.
lord that console is bad ass, I hope mine can look that good when its finished. does the livewell pressurized? got all the coring done and back filled around the hatches with deck putty and layed th final layer of mat,roving here you can see the trawl lines for the devilette putty this is how to bed the coring. 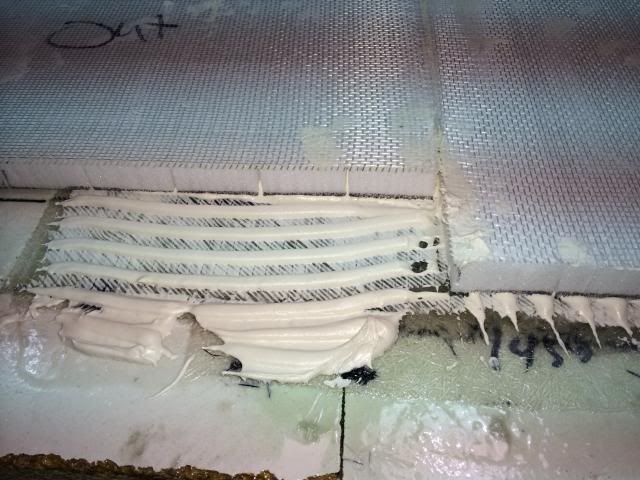 my multimaster has seen been days 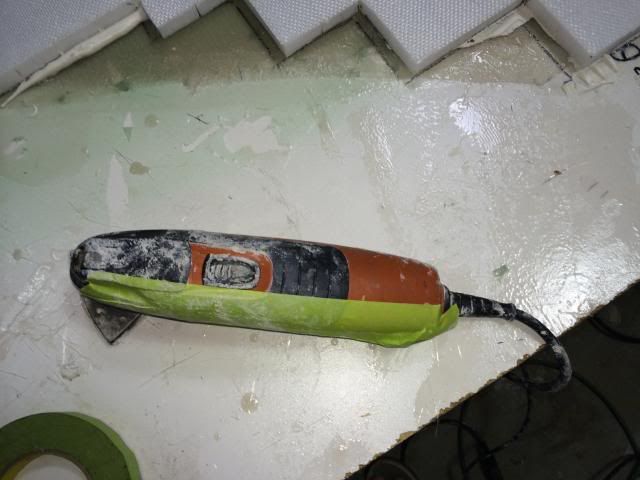  still maintaining the 1/4" crown  I alright I saw my masons using these to fill the cracks between the bricks and I thought I would try them, got them from home depot for a couple bucks apiece. they really worked well for controlled putty, filleting 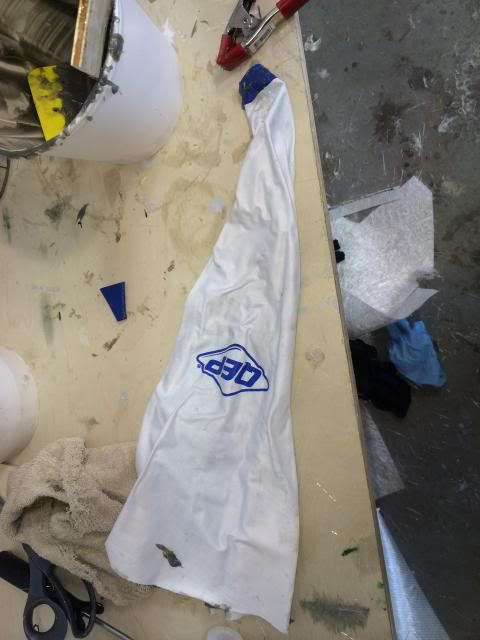 this is the easiest way I found to fill them 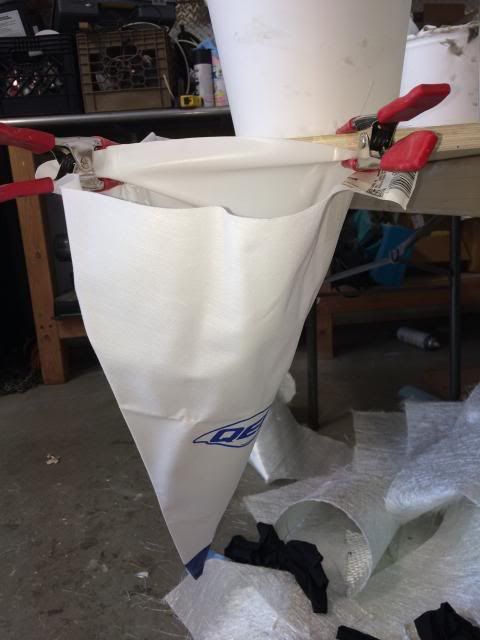 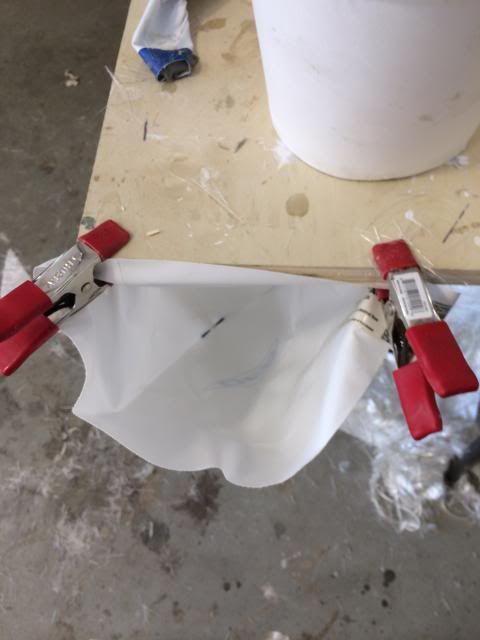  nice and smooth with no goobers or spillage  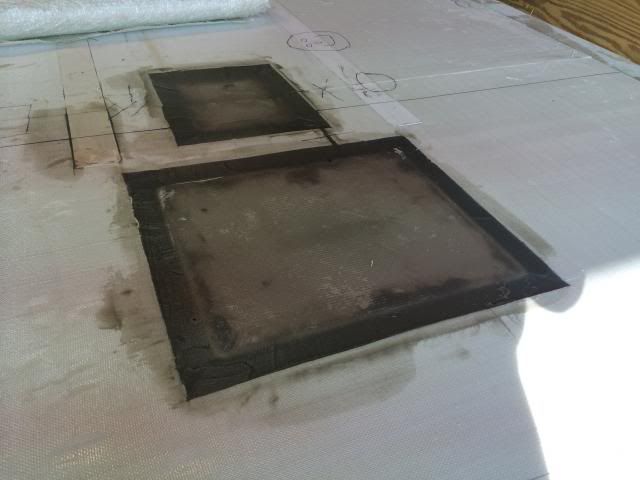
__________________
36' Yellowfin 1972 20' seacraft 140 suzuki http://www.classicseacraft.com/commu...ad.php?t=18607 |
|
#105
|
|||
|
|||
|
here is the laminating, I had my buddy over to help, I had the glass all cut and clamped, resin in the buckets, rollers on and it took 45 minutes to lay it up. gonna pop it off tomorrow afternoon.
  
__________________
36' Yellowfin 1972 20' seacraft 140 suzuki http://www.classicseacraft.com/commu...ad.php?t=18607 |
|
#106
|
|||
|
|||
|
well today was the day. got home early and decided to pop it. It was a little husky and sharp getting it up. I called in some friends that were local to help me flip it . once I got it flipped, I cut all the trimmings off with the diamond trimmer and gut the rest of the depth with the jig saw.
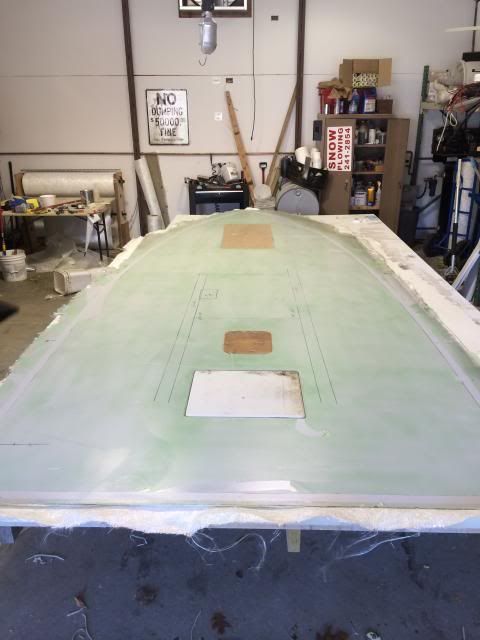 hatches fit really nice 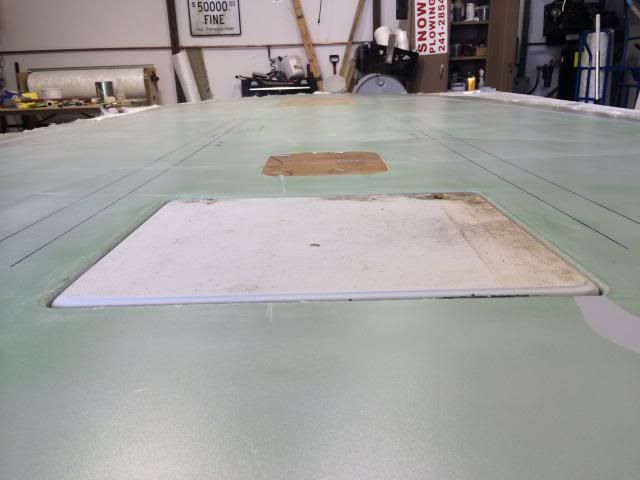 here is how I got the plugs out of the hatch openings, I cut the middle out and pryed and wedged it from there. never pry on the edge as you can do damage. 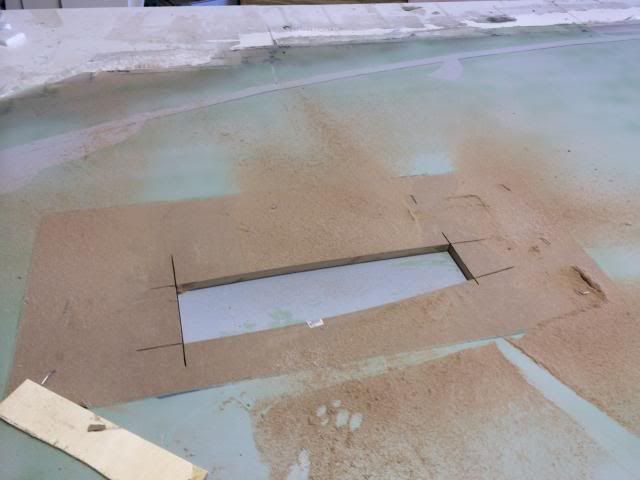 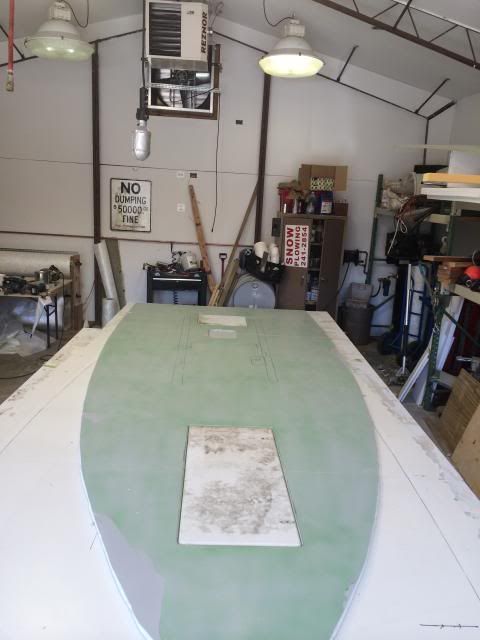 here is how I cut the flange for the hatch openings, I ripped a piece of scrap up and radiused the edge for the inside 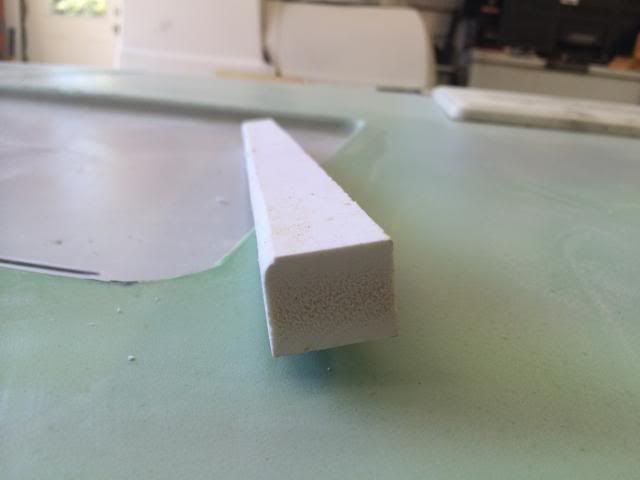 after that I took air trimmer and cut 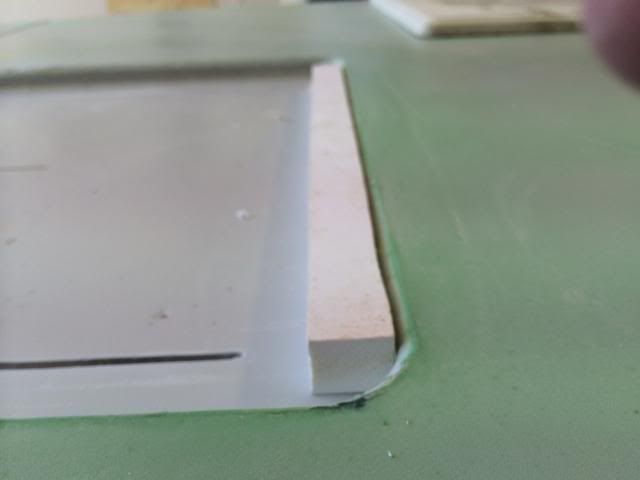 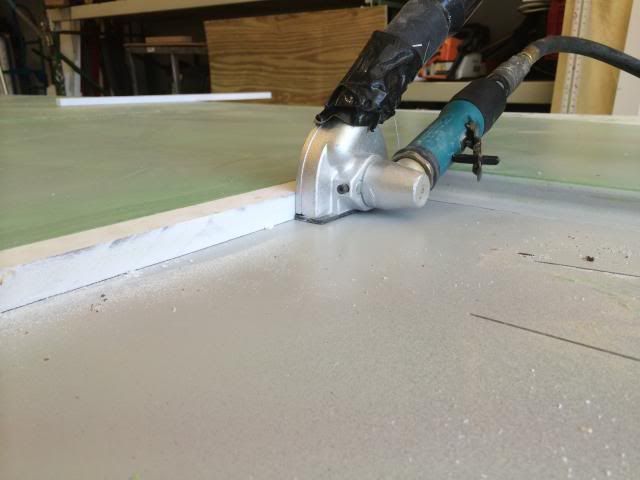 after the last of the trimming it was time 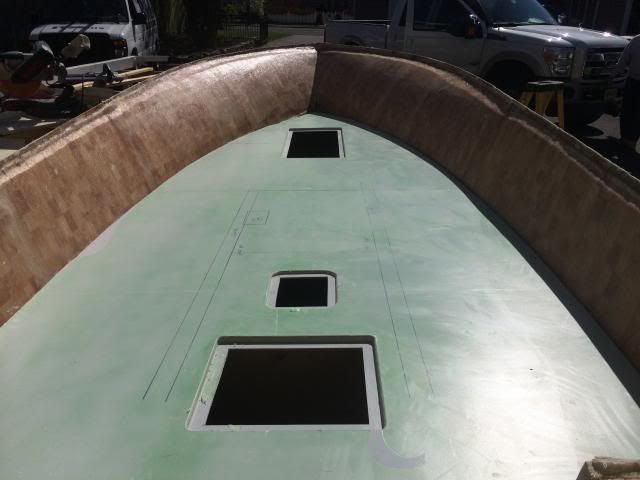 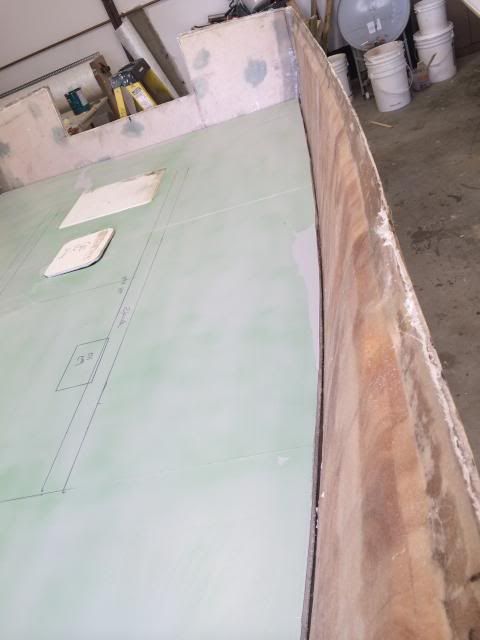 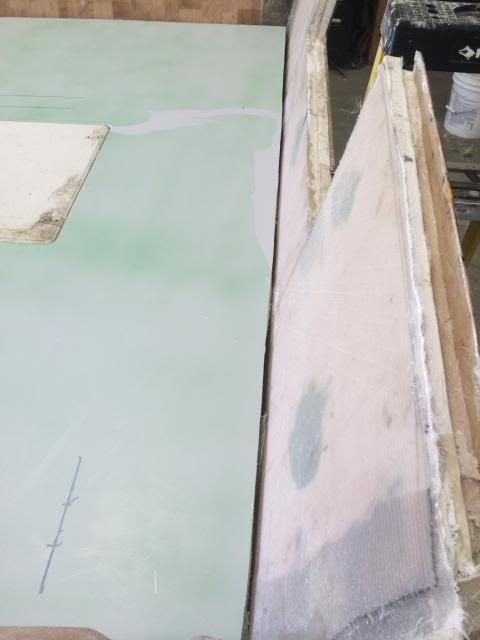 have to trim the gas tank sending unit cover down and everything will fit. 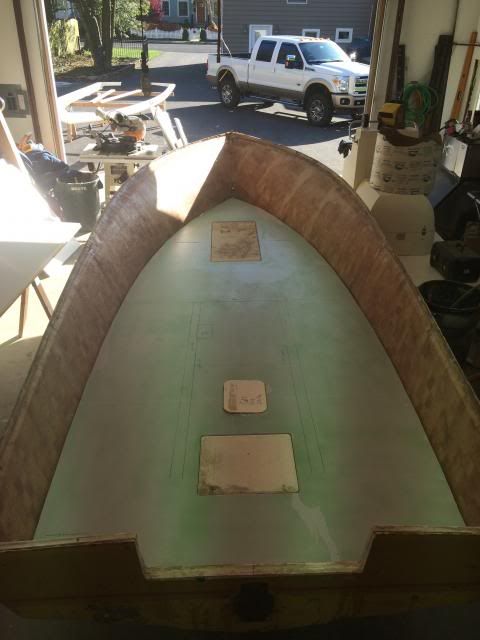 I am waiting on a bucket of arjay technologies 1721 bedding compound. to bond the deck to the stringers.
__________________
36' Yellowfin 1972 20' seacraft 140 suzuki http://www.classicseacraft.com/commu...ad.php?t=18607 |
|
#107
|
||||
|
||||
|
Quote:

__________________
   1978 23' Superfish/Potter Bracket 250HP -------- as "Americans" you have the right to ...... "LIFE, LIBERTY and the PURSUIT of a Classic SeaCraft" -capt_chuck |
|
#108
|
|||
|
|||
|
hey if it worked for the last 30 years why not...
__________________
36' Yellowfin 1972 20' seacraft 140 suzuki http://www.classicseacraft.com/commu...ad.php?t=18607 |
|
#109
|
|||
|
|||
|
Takeapartable as well. Not kind, but doable.
How would you get your old fuel fill hose out if you were in my shoes? In foam. Deck down. Nice work. Cheers, Us pumpkins |
|
#110
|
|||
|
|||
|
What happened to the duratec primer that you placed down first on the lay up table??? I was expecting the top of the deck surface to be primed gray once you flipped it over. I see some of it but not much. Did it stick to the table and not stay on the resin or am I missing something???
Looks real nice btw.
__________________
Current SeaCraft projects: 68 27' SeaCraft Race boat 71 20' SeaCraft CC sf 73 23' SeaCraft CC sf 74 20' SeaCraft Sceptre 74 20' SeaCraft CC sf |
 |
|
|