
 |
|
#11
|
|||
|
|||
|
27 is at the base
__________________
1974 23 SF - "Likes It Rough" http://www.classicseacraft.com/forum...rt=&PHPSESSID= |
|
#12
|
|||
|
|||
|
Progress slow. My landscape co. takes all my free time and my Fam gets the rest. Did get the console hammered out. Cut out 10 in" from center, removed front seat and laid up a panel on my molding table to fill void for gauges.
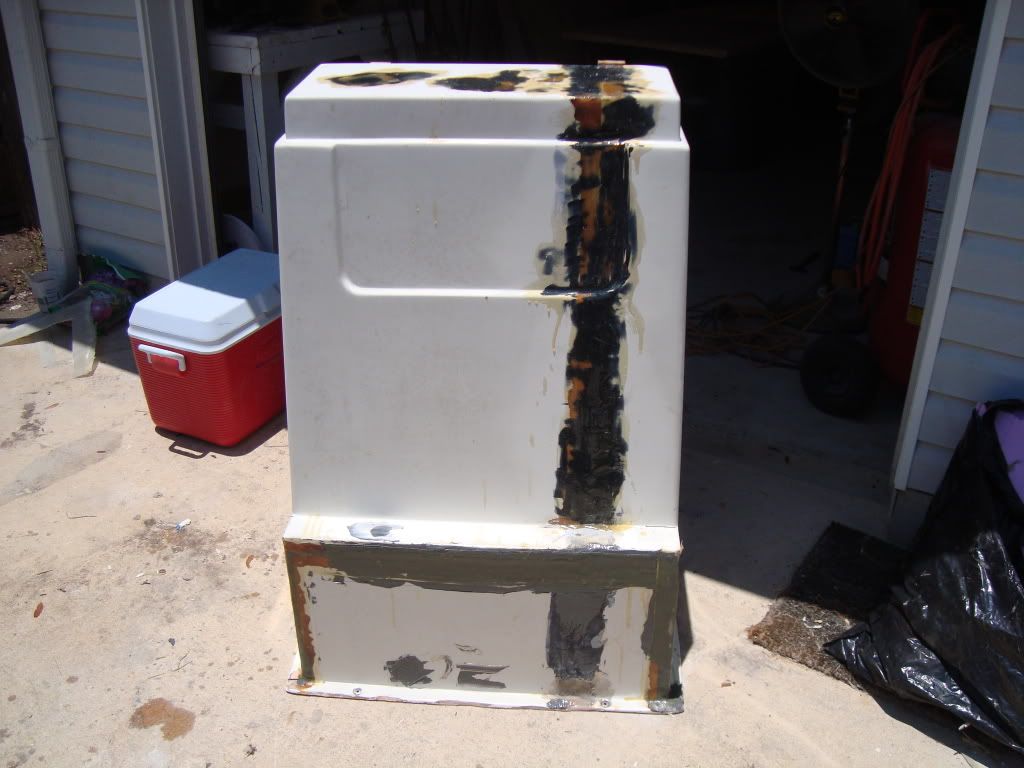 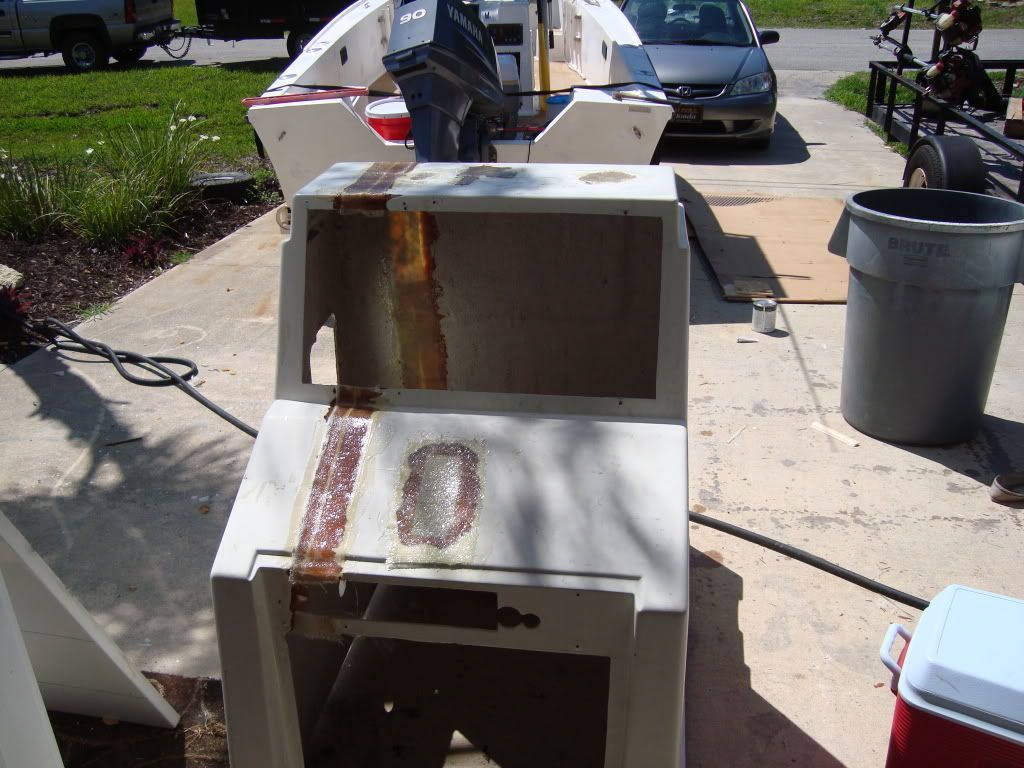 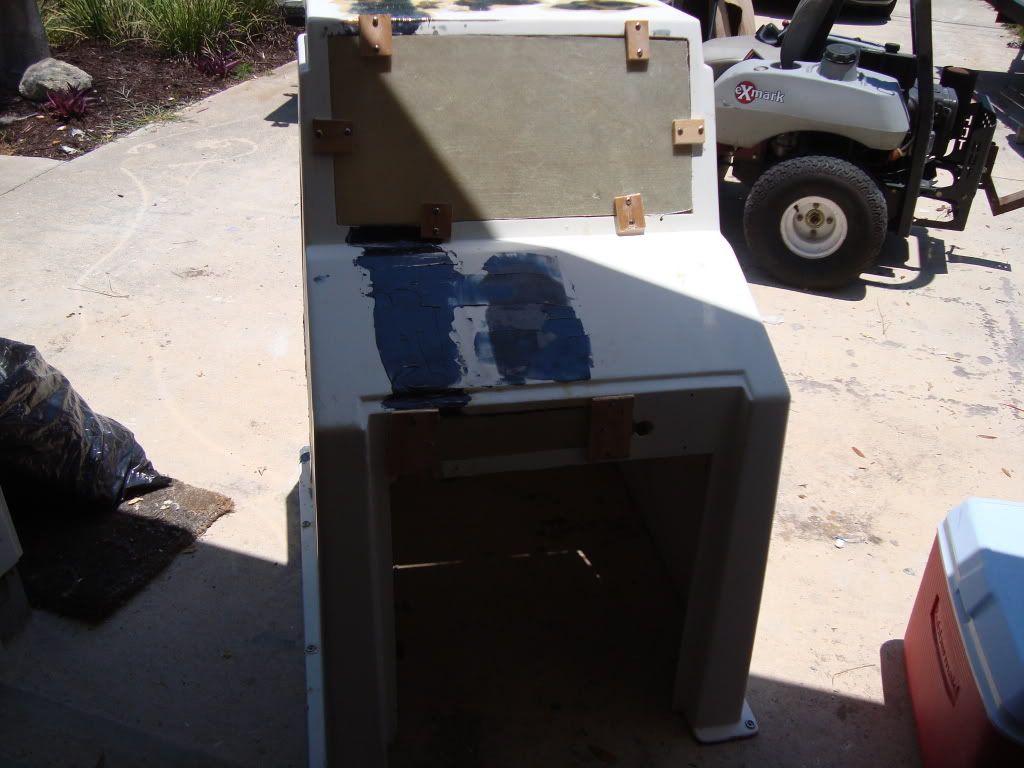 I'm a bit farther along then pics show. The whole console needs a once over with the sander and I want to work on the flange some more. I also began to tear out the floor. PO said the floor was fine. It was rotted on starboard side but was tough to remove because the solid glass rigging tube tore up every blade I had. More pics to follow. PS thats my lil 17 Mako in the back. It needs to go up for sale soon but I like having a running fisher while the Seacraft is under the knife.
__________________
www.lionheartlandscapes.com Design, install, and concrete pavers. Will travel |
|
#13
|
|||
|
|||
|
Started with some part making. PO had Hermco make and install the transom cap and he built a transom live well in it. So I went to making a resessed hatch to glass in.
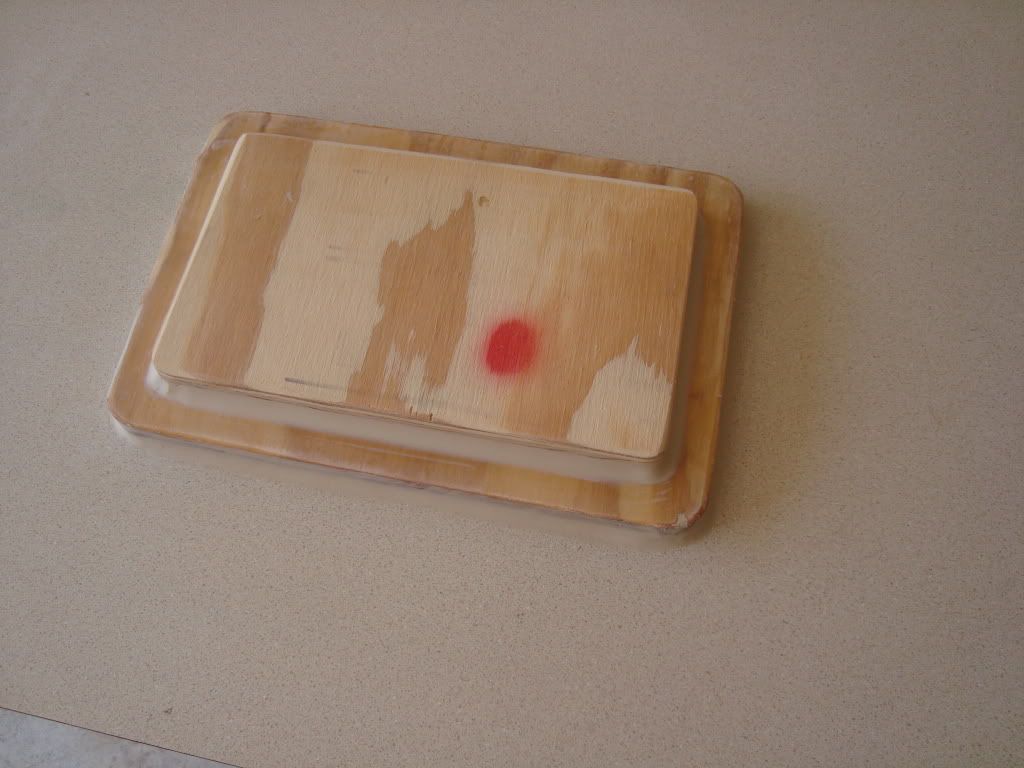 That was the mold 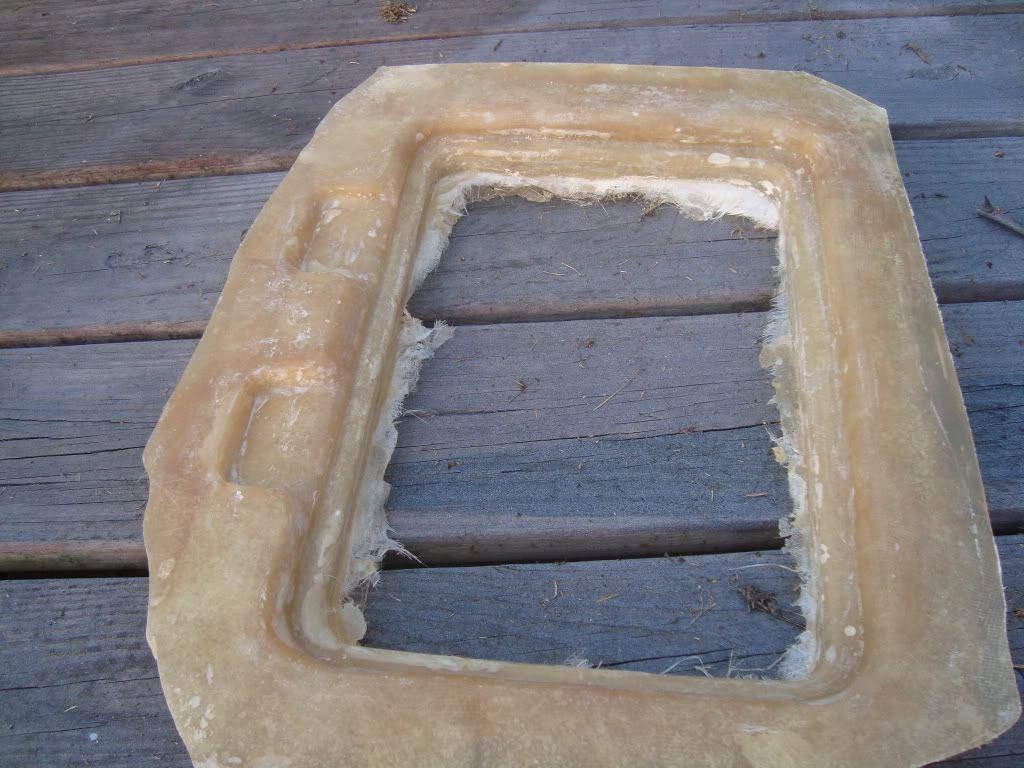 and the part it made. I'm on a budjet and using what I have around. I sanded the ply wood waxed several times and wiped pva on with a sock. I brushed on a thick coat of poly resin then did my lay up. First 2 try didnt cut it. 3rd needs a little work but will do.
__________________
www.lionheartlandscapes.com Design, install, and concrete pavers. Will travel |
|
#14
|
|||
|
|||
|
Quote:
Sometimes trying to save a buck...will cost you several more bucks... 
__________________
[SIGPIC][/SIGPIC] "If You Done It...It Ain't Braggin" my rebuild thread: http://www.classicseacraft.com/commu...ad.php?t=18594 |
|
#15
|
|||
|
|||
|
smooth wasn't the problem. It was bubbles between the first and second glass layer. I had some real real fine cloth laying around and used it for the first layer and the second layer didn't bond to it well and made flimsy pockets. The rest came out smooth. I sanded and waxed the raw wood and didn't have any release problems it popped right out smooth.
__________________
www.lionheartlandscapes.com Design, install, and concrete pavers. Will travel |
|
#16
|
|||
|
|||
|
made some progress. I got most of the floor out and first glassed the cutouts to foam fill the stringers. The forward port wedge floor support had seperated. The void wasn't fully filled with foam and I think the floor and fat bead of potter putty caused it to seperate. I filled with foam, trimed off excess and glassed over that to.
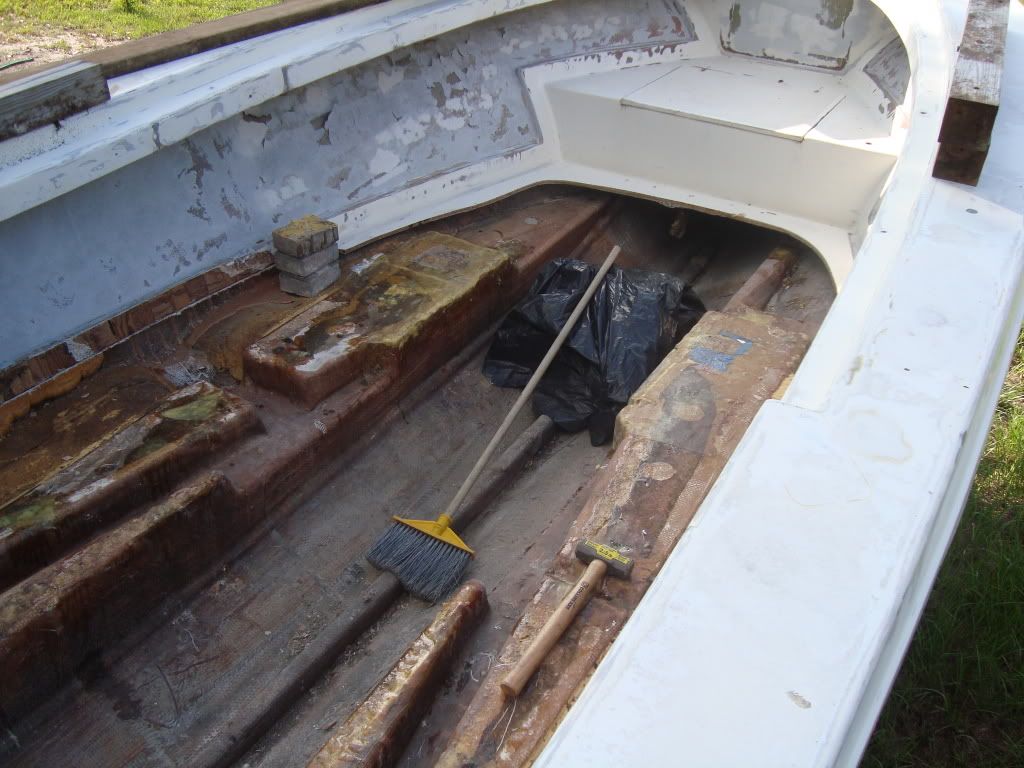 Also on the port side, the back of the rear wedge/ stringer had been cut to allow for fuel fill and breather. Was this factory or to acomadate a different fuel cell? 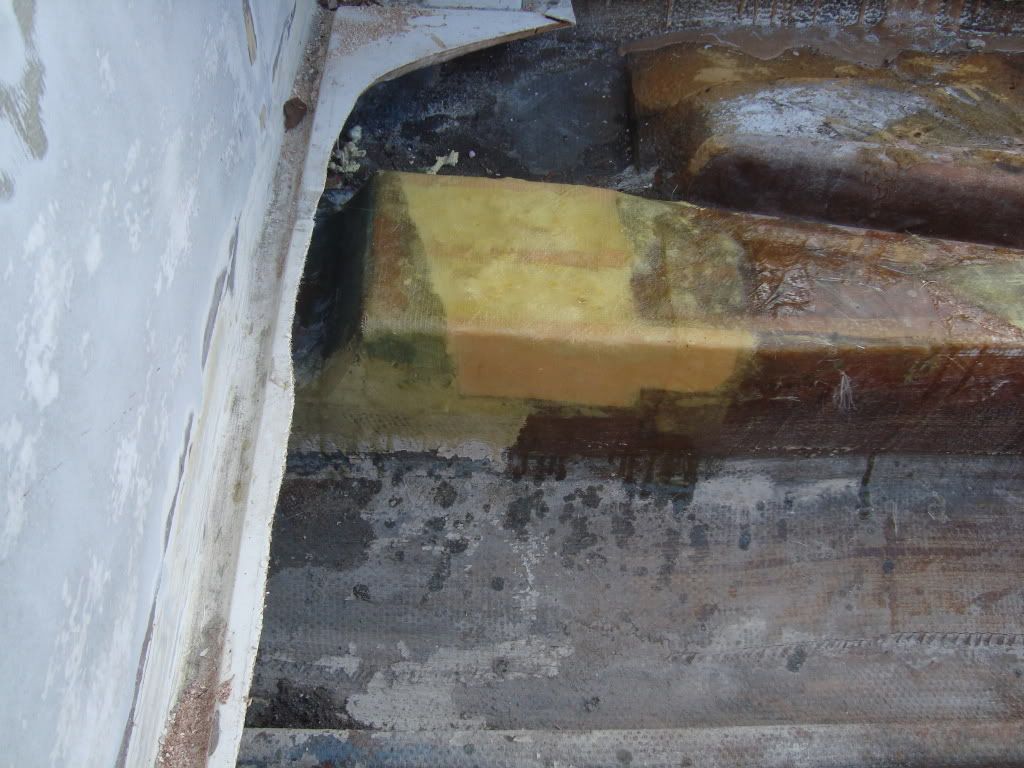 I used some pink foam insulation board to frame the sides. Glassed those in, then filled with foam, trimmed and glassed again. I was unsure about the foam but, figured it would be a good place to experiment cause it wasn't structural. Outcome was good. I can smack the side with a small sledge and it does not compress the foam. Last picture shows a piece of angled metal screwed to the stringer. Is it a repair or has anyone else seen this? 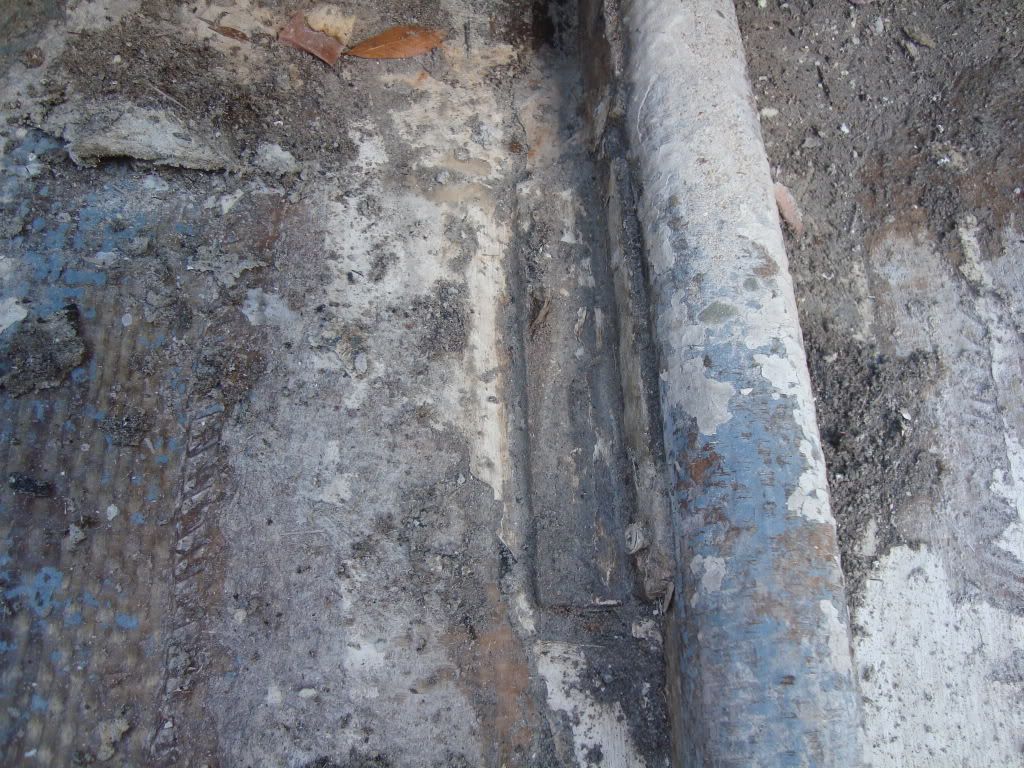 Next step is to raise the wedge/stringer and mount supports on the inside of the hull for the new floor.
__________________
www.lionheartlandscapes.com Design, install, and concrete pavers. Will travel |
|
#17
|
|||
|
|||
|
I've raised the stringers and glassed the new fuel cell supports and am trying to decide if I should put the tank as far forward as I can near the casting platform or closer to the center. I plan on running a 150 4 stroke and transom has a live well. I want to balence the weight but don't want to bury the bow in big seas or comming through the inlet. Any insite would be greatly appreciated. I'll post some progress pic soon.
__________________
www.lionheartlandscapes.com Design, install, and concrete pavers. Will travel |
|
#18
|
|||
|
|||
|
I am kinda in the same boat as far as where to place my tank. I will also be putting a 150 4stroke but installing a bracket too. I have a 175 Johnson (#375) on it now and run a 30 gal baitwell under the leaning post and the boat rides just fine. I have tabs on it but could either use some bigger ones or maybe move my tank up a couple feet when I redo my boat this winter, just to get the bow down some more. Are you going to do a bracket or just mount the motor no boat.?
|
|
#19
|
|||
|
|||
|
The 20' hull was designed for motors of about 300 lbs! If you're gonna hang a 500 lb motor on it, especially on a bracket, I'd move that tank as far forward as you can, especially if it's a cc, which tends to be more stern heavy than my Seafari! Maybe put the batteries in the console too!
__________________
'72 SeaFari/150E-Tec/Hermco Bracket, owned since 1975. http://i188.photobucket.com/albums/z...Part2019-1.jpg |
|
#20
|
|||
|
|||
|
Seacraft84 I already have a Hermco Bracket PO had installed. Thanks Bushwacker thats what I thought, I'll secure the tank as far forward as posible and batteries will be under the console.
__________________
www.lionheartlandscapes.com Design, install, and concrete pavers. Will travel |
 |
| Thread Tools | Search this Thread |
| Display Modes | |
|
|