
 |
|
#121
|
|||
|
|||
|
I did some fiberglass and filling to the cap just to do some mindless work. I also started cutting some holes for the hardware. I also treated myself to a new hot glue gun and its bad ass!
made a template for the acorn pop up bow light , I took some measurements and pulled a string for the center.   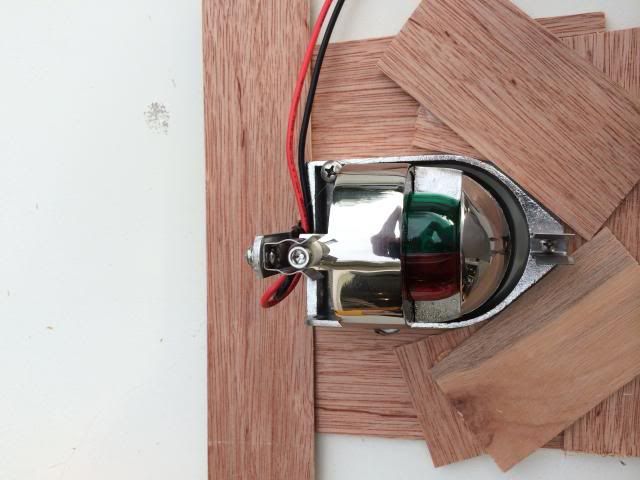 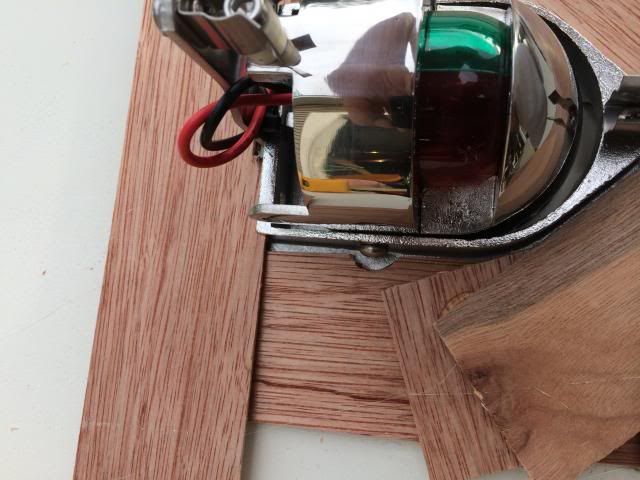 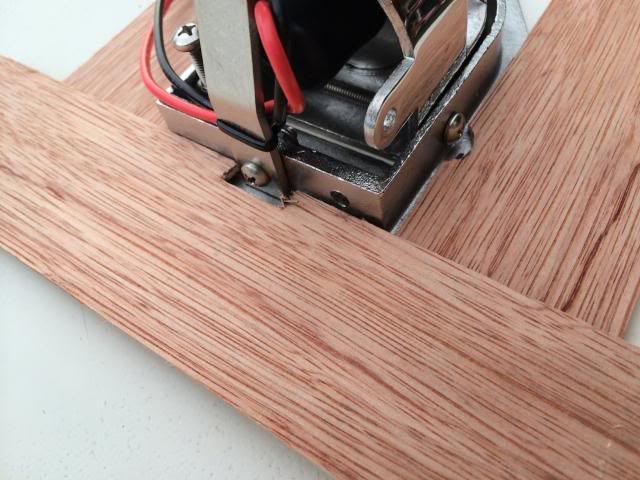  I cut the the hole for the bow cleat also I had to make a template for the sending unit pie plate.  I got my potter putty after 2 weeks and I think the air mail dropped it out of the plane into my front yard.  
__________________
36' Yellowfin 1972 20' seacraft 140 suzuki http://www.classicseacraft.com/commu...ad.php?t=18607 |
|
#122
|
|||
|
|||
|
I got lots of hardware in, I had the tank built by SP tanks in Barnegat. they built the last one and it was done right. The new one I had built out of 1/4" plate and it is heavy. It will be a 50 year tank! I also got the hose clamps, neoprene, hose and marine adhesive for the neoprene.
 did some measurements and cut the hole for the gas fill and vent through the for.  I had Fabtech in Daytona build me the leaning post just the way I wanted it and Ed killed it. I made it in the miniature version of a bigger one. storage under the seat , 3 rod holders and removable back rest   I also had a pile of stainless hardware get delivered from GEM  and this steering wheel that will go with the boat if I ever sell it !! 
__________________
36' Yellowfin 1972 20' seacraft 140 suzuki http://www.classicseacraft.com/commu...ad.php?t=18607 |
|
#123
|
|||
|
|||
|
I'm due for a new glue gun..... Thanks!
1. I wish that we had the quality of bass that you guys get. 2. That boat is going to be Bad A$$ strick
__________________
"I always wanted to piss in the Rhine" (General George Patton upon entering Germany) |
|
#124
|
|||
|
|||
|
Strick its all the nuclear waste that make them big! fishing has been good and getting better.
I had a few hours and an extra set of hands this afternoon to help me get the deck out of the boat. I have some work to do under the decks before the they go in permanently. I installed the neoprene strips on the the beds for the tank, and started installing some sleeves for rigging. I cut the holes 1/4" bigger and fill around them with dynaglass thru a caulk tube. I cut the pvc a little bigger and then grind them flush with the hole. 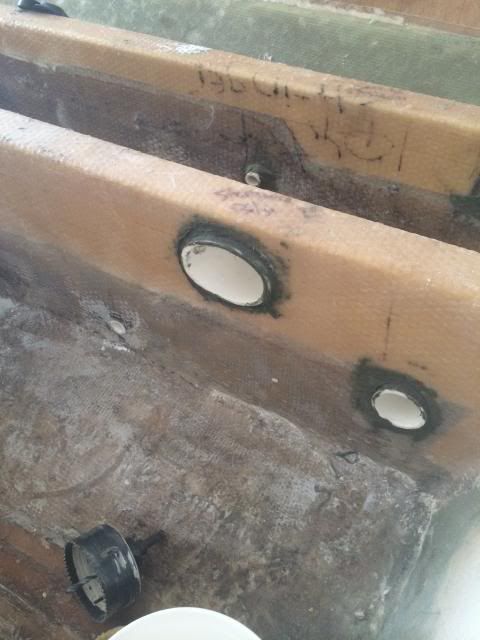 the gas tank grew by a half inch somewhere along the way and it is infront of the rigging tubes by a 1/2" its alright I am just gonna cut pvc to fit through the bulkhead and then deal with rigging 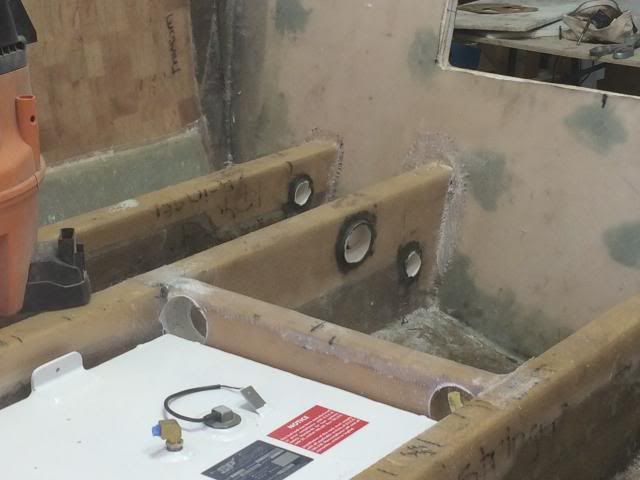 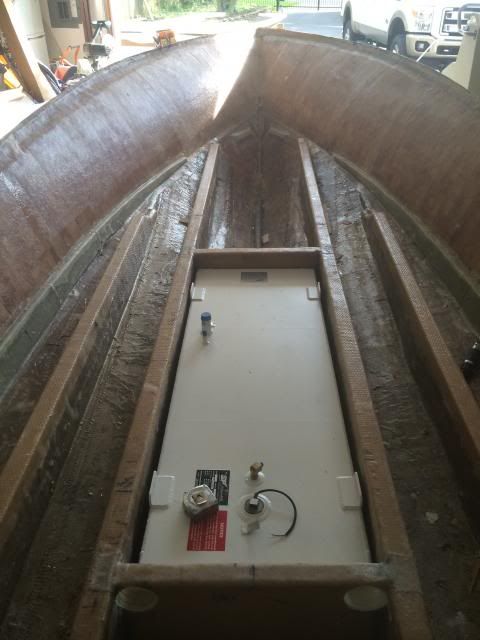 I couldn't deal with the stupid 2x4 going down through the center of the floor box so out it came, I cut a piece of 1" foam that I bonded in there and I am going layup a couple layers of mat and roving to smooth it out for gelcoat. the foam is 1.5" w and 2" tall to create a hard right angle for strength. the front floor box and the bilge will be white gelcoat. 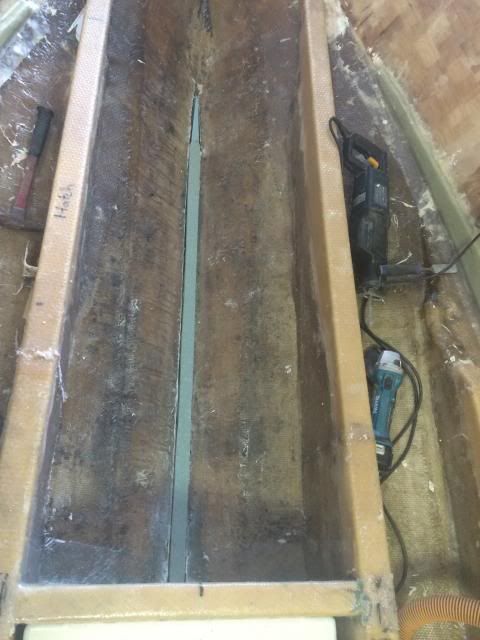 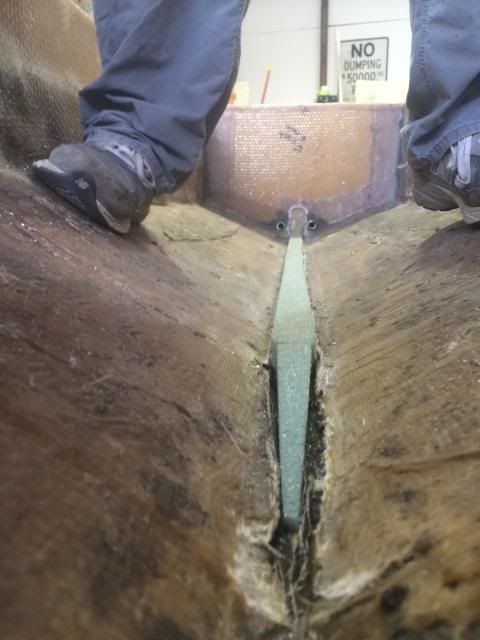 and strick this one is for you. 51 pounds 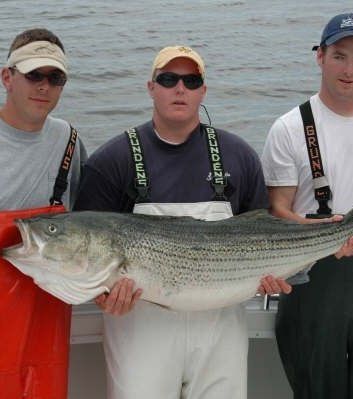
__________________
36' Yellowfin 1972 20' seacraft 140 suzuki http://www.classicseacraft.com/commu...ad.php?t=18607 |
|
#125
|
|||
|
|||
|
alrighty finally ready to set the deck down inside and prep for bonding. I got the bilge all faired out and somewhat smooth, I installed a backing plate/ pad for the livewell pick up. I had to add another hole for the hoses to go places. I got the front fish box all glassed down and sanded with 60 grit.
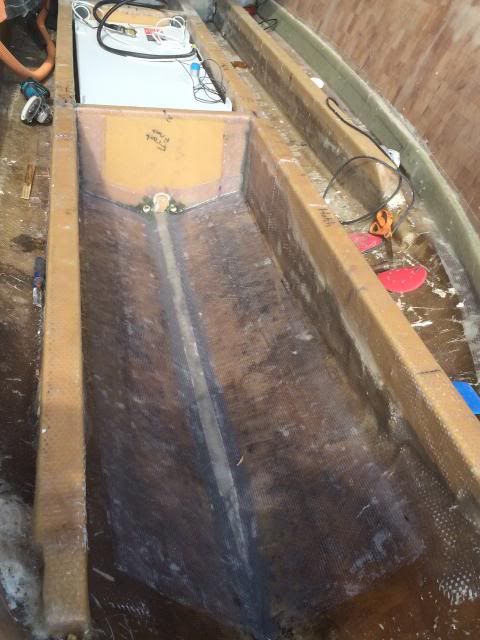 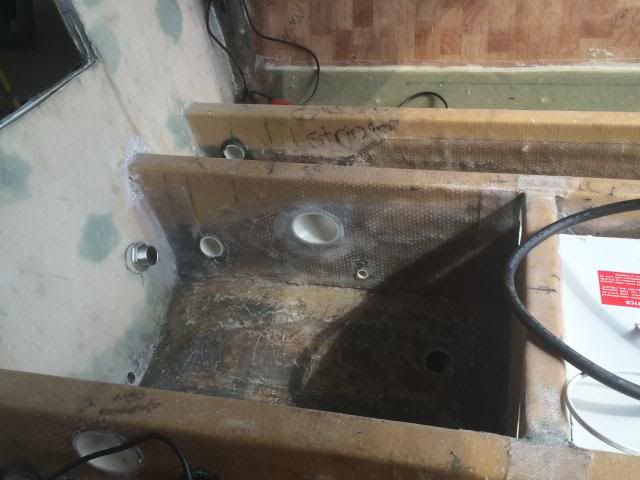  After everything was sanded down and vacuumed the wiped with acetone, It got a coat of no wax gelcoat. I let it dry overnight then we layed down a coat of gelcoat with with wax. I did this with the little rollers with a velvet roller. 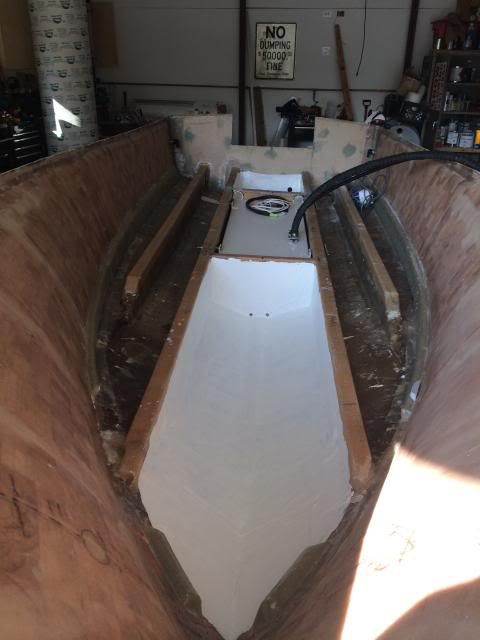 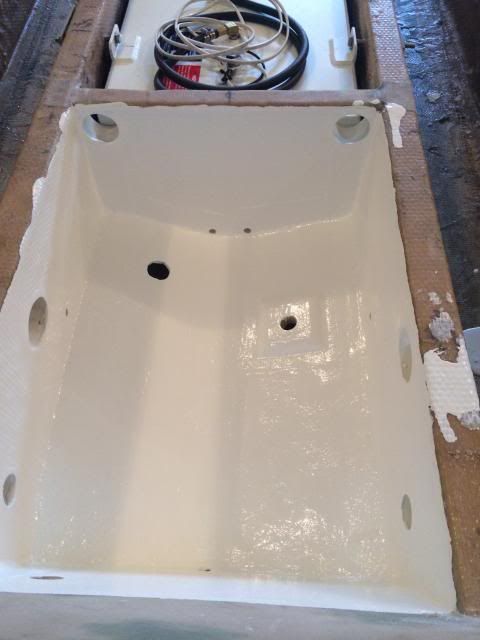 next order of business was securing the gas tank forever! I redrilled the holes because I had some choice 1/2"x 6" bolts. So I cut some backing plates out of some 1/4" scrap fiberglass. I coated the bolts in some tuff gell with the touched the tank and bolted everything into place. 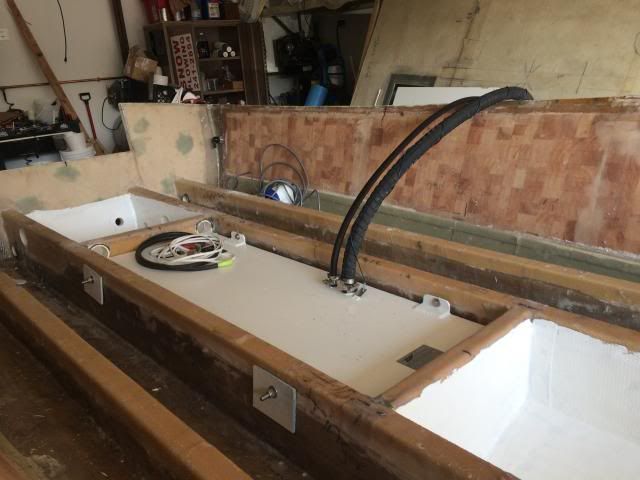 I only have 1/4" clearance front and back which I think is a little on the tight side but it will be fine. plus the tank is 1/4" thick! 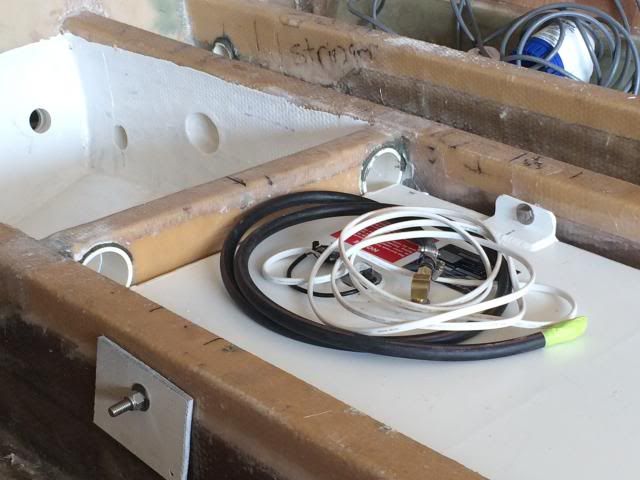 I used the expensive hose clamps for the fill and vent. in apposing directions 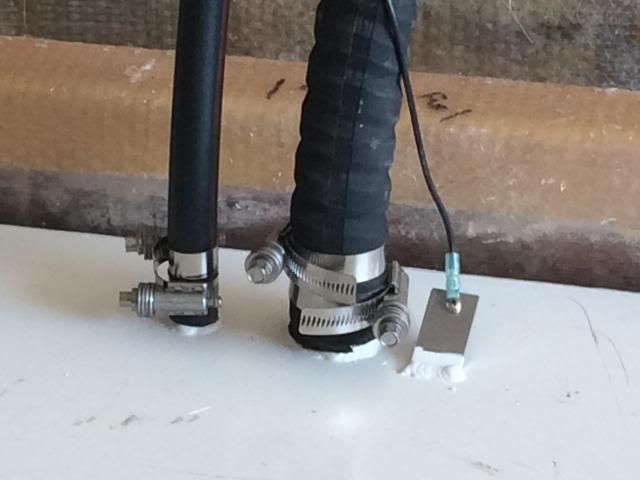 I know I know the grounding wire isn't heat shrinked... I just saw that myself
__________________
36' Yellowfin 1972 20' seacraft 140 suzuki http://www.classicseacraft.com/commu...ad.php?t=18607 |
|
#126
|
|||
|
|||
|
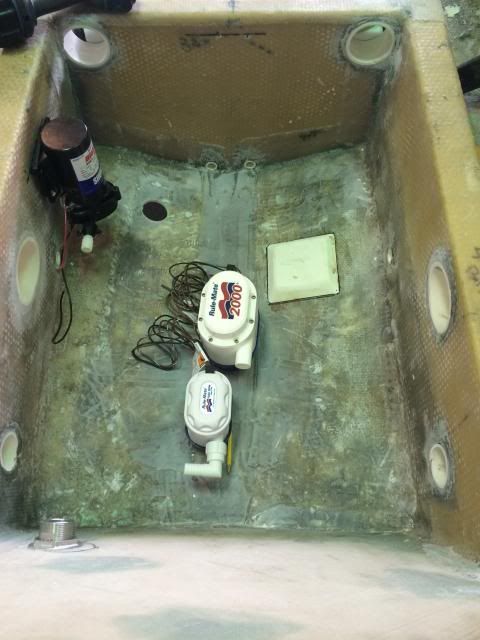
I finally got all the hardware to assemble the bilge. you don't realize how much hardware it takes to install all this crap!
I got some of the stuff roughed in before I gelcoated so if I made a mistake it wouldn't be hard to fix. The first thing I do is install pumps, fuel filter, thru hulls. then its time to run the wires and hoses. you can see the thru hull transducer( compliments of trayder) also I used the Yamaha stainless fuel filter housing to keep it from getting crappy. 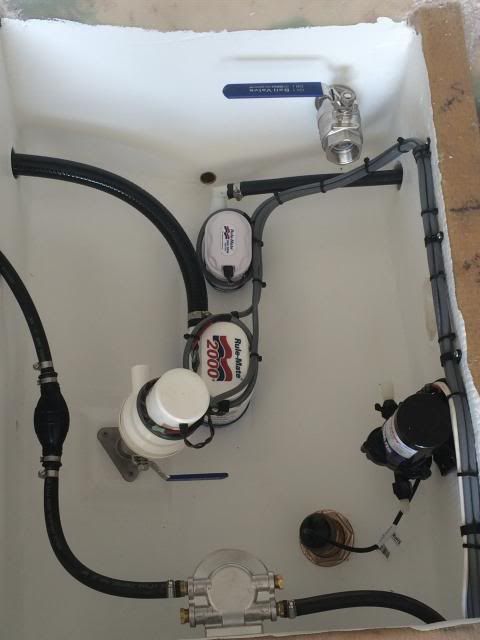 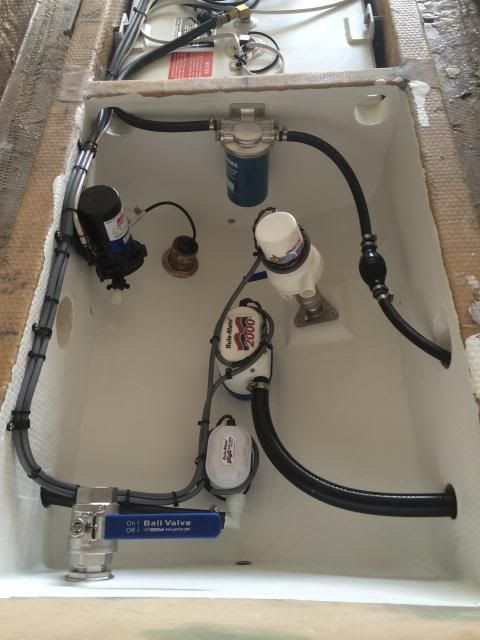 then came in some more hoses for the livewell and wash down its start to get busy 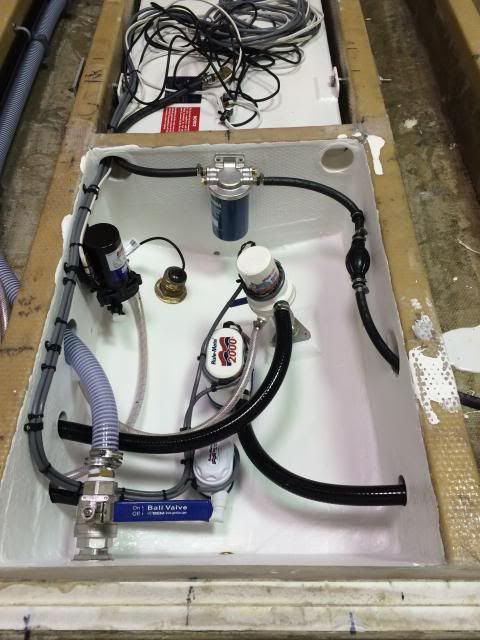 I also installed a brass sleeve back through the bilge drain. I set it in 5200 and sealed it up on the outside. so with it glassed and sealed with 5200 it should last a long time. plus it gives it a clean look. 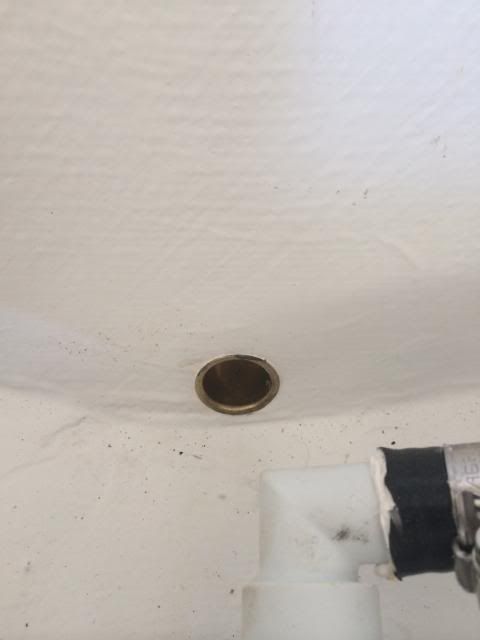 gonna get the deck set back in this week
__________________
36' Yellowfin 1972 20' seacraft 140 suzuki http://www.classicseacraft.com/commu...ad.php?t=18607 |
|
#127
|
|||
|
|||
|
I like to keep my workers moving till the end of the day, so I had to put the deck back in to make some measurement of rigging holes. I had them help me put the top cap back on so I could get a feel of what it was like. and I like it. the flush deck is the cats meow.
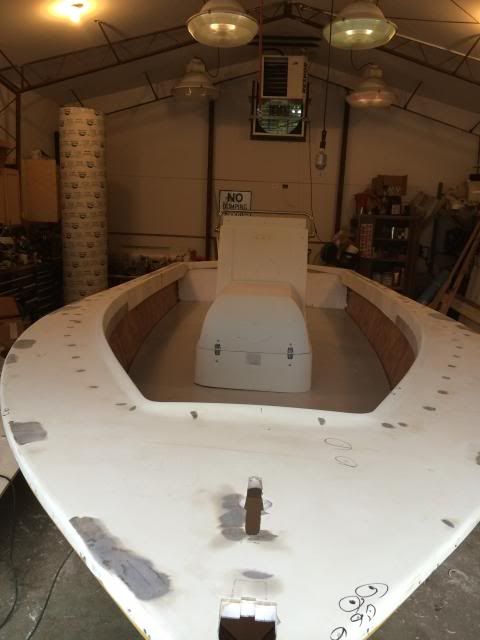 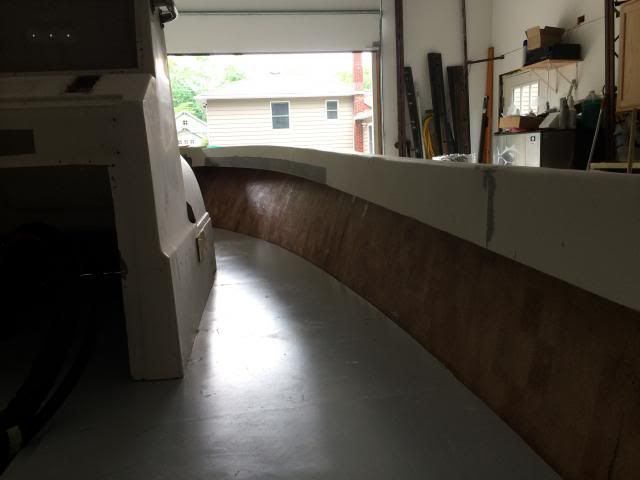 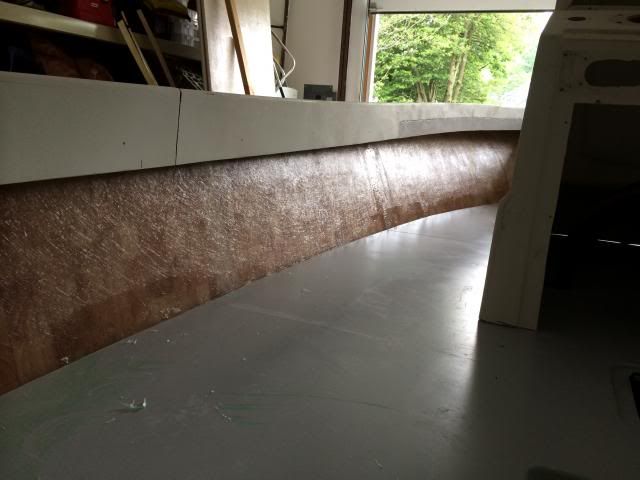 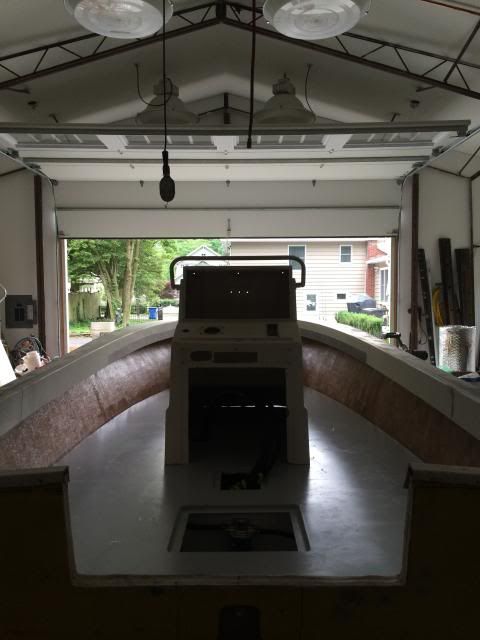 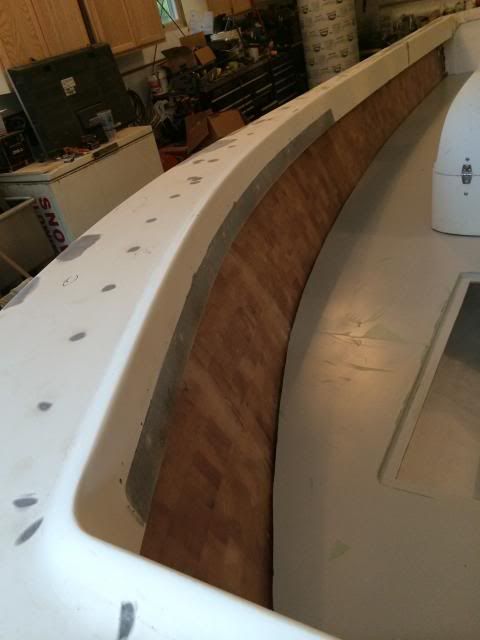 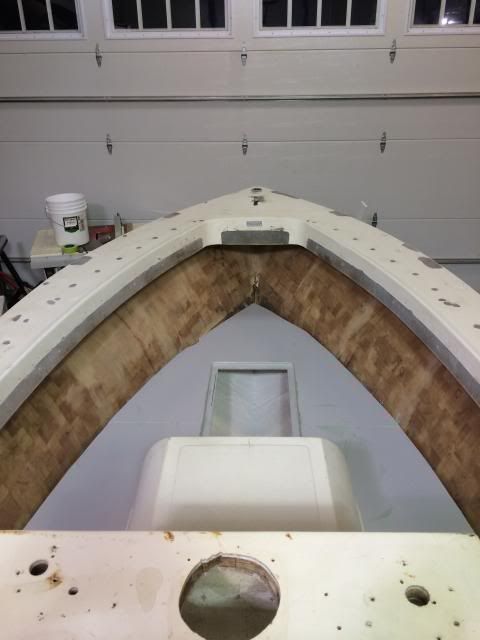 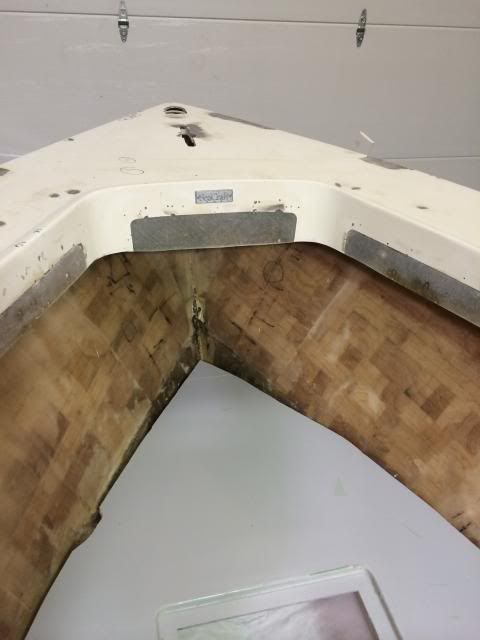 here is the shot from inside the floor box, the deck is sitting solid on the stringers. 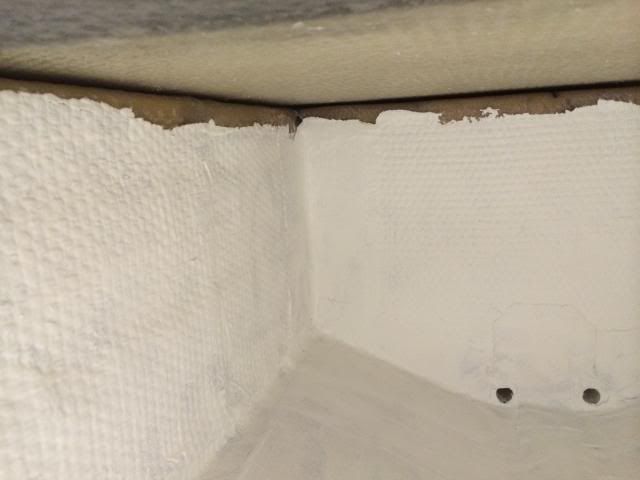 shot of the bilge 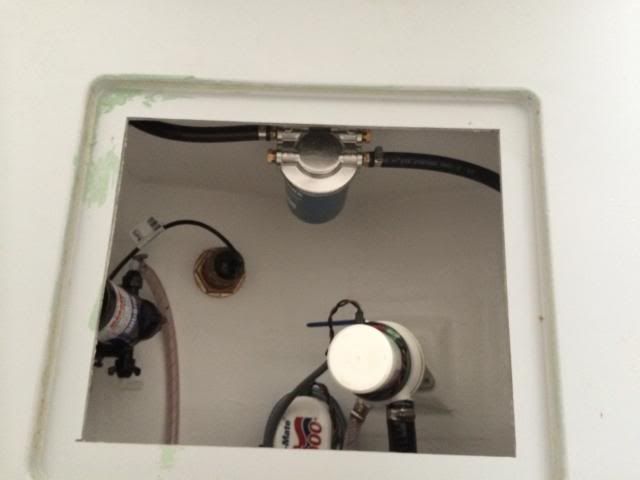 I told her she had to help me sand the boat. 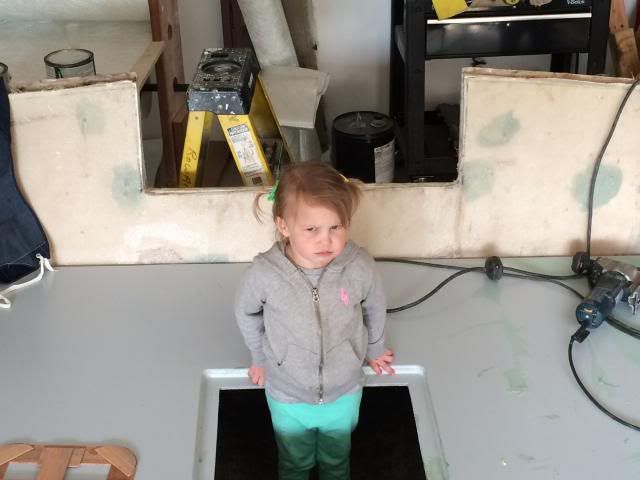
__________________
36' Yellowfin 1972 20' seacraft 140 suzuki http://www.classicseacraft.com/commu...ad.php?t=18607 |
|
#128
|
|||
|
|||
|
Looks awesome. Love that flat deck.
|
|
#129
|
|||
|
|||
|
BA17 thank you I am really excited now that I see it in the boat. the cap fits really well with the flush deck , I tried to take a pic up in the bow of the toe to knee angle of where the hull hits your toes and where your knees are positioned but it doesn't look right in the pic. It is not bad at all and I think its well worth it.
I got the leaning post and Ed did a great job with it from Fabtech marine. I got the template built for the forward bulkhead and I had a lot of problems getting a straight measurement because of the curvature and angle of the hull . there was a lot of head scratching. I finally got where it looks even with the top cap and the sides. gonna pull it out and transfer the template to one of the panels I layed up . 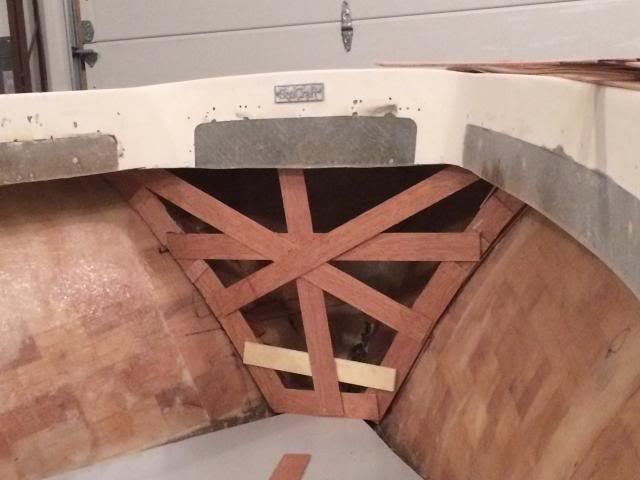 once I got the console in the boat with the deck I didn't like the engine box on the front of the console it was to high for me. Plus it was a nightmare trying to figure out how to make a mold for the well because the top was tapered in 3 different ways. I can now flatten the top and make a well with a flange on top to seal it. also I plan to make it into a seat. 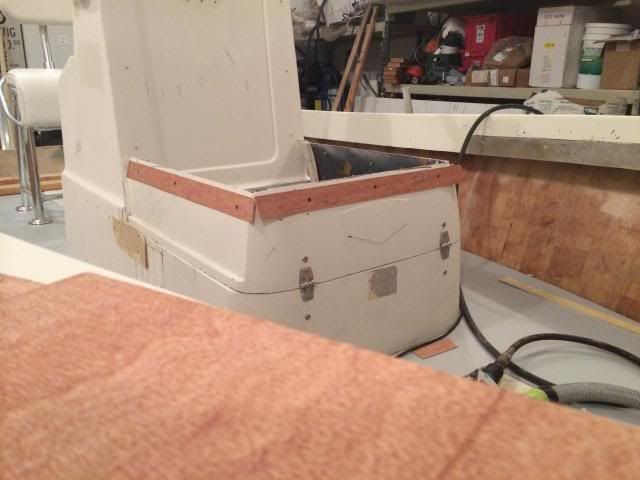 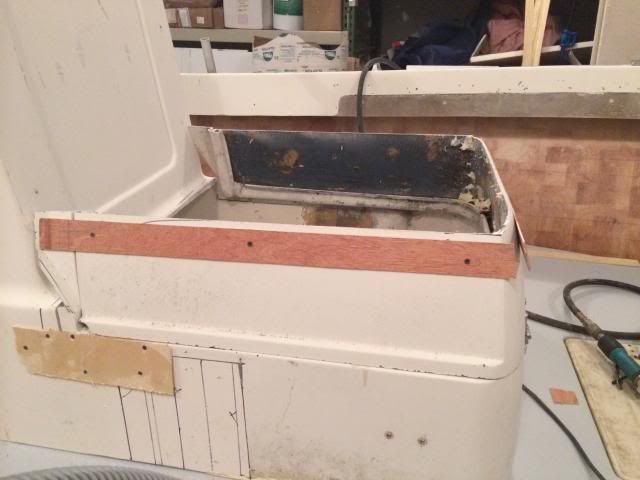 I chopped 6" off the top of the old engine box and now looks much better. the livewell will be around 50 gallons. still have to cut the flange off were the hatch opened and and I might cut 2" out of the width and have the front taper in. I forgot what shape and size rub rail fits on the 20 the nicest, I am debating on which steering system to use. I used baystar on the last boat, but was thinking of upgrading to a seastar system any thoughts?
__________________
36' Yellowfin 1972 20' seacraft 140 suzuki http://www.classicseacraft.com/commu...ad.php?t=18607 |
|
#130
|
|||
|
|||
|
got the plug built for the live well, I used 3/4 MDF and a 8" sonnet tube. I ripped the sonnet tube into 4 even pieces( as even as I could get them.) after I got all my measurements on the MDF and cut . I shaved 3/16" off the edges that the sonnet tube was gonna get stapled to, to make it flush with the MDF. After I got the 4 sides and corners all stapled together I cut the top big and used a flush router bit to run it around the outside to make it a perfect top.
once I got that nailed to the rest, I got a 3/4" round over bit to make the rounded edge. . 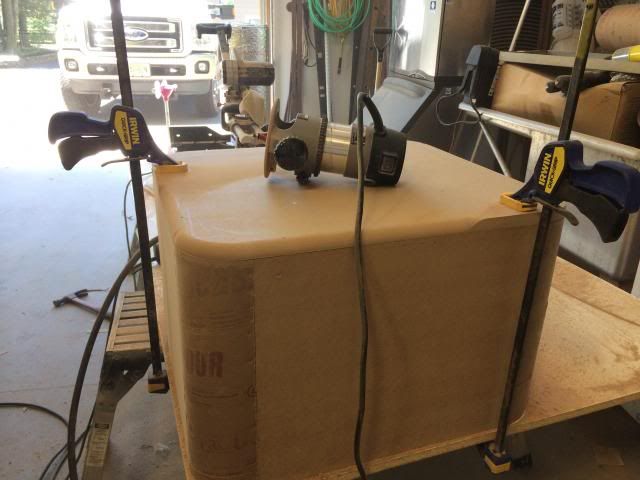 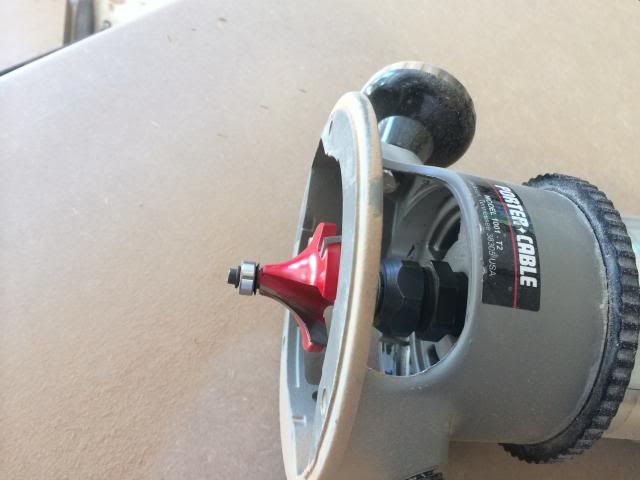 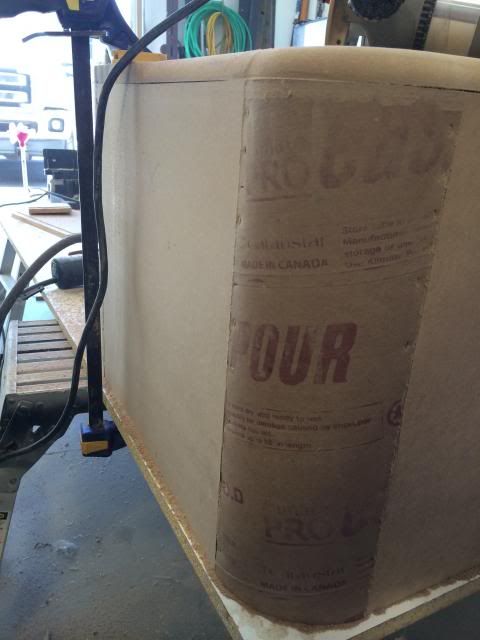 after I got it nailed together It was time to do a little tooling on it to smooth it out. I got some evercoat glaze from the autobody place and started with all the staple holes. 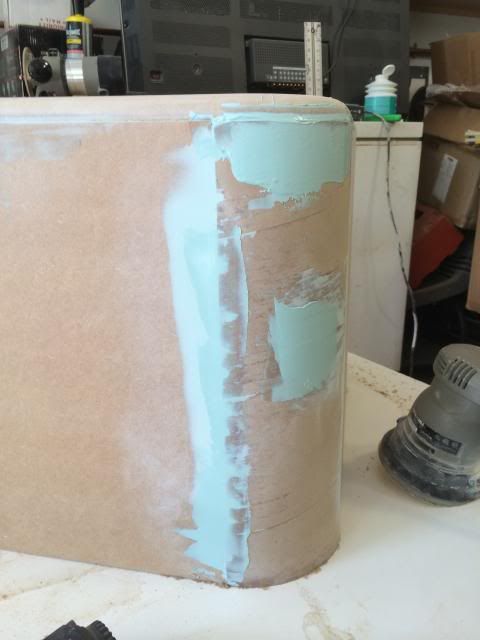 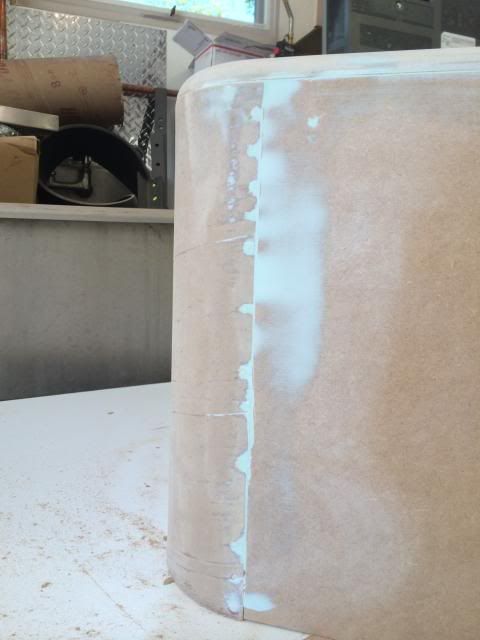 I also put a block to extend the rear drain lower 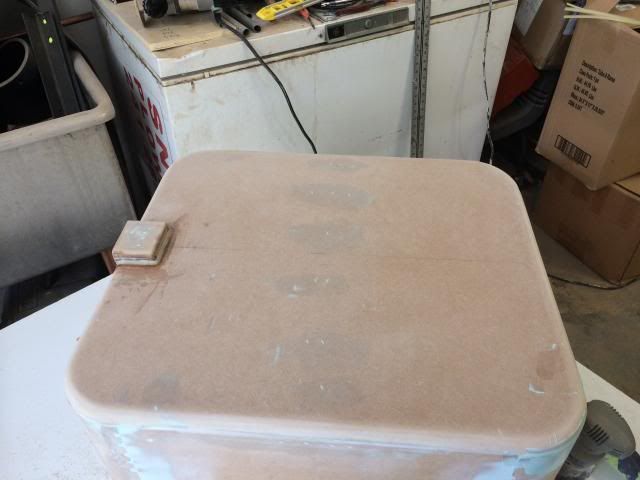 it took about 3 hours or fairing and sanding to smooth out all the inperfections. 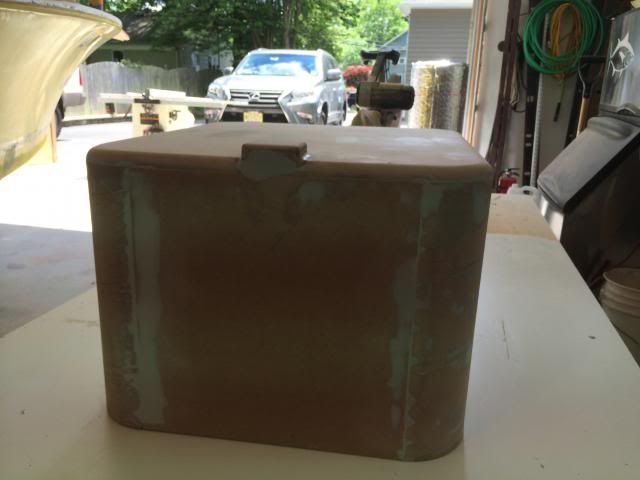 after I got it smooth and sanded I put some radius wax around the block and some larger radius wax around between the table and the mold once that was set I waxed it with 3 coats and sprayed 2 coats of PVA. 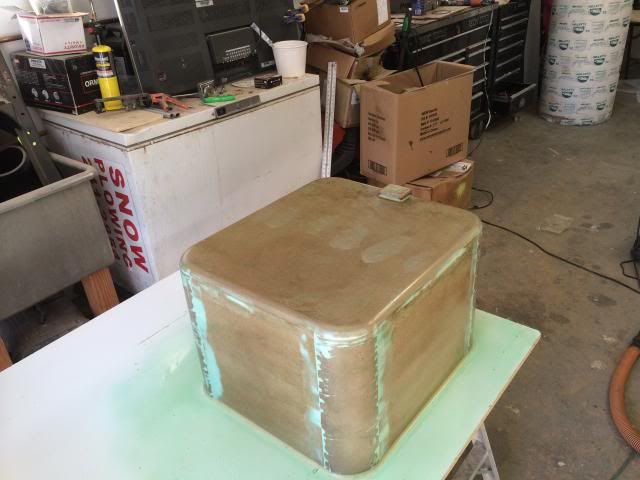 I let it dry and it was time to spray it with Gelcoat. I mixed 2 quarts of Gelcoat together with the dark blue tint. I made extra gelcat to store because I would never be able to match it. I shot the gelcoat with the cup gun. 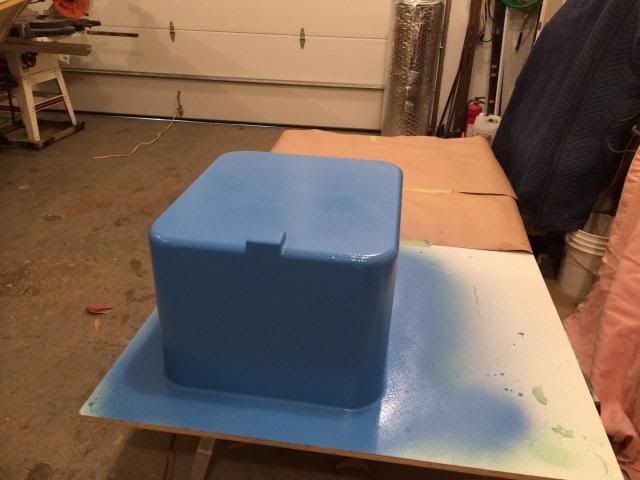 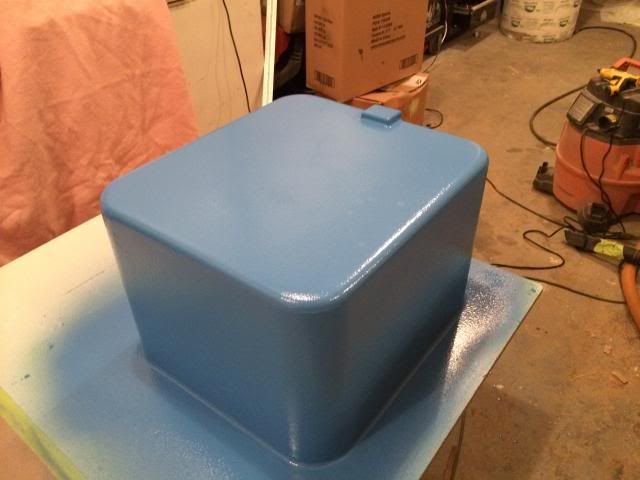 gonna glass it tomorrow.
__________________
36' Yellowfin 1972 20' seacraft 140 suzuki http://www.classicseacraft.com/commu...ad.php?t=18607 |
 |
| Thread Tools | Search this Thread |
| Display Modes | |
|
|