
 |
|
#101
|
|||
|
|||
|
Signature Finish paint will work. It's tough stuff.
__________________
'72 SeaFari/150E-Tec/Hermco Bracket, owned since 1975. http://i188.photobucket.com/albums/z...Part2019-1.jpg |
|
#102
|
|||
|
|||
|
Look at Tile Clad from Sh.Wm. 2 part epoxy. They use this to coat the inside of water towers. Roll or brush on.
I have used if for my fish box, live well and in the bilge area. Very tough.
__________________
[SIGPIC][/SIGPIC] "If You Done It...It Ain't Braggin" my rebuild thread: http://www.classicseacraft.com/commu...ad.php?t=18594 |
|
#103
|
|||
|
|||
|
I've used sherman williams tile clad epoxy paint and it has held up well...since it's an epoxy you dont want to have it exposed to UV or it will yellow..so it's good for things like the bilge. I'm gonna try white gel coat on the bilge of my 25 soon...since I have 5 gallons of it laying in my shop....might do the duratec additive thing to it.
strick
__________________
"I always wanted to piss in the Rhine" (General George Patton upon entering Germany) |
|
#104
|
|||
|
|||
|
I've had to make repairs to a mistake I made early on when I wasn't real sure what I wanted to do. I had to glass the bow cooler back to the portion of the inner liner that I have decided to keep. I also replaced the coring under the anchor locker with a piece of divinycell and glassed it in.
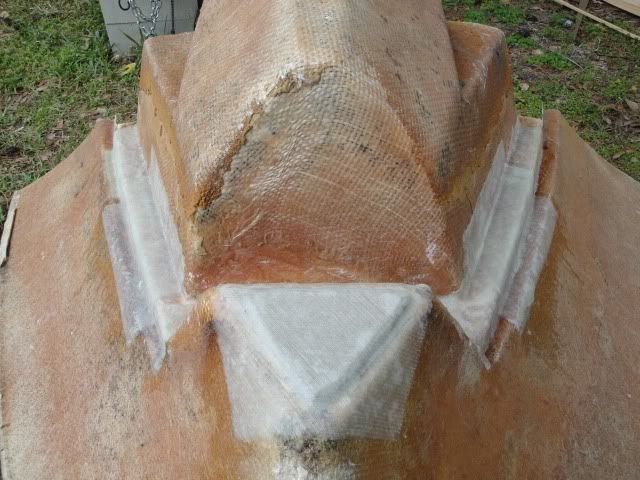 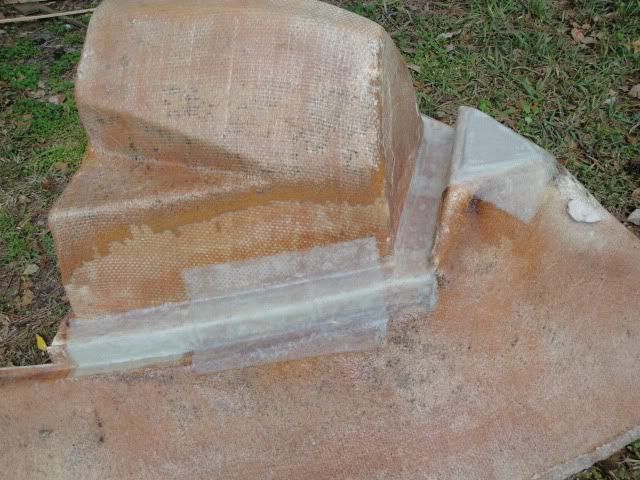 I overdrilled the original 1/2" drain holes with a 1" bit and then filled them with cabosil. Then drilled again at 1/2" to give the surrounding materials a barrier. 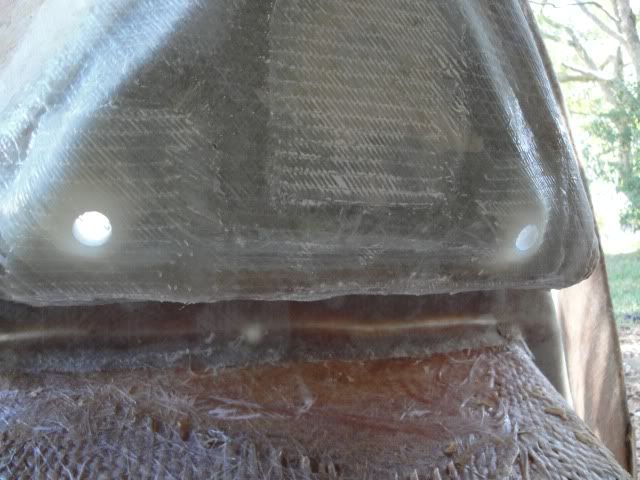 This is the same piece ready to be reinstalled. It was a real PITA to get it back in by myself. Once I got it set I used cabosil everywhere it was attached originally.  I'm using some leftover Coosa from my transom to form the forward step at the cooler. I left about a half a inch between the coosa and the hull to allow for flex if necessary. I used drywall screws through the top of the 2 x 4's to hold it level so that the new forward deck will be flush when installed. 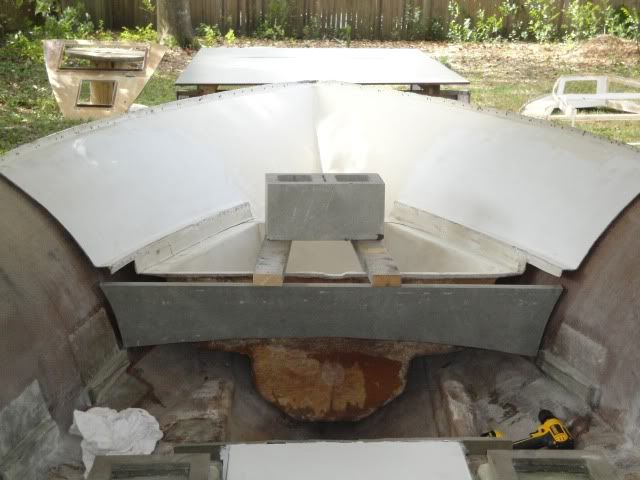 Tabbed in on both sides, front and back. This connection isn't meant to bear all the weight the area will see in the future but mainly to hold in place while the deck goes in. 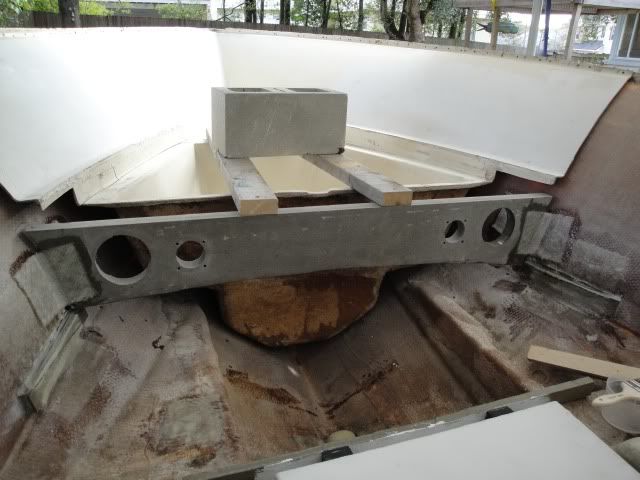 Started building my laminating table for the deck. Since I'll be doing it outside I'm going to have to wait for good weather before starting. 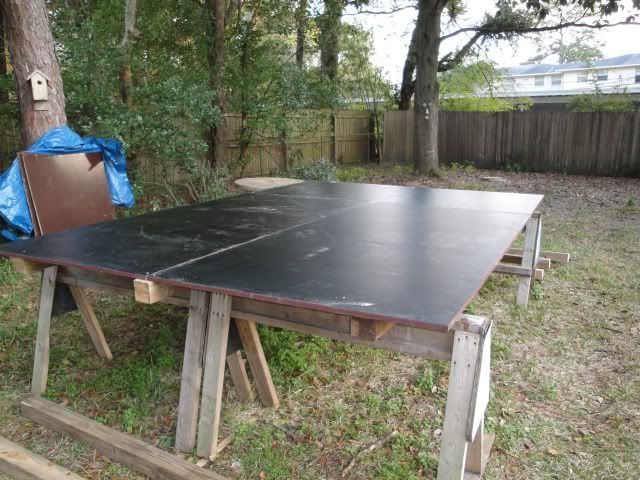
__________________
Will |
|
#105
|
|||
|
|||
|
Getting ready to install the fishbox in the rear of the boat. I used two 2x4's to suspend it so the top will be flush with the bottom of the deck when it is set in. Also allows me to have insulating foam around the box.
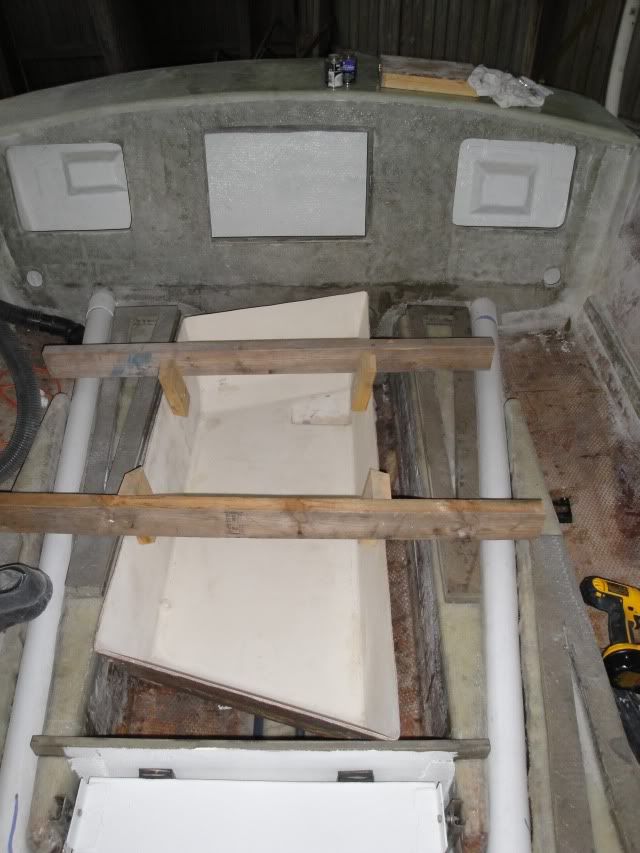 Drain line to the bilge.  Installed a 1/4 turn ball valve that can be used instead of a plug in the box. I dripped some primer in the bilge and will have to sand and repaint those spots. 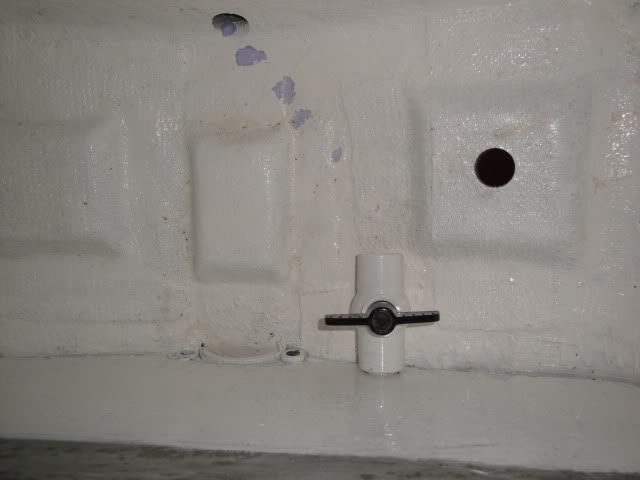 Foam being installed. 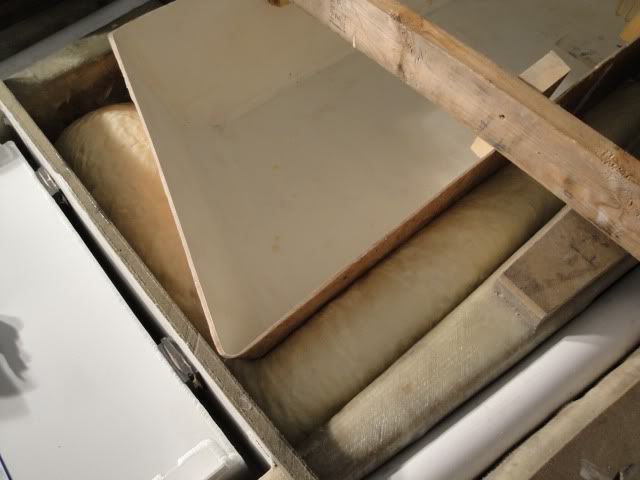 Three pieces of hardi board on the laminating table for a nice smooth surface. 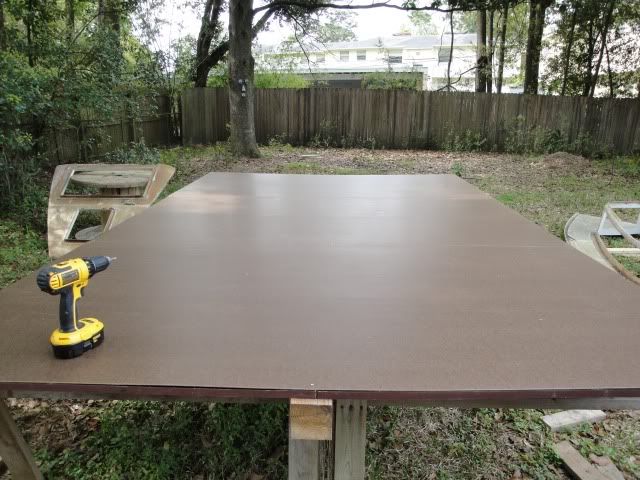 Borrowing and idea from Billy the Kid I ripped a sheet of 1/8" luan to build the template for the deck. I used hot glue to attach all the pieces 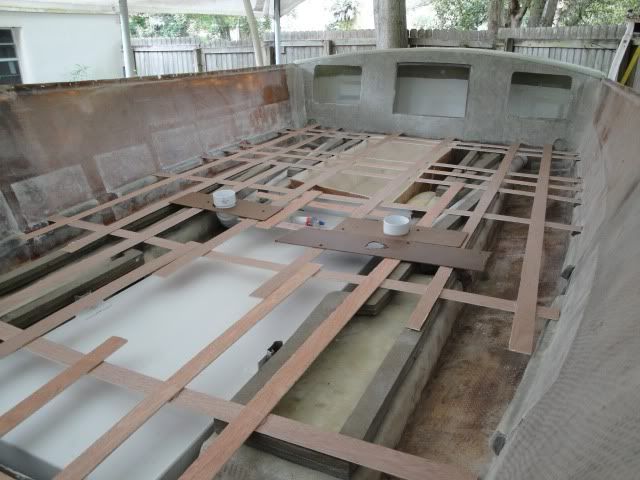 Transfering the template to the laminating table. Had to get my wife to help out because of the flex in it. 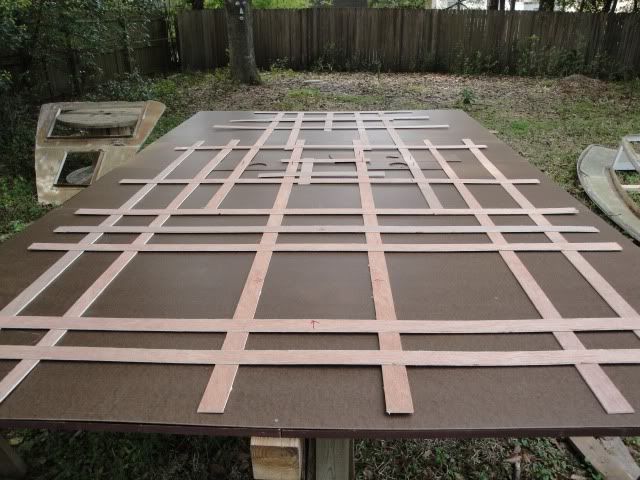 I used 3/4" chamfer to mark the edges. Also cut some plywood for the openings for the rigging tubes and access port over the fuel tank. Started forming the hatch opening that will be in the rear. I've done 95% of this project by myself but will be recruiting some friends to help me lay up the deck. With next weekend being Easter it will probably be the following week, weather permitting. 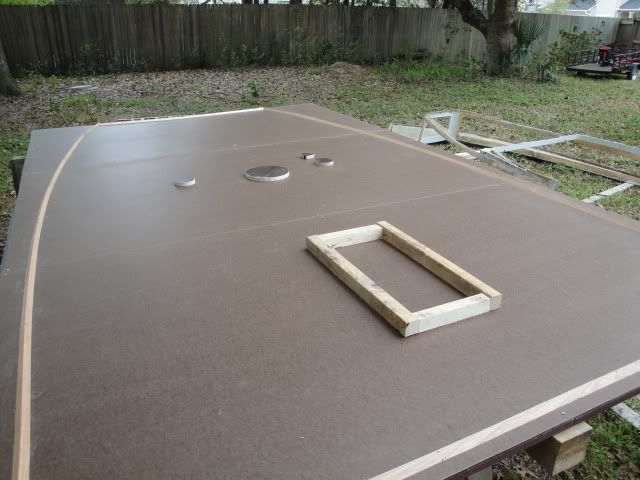
__________________
Will |
|
#106
|
|||
|
|||
|
Will you are doing an awsome job. you are a one man wrecking crew! Are you doing the deck out of epoxy? I should by stock in West System before you do! One thing that I will suggest is
make a small radius around the hatch with the putty or the mold wax I used. After you spray your primer or gelcoat down and your skin coat(first layer of mat) you are gonna need some deck putty if you are using polyester, or micro ballons if you are using epoxy. The reason you need it is becuase after the skin coat fill in any hard angles on the mold so the 1708 doesnt have to make any hard bends. you dont want to be fighting with 1708 while in the middle of the layup. I showed a pick of us filling voids with the putty. dont wait for it to cure either lay the glass right on top nice and wet so they bond together making a rock hard edge. you are definately going to need it for around the outside of the rear hatch. try to have your wife take some pics while the layup is going on, as you are gonna be to busy to do it !!  the link for the radius wax of you cant find it. http://www.freemansupply.com/FreemanHalfRoundWa.htm
__________________
36' Yellowfin 1972 20' seacraft 140 suzuki http://www.classicseacraft.com/commu...ad.php?t=18607 |
|
#107
|
|||
|
|||
|
Billy, thanks for the advice! I am using epoxy but luckily can buy it wholesale. I will be reviewing your post several times between now and lay up time.
__________________
Will |
|
#108
|
|||
|
|||
|
My plans changed as all things do for the Easter weekend and the opportunity arose for me to proceed with the lamination process. On Friday I rounded up a team of volunteers for Saturday morning and worked late Friday evening prepping the mold.
When I started the prep work the first thing I noticed was that my Hardi Board was starting to buckle slightly even though it had been covered with plastic and a tarp. I had to take screws and fasten it down in quite a few places and am still concerned some of this may transfer to the top of the deck requiring more fairing and sanding. After waxing I used my sprayer to apply the PVA. 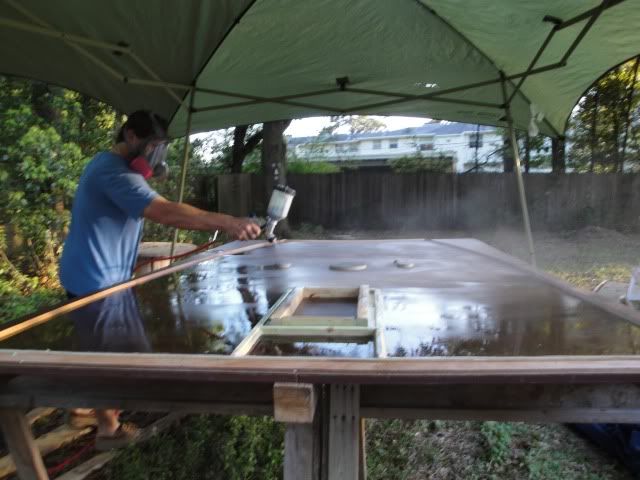 Taking notes from Billy I recessed my hatch mold 3/4". I didn't have time to get the wax and wound up using the modeling compound for a short radius. 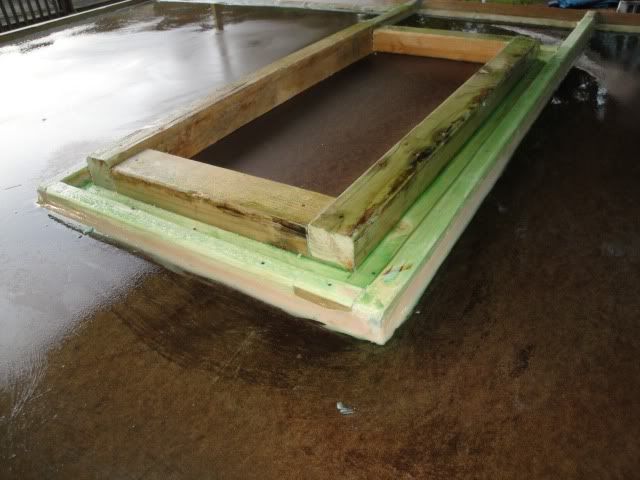 I carried the hatch recess all the way to where the deck will tie into the rear of the boat and hopefully drain any water that accumulates. 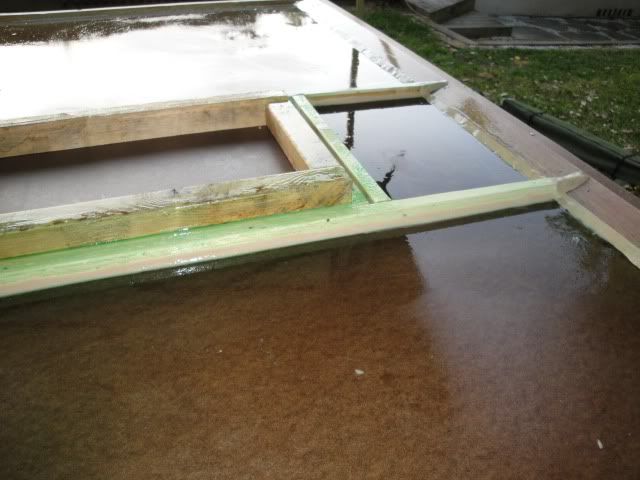 My volunteers were all in their 20's so I knew there was about a 50/50 chance of them showing up after going out Friday night. Luckily two showed at 10 and one at 10:30. I was prepared to call it off if I didn't have at least two helpers. Layup consisted of two layers of 1.5 oz matt and two layers of 1708. 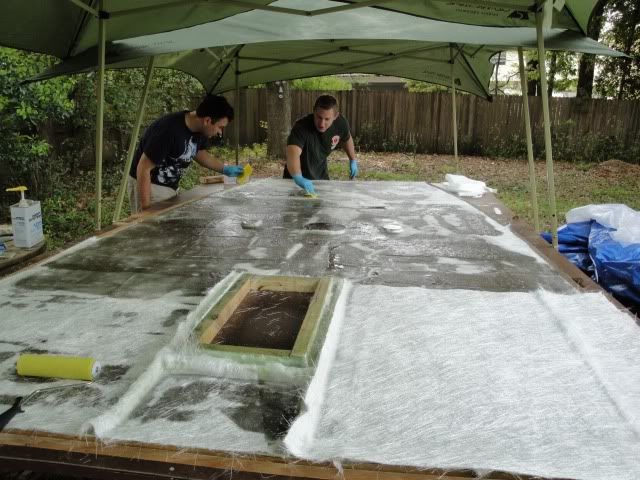 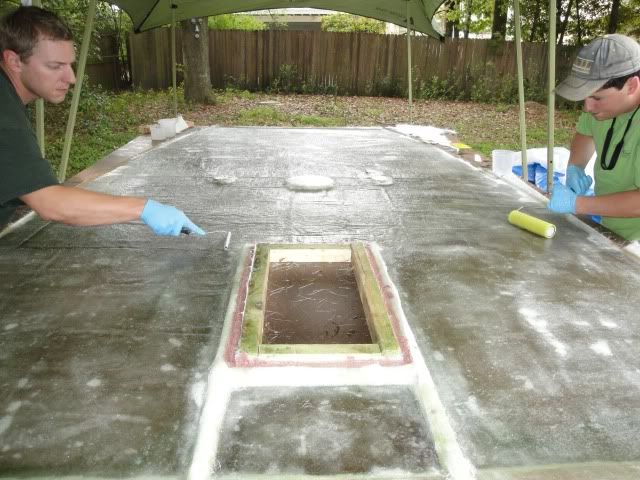 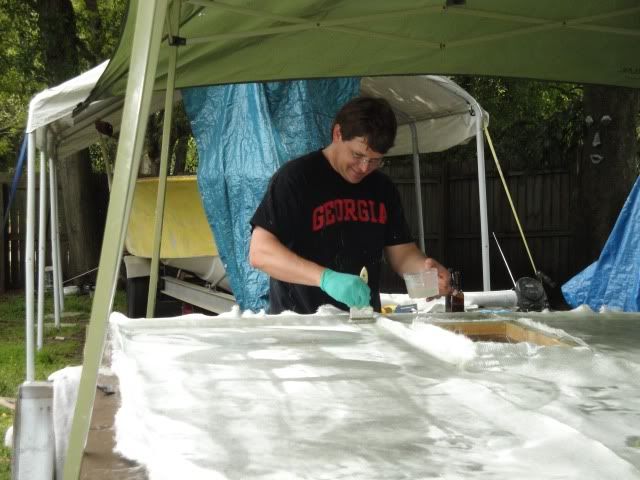 Working the area around the hatch. I followed Billy's suggestion about using micro ballons after the matt was applied to avoid a fight with 1708 during the layup. 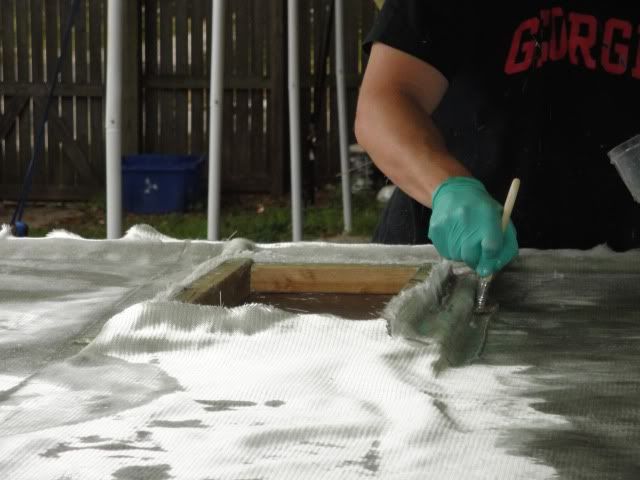 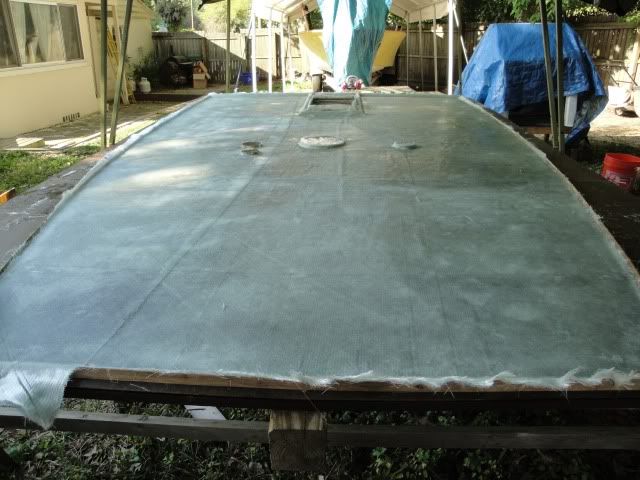 After cutting the flange off. 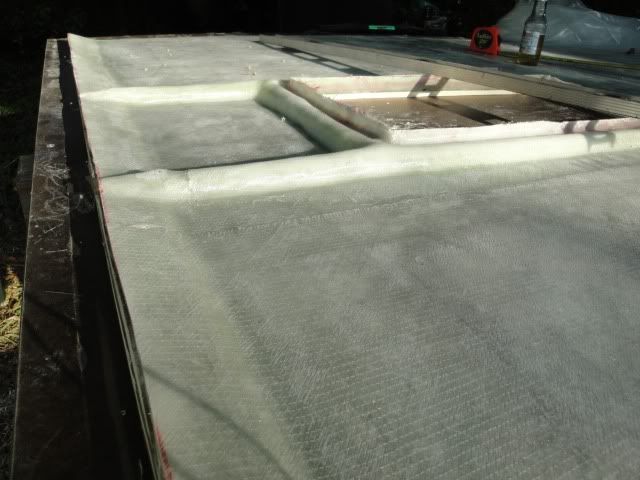 Sanding to prep for the coring material. 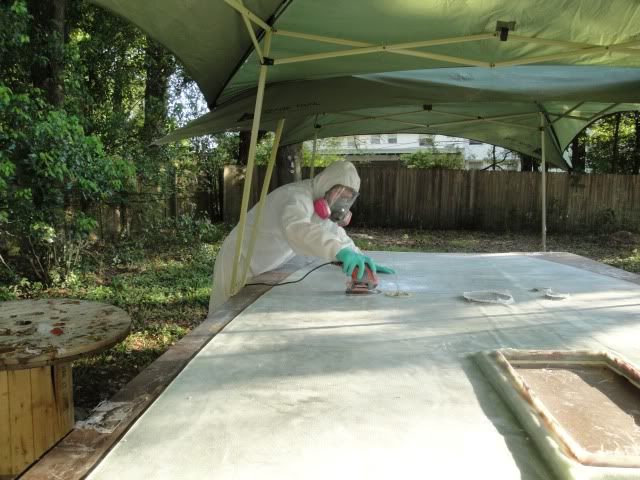 Backing for the center console and leaning post. 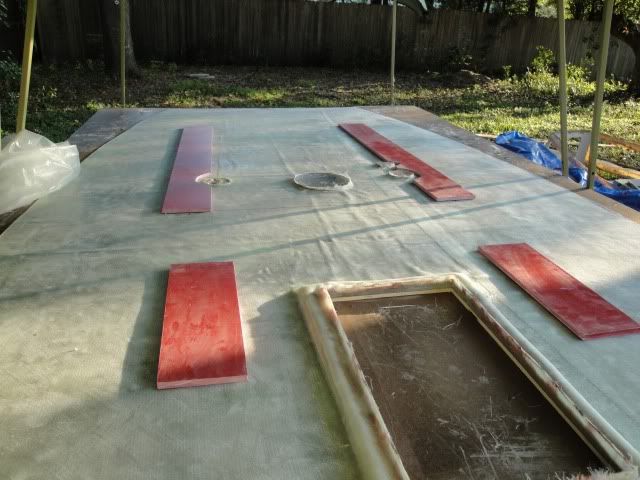 Layout of the rest of the Divinycell.  More to come.....
__________________
Will |
|
#109
|
|||
|
|||
|
all i can say is WOW!!!!!!!!
__________________
we need a lifeguard at the gene pool |
|
#110
|
|||
|
|||
|
Lookin great!
|
 |
| Thread Tools | Search this Thread |
| Display Modes | |
|
|